Internationalization (i18n)
Page summary:Internationalization manages content in multiple locales directly from the admin panel. This documentation explains how to add locales, translate entries, and control locale-specific permissions.
The Internationalization feature allows you to manage content in different languages, called "locales".
Read the steps as text
- First, we need to go to the Settings of the admin panel, to configure the Internationalization feature.
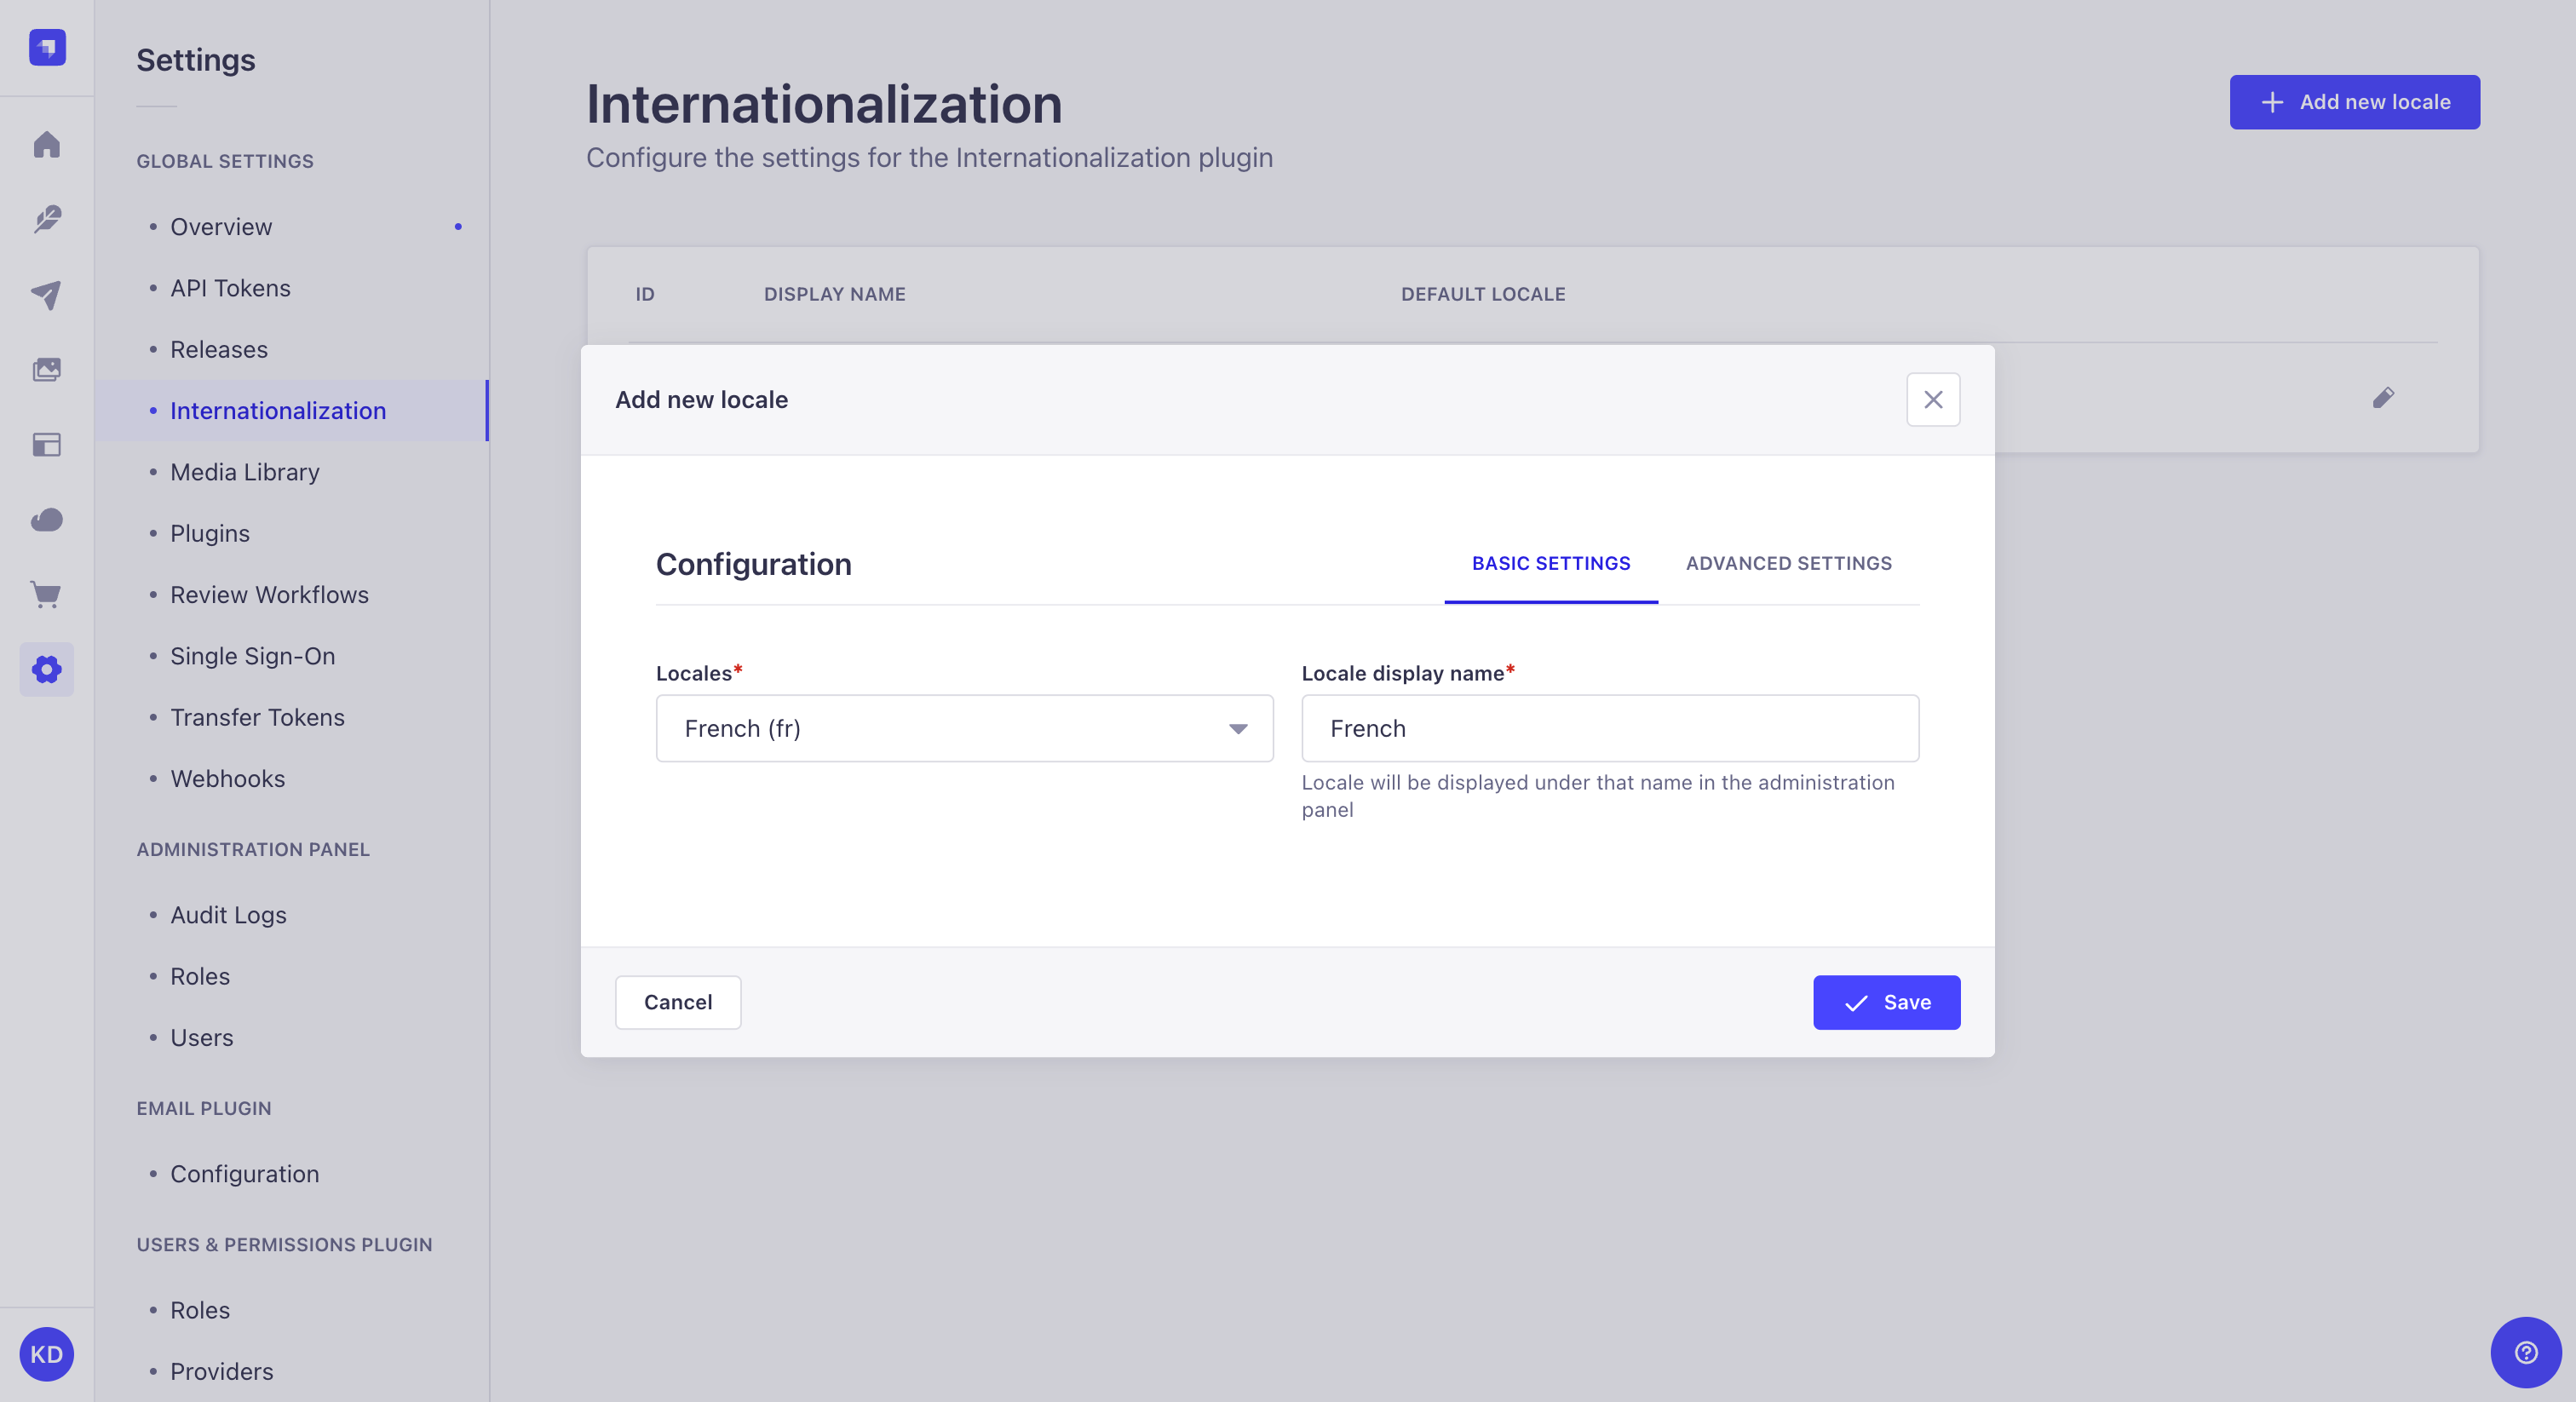
- Languages available via the Internationalization feature are called "locales". Let's add new ones!
- You can choose any of the 500+ locales available in the Locales dropdown. For example, let's select French.
- You can decide which Locale display name to give your new locale. (type “French”)
- Advanced settings are available when adding or editing locales.
- This is where a new locale can be set as the default one.
- Let's save our new locale!
- You can repeat this procedure as many times as you want, to add more locales to your project!
- From the Internationalization settings you can also:
• ✏️ Edit a locale
• 🗑️ Delete a locale - Let's edit the English locale to modify the display name!
- We can remove the "(en)" part to make the display name fit with the others. (type “English”)
- Don't forget to save!
- Now, we need to make sure Internationalization is enabled in the Content-type Builder.
- Let's edit our Article collection type to enable the feature!
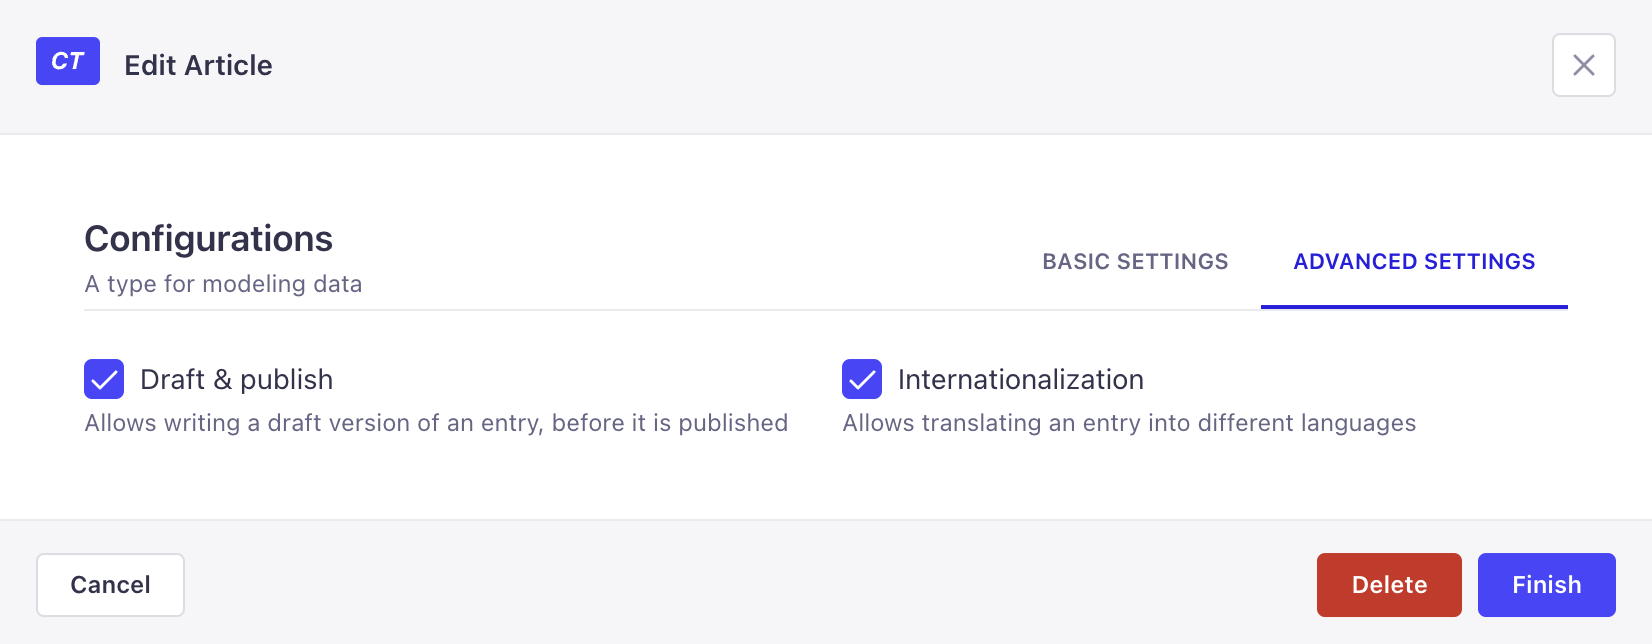
- Go to the Advanced settings of the collection type.
- Tick the Internationalization box to enable the feature for the Article collection type.
- Don't forget to click on Finish to confirm the changes!
- Finally, we can move to the Content Manager to manage content in the different locales we've added earlier!
- For now, our articles are only available in English. Let's make a version of this one in another locale!
- Let's create a version of our article in the French locale!
- You can fill in one field at a time for the new locale. (type “Qu'y a-t-il dans un trou noir ?”)
- For example, we can translate the title of the article into French.
- Or we can click the Fill in from another locale button to automatically fill in all the fields with existing content from a chosen locale.
- Let's try reusing the content from the English version of the article. Note however that all the fields will be automatically filled in, meaning that the content we just filled in will be erased!
- Let's go ahead with the automatic fill-in from another locale!
- Let's properly fill in all our fields in French!
- And let's not forget to save!
- And we are done: new locales are available for our articles and we have created a French version for one of them! ✨
Configuration
Before being usable in the Content Manager, the Internationalization feature must be configured from Settings, and it should be enabled on your content types from the Content-type Builder.
Content-type Builder
Path to configure the feature: Content-type Builder
For your content types to be translatable with Internationalization in the Content Manager, the feature must be enabled through the Content-type Builder. Internationalization can be configured for each content type and/or field.
- Either edit the already created content type/field of your choice, or create a new content type/field.
- Go to the Advanced settings tab.
- Tick the option named "Internationalization" at content-type level, and "Enable localization for this field" at field level.
Settings
Path to configure the feature: Settings > Global Settings > Internationalization
The Internationalization interface displays a table listing all locales available for the Strapi application. By default, only the English locale is configured and set as the default locale.
For each locale, the table displays the default ISO code of the locale, its optional display name and indicates if the locale is set as the default one. From the table, administrators can also:
- Click on the edit button to edit a locale
- Click on the delete button to delete a locale
Deleting a locale also deletes all the content saved in that locale, for every content-type. This cannot be undone: export your content or back up your database before deleting a locale.
Adding a new locale
Administrators can add and manage as many locales as they want. There can however only be one locale set as the default one for the whole Strapi application.
It is not possible to create custom locales. Locales can only be created based on the 500+ pre-created list of locales set by Strapi.
- Click on the Add new locale button.
- In the locale addition window, choose your new locale among the Locales drop-down list. The latter lists alphabetically all locales, displayed as their ISO code, that can be added to your Strapi application.
- (optional) In the Locale display name textbox, write a new display name for your new locale.
- (optional) In the Advanced settings tab, tick the Set as default locale setting to make your new locale the default one for your Strapi application.
- Click on the Save button to confirm the addition of your new locale.
Enabling AI-powered internationalization
GrowthThis feature is available with a Growth plan. AI add-onIncluded in the Growth plan. On the Enterprise plan, requires Strapi AI Enterprise, a paid add-on.AI-Powered Internationalization enables automatic translations for all the locales in a project when the content in the default locale is updated. This enables content editors to have their content translated into multiple languages within a few seconds.
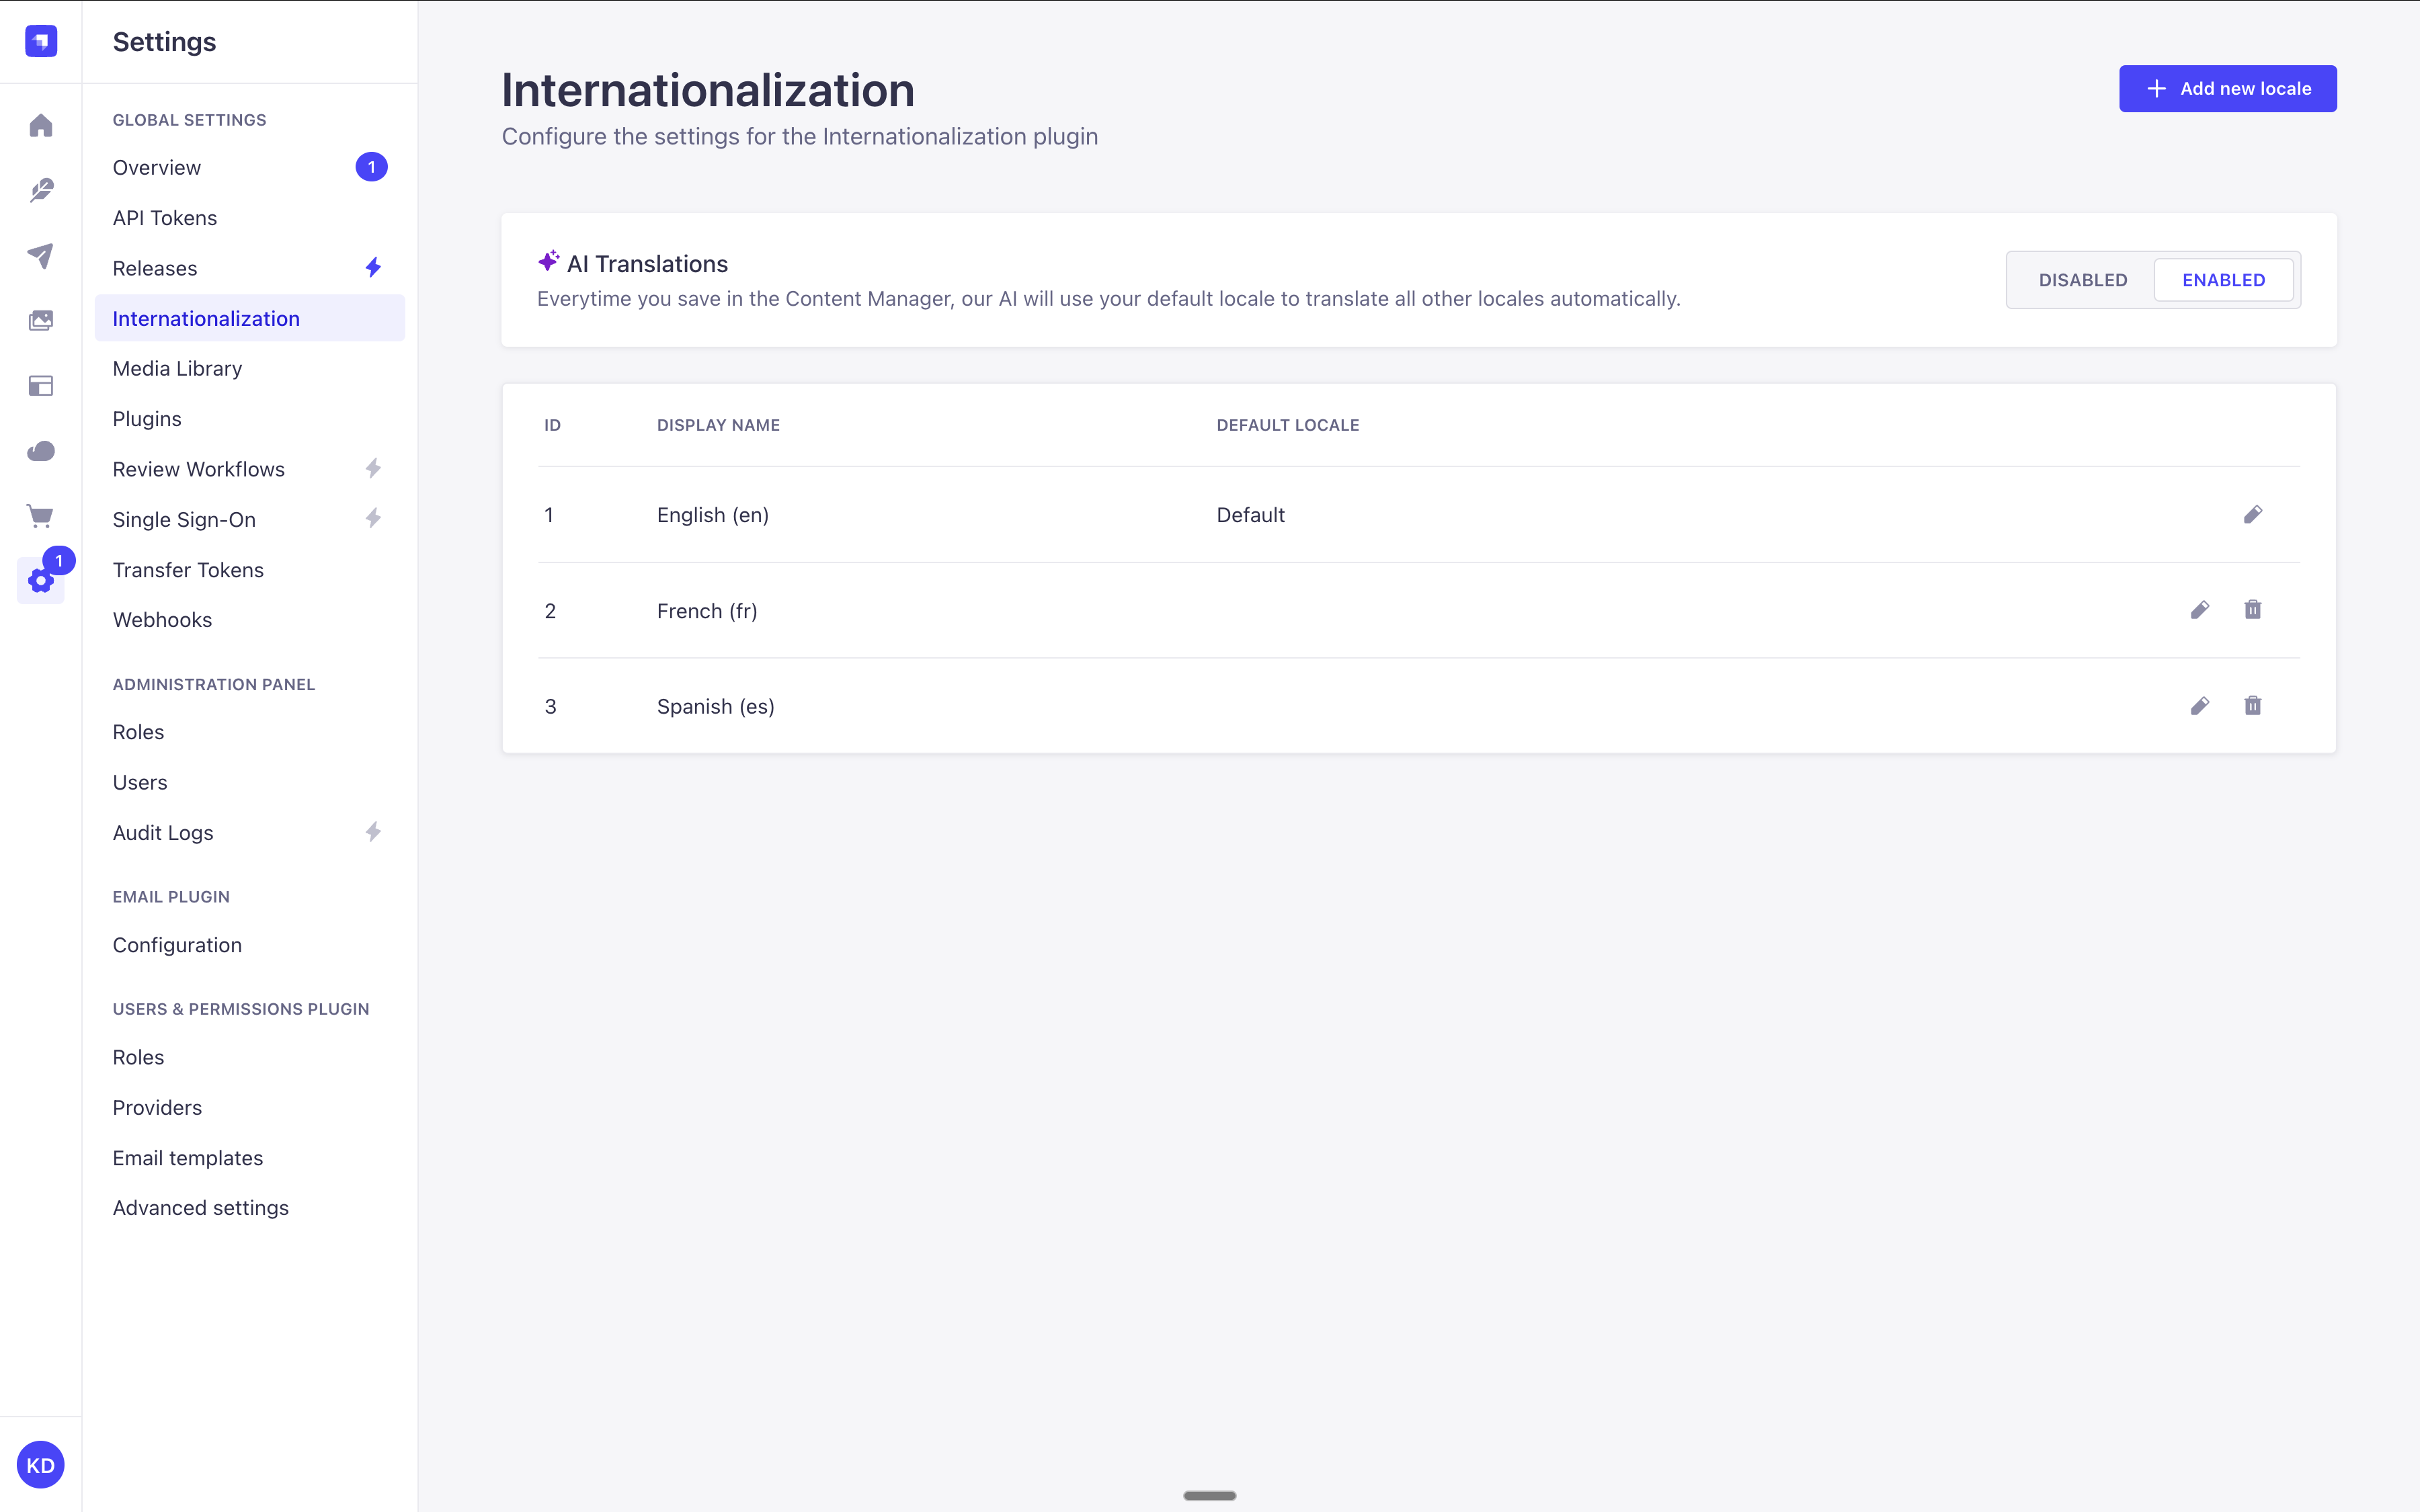
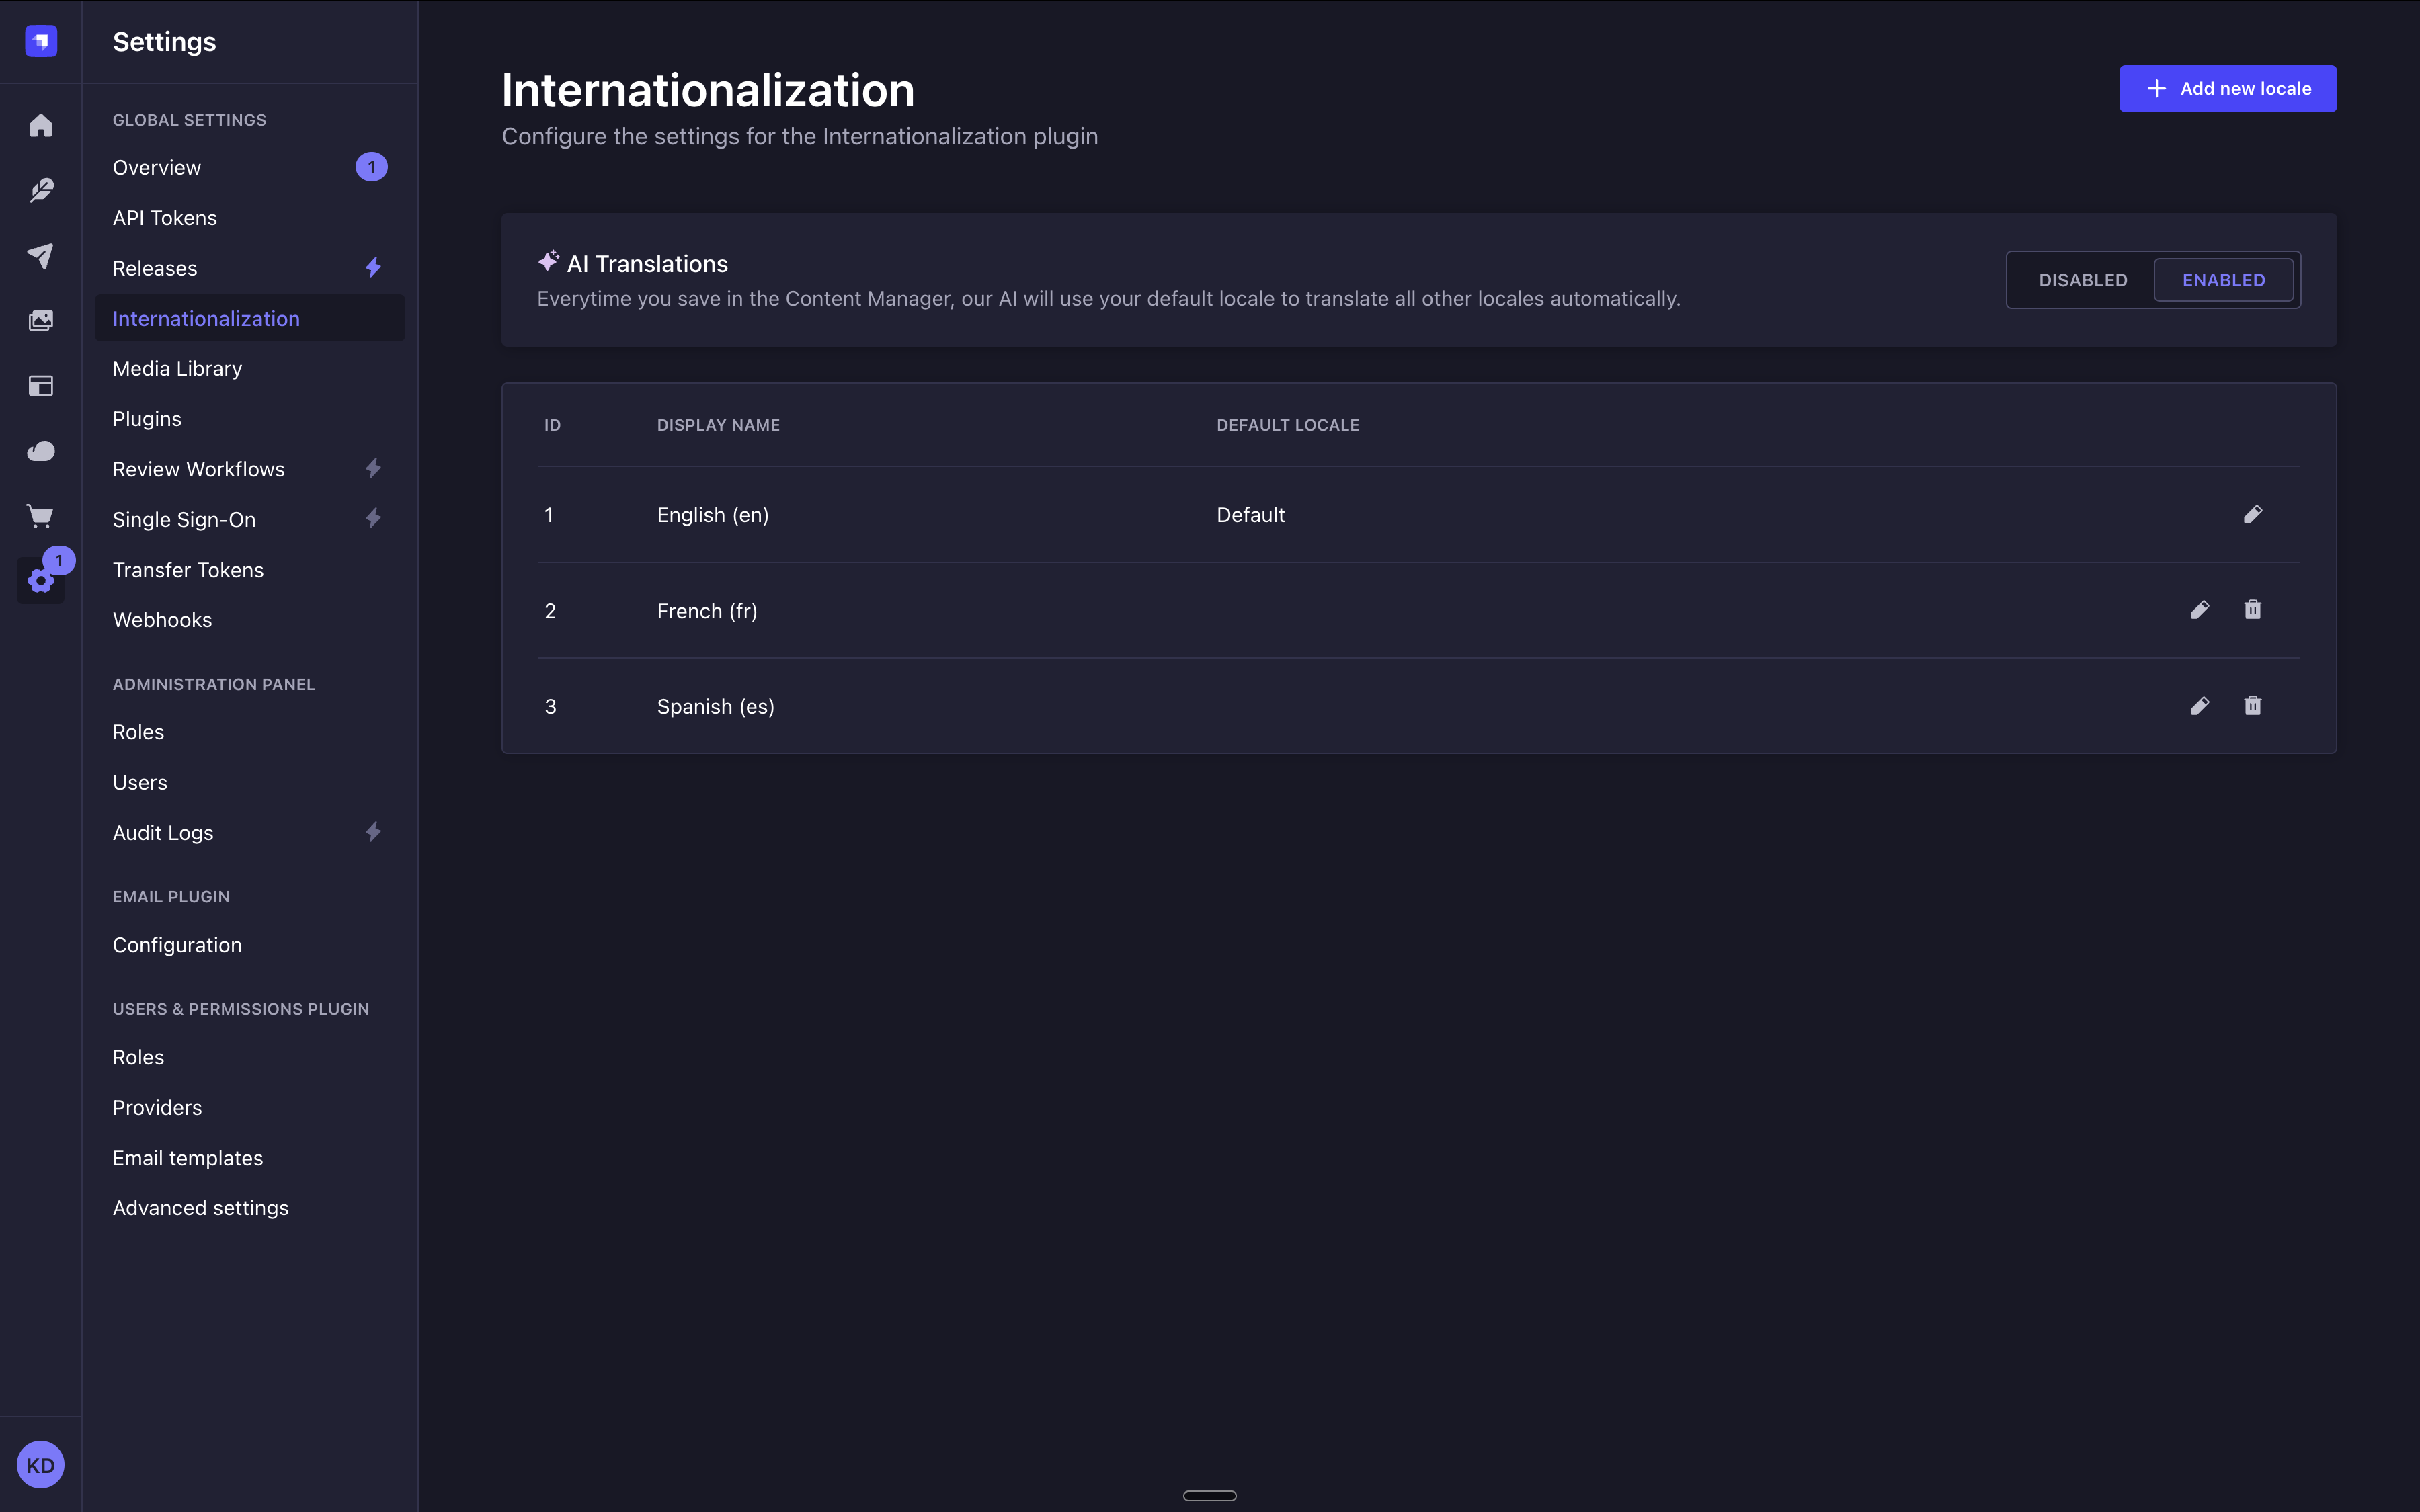
AI-powered Internationalization is disabled by default. To enable it, go to Settings > Global Settings > Internationalization and set AI Translations to Enabled.
Code-based configuration
A STRAPI_PLUGIN_I18N_INIT_LOCALE_CODE environment variable can be configured to set the default locale for your environment. The value used for this variable should be an ISO country code from the 500+ pre-created list of locales.
Usage
Path to use the feature: Content Manager, edit view of your content type
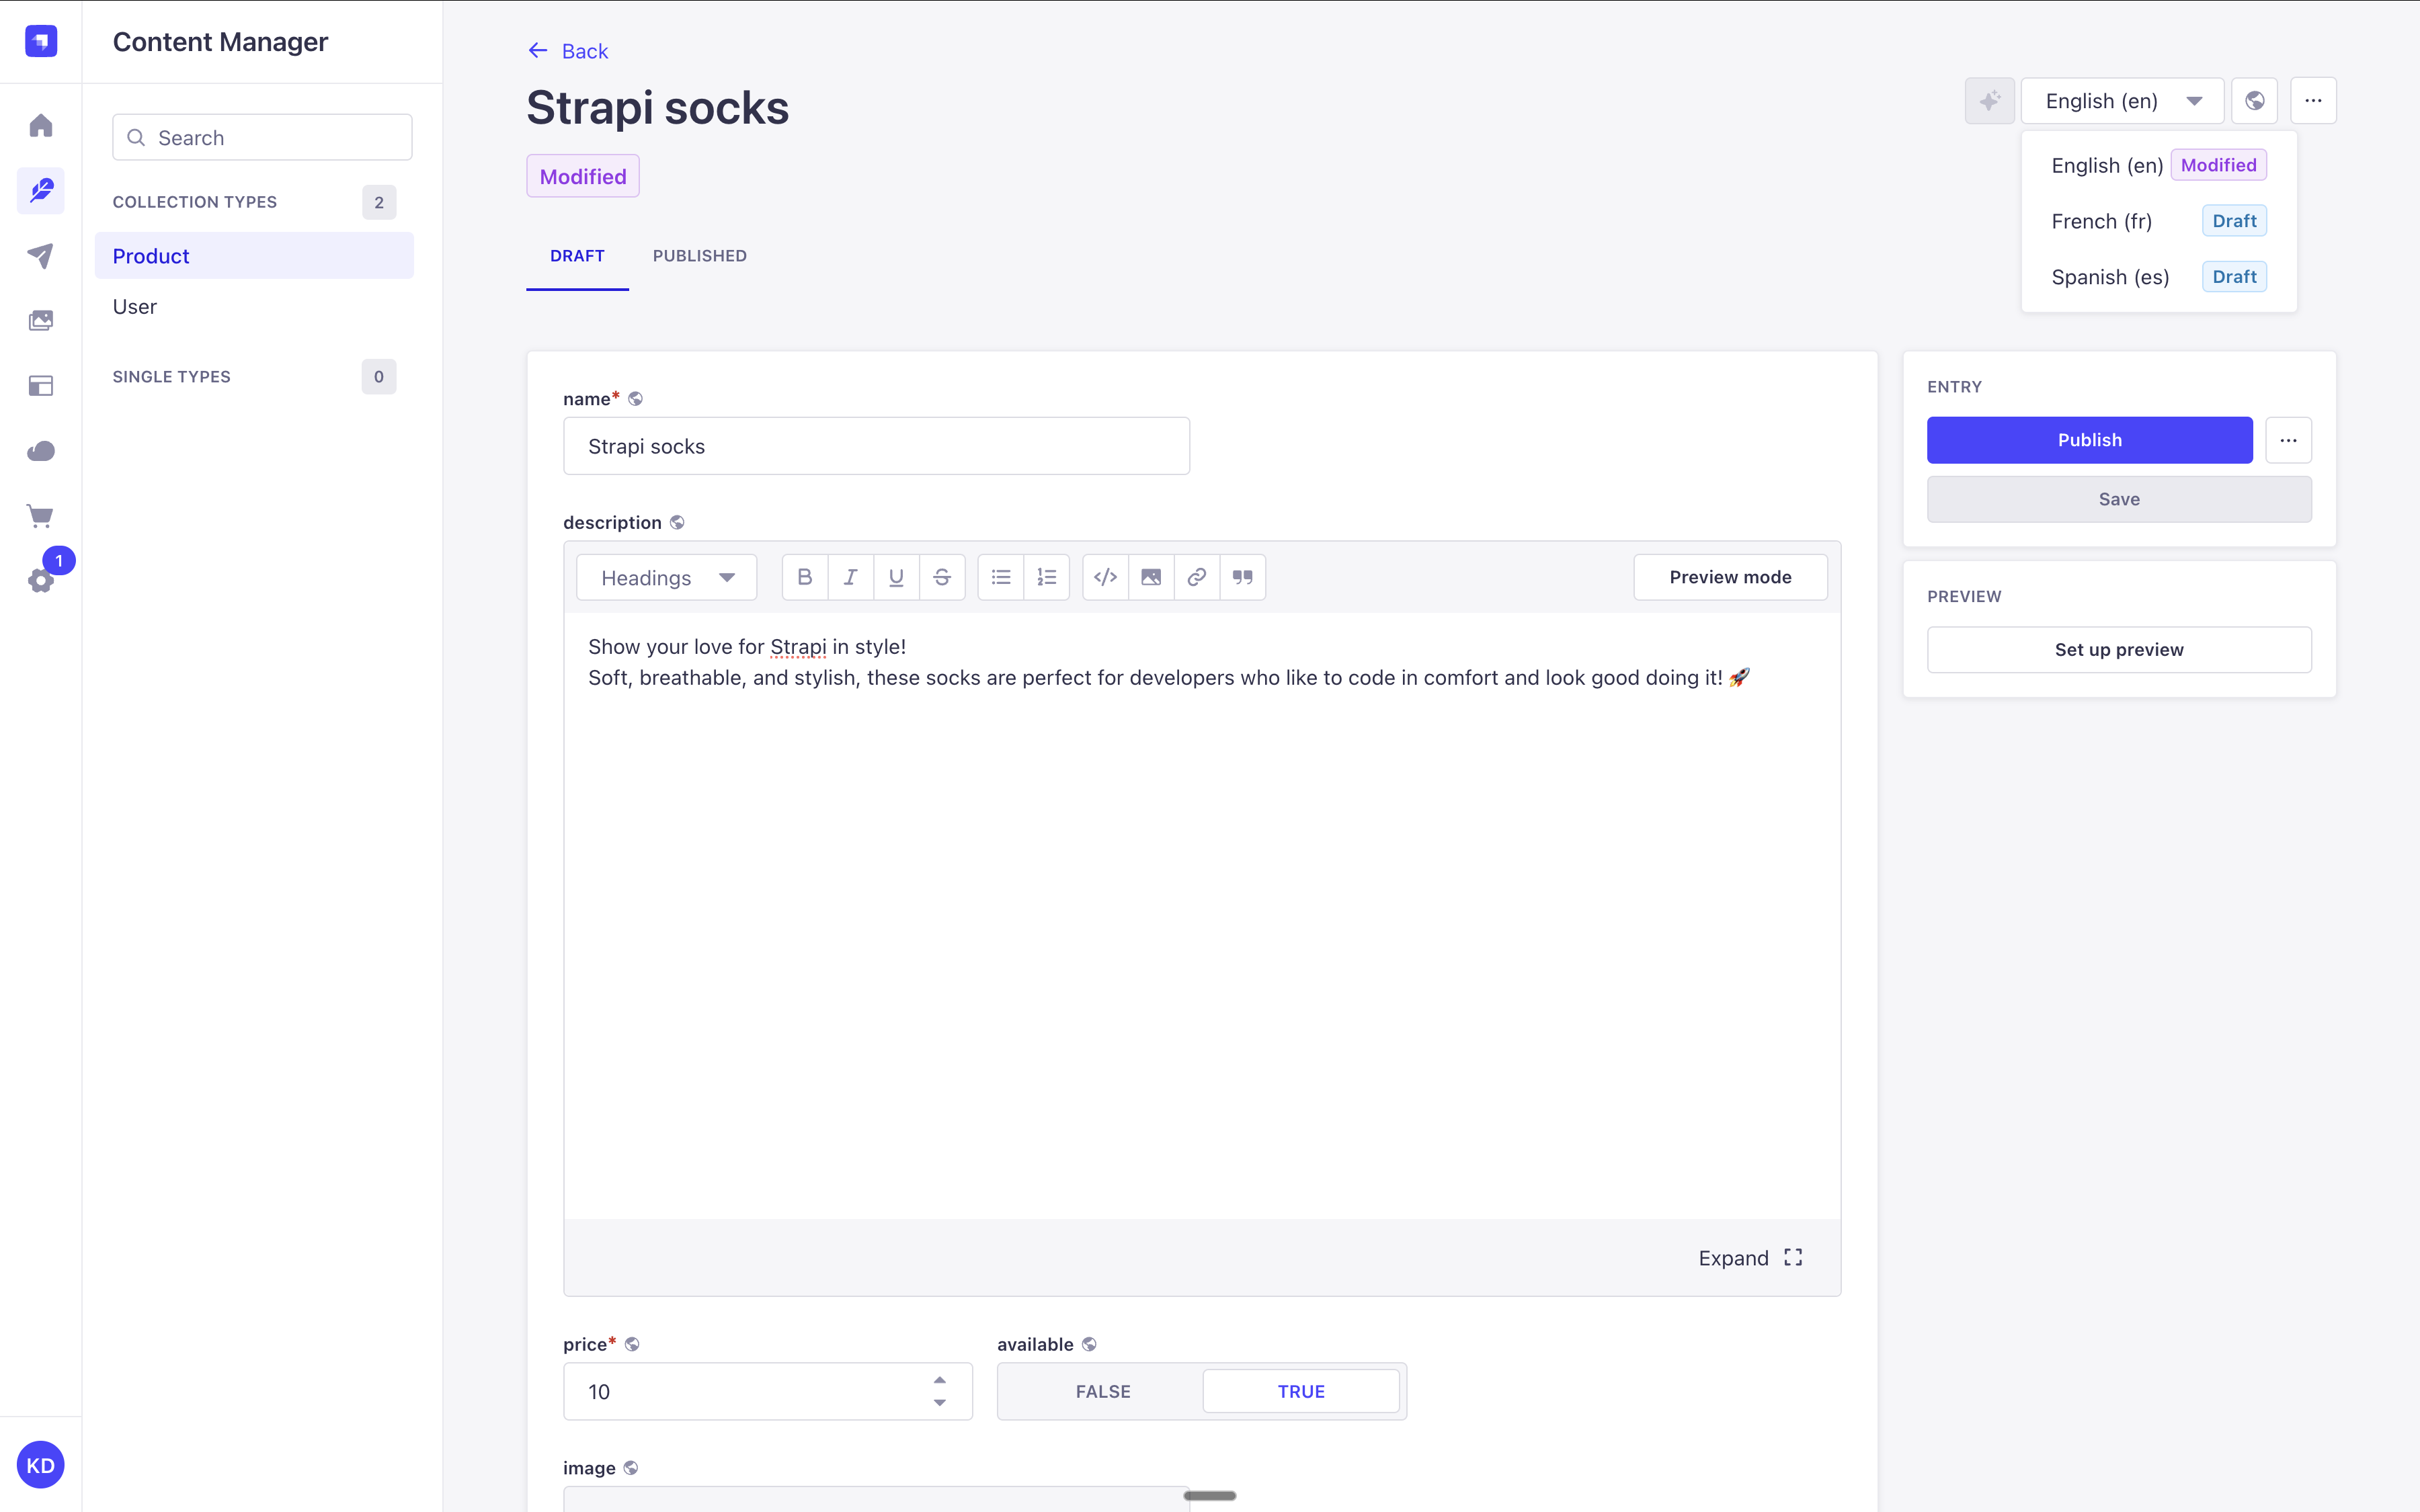
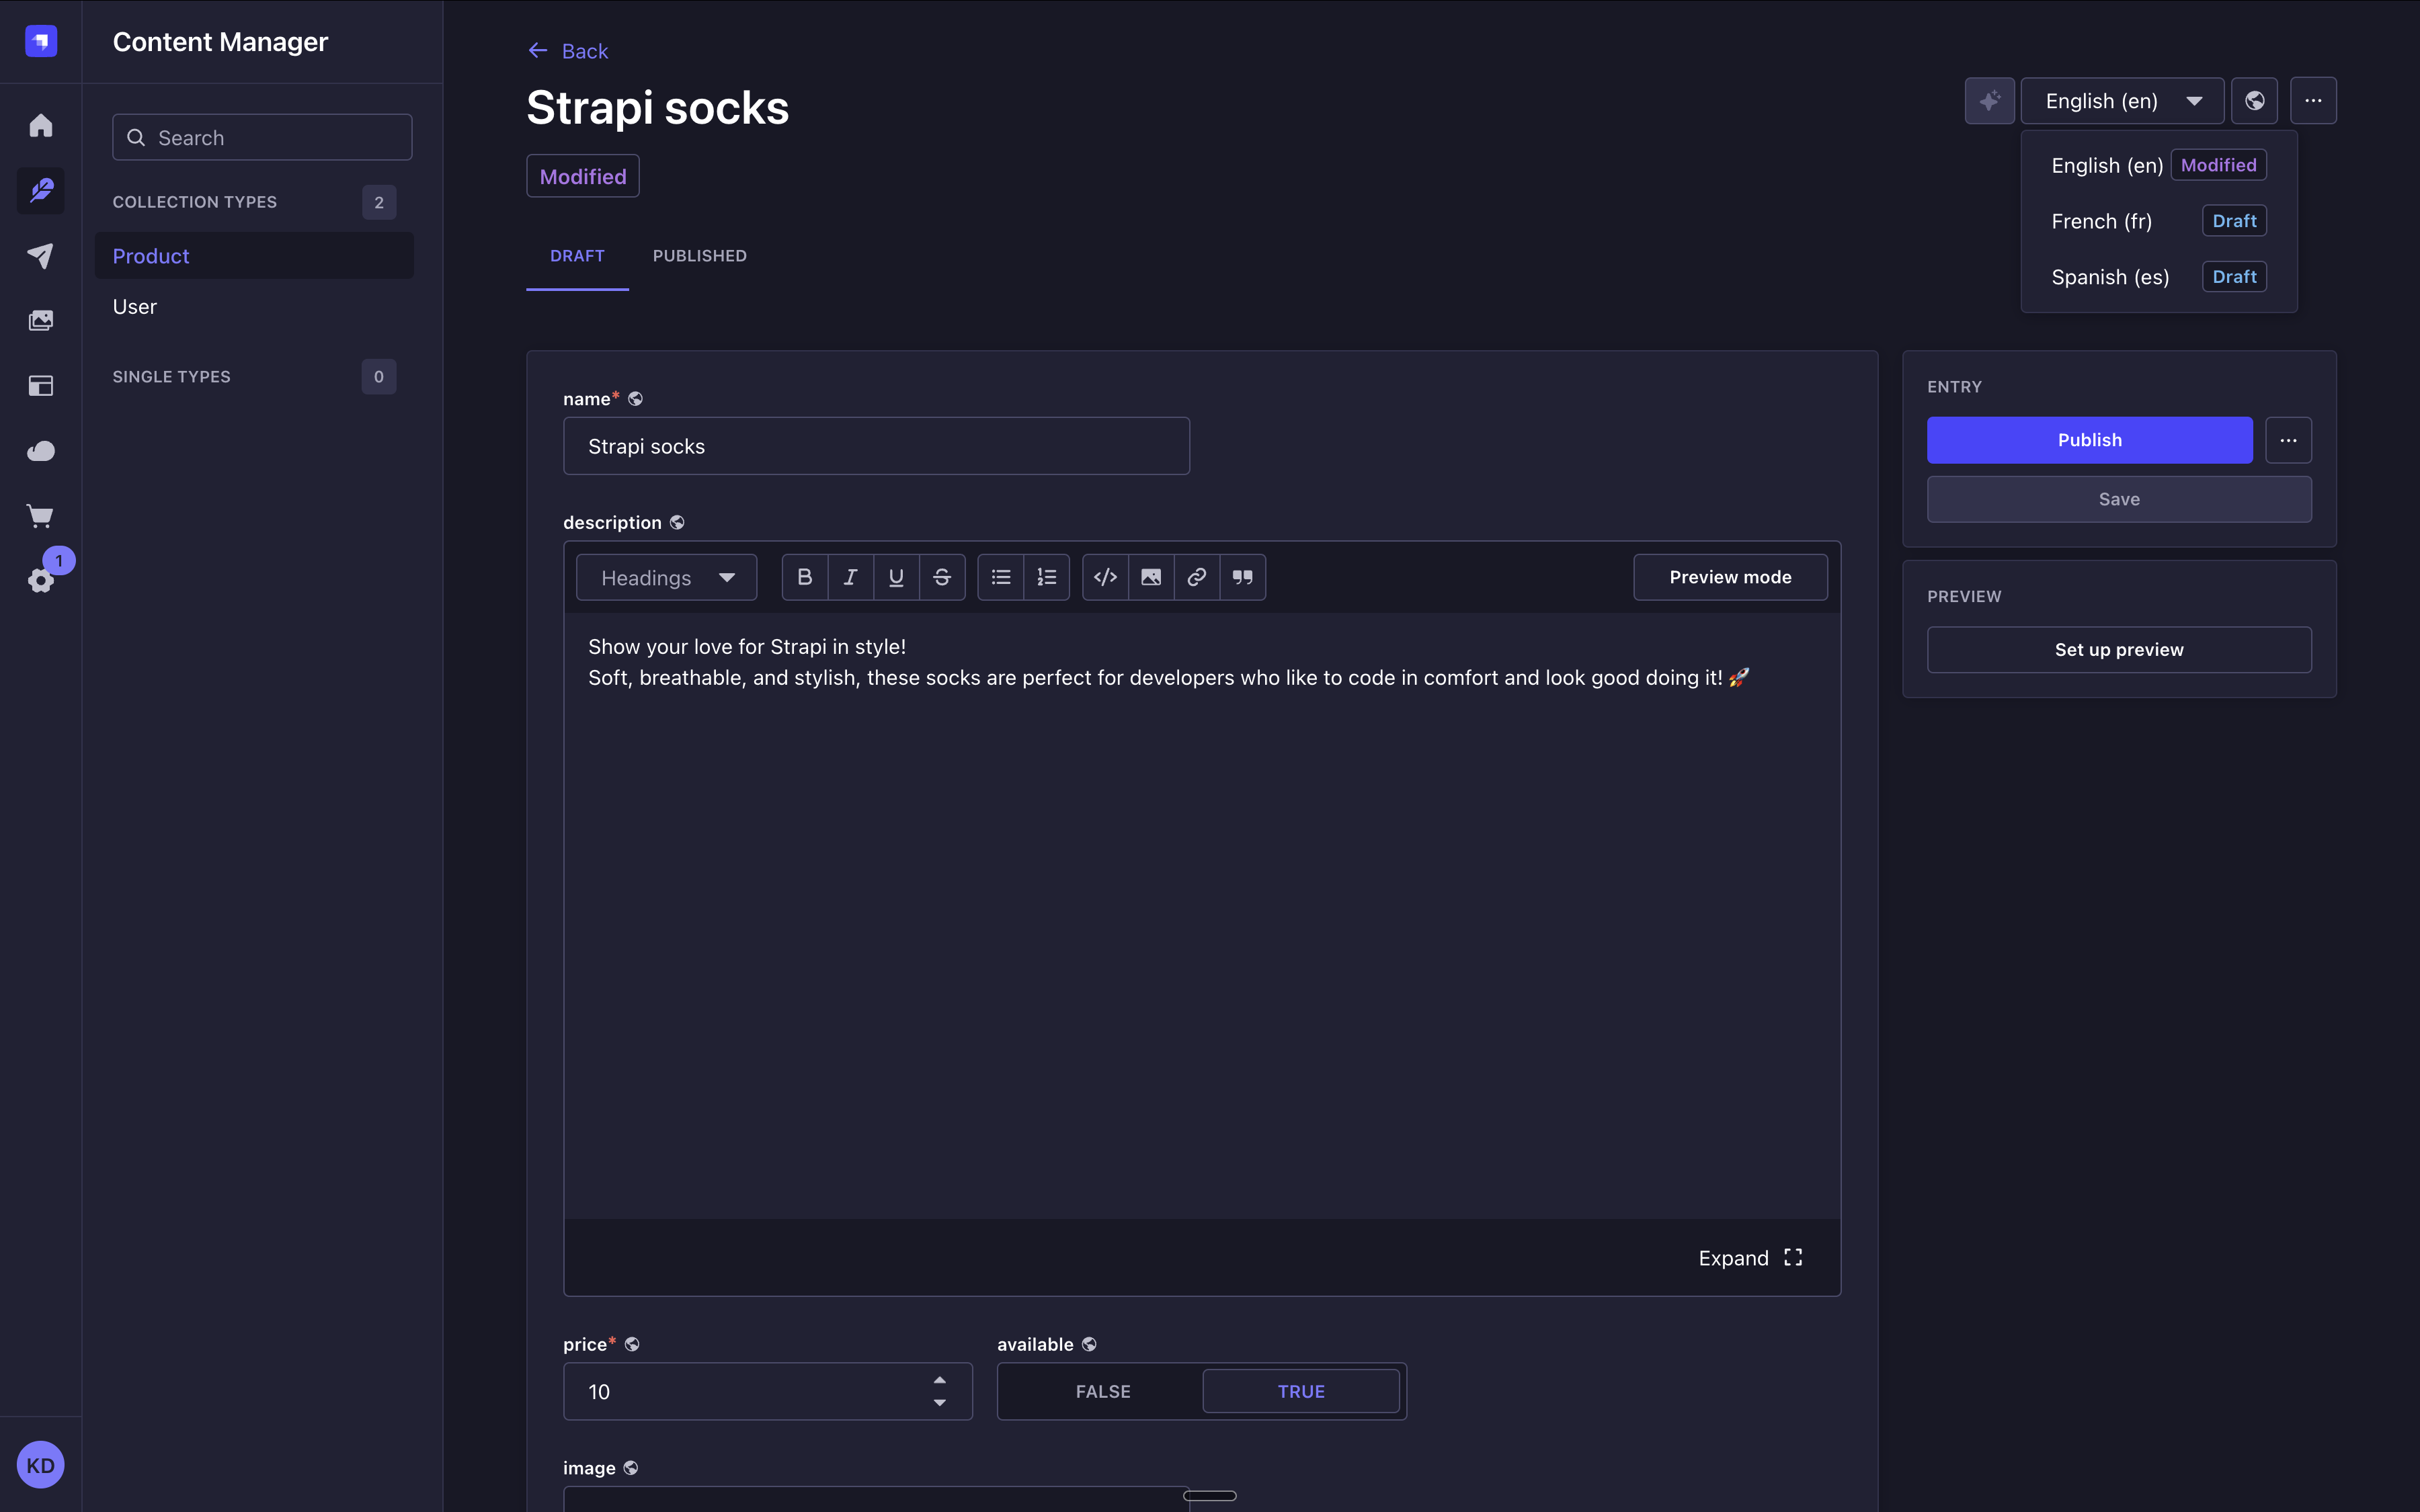
In the Content Manager, when the Internationalization feature is enabled for the content-type, a locale drop-down list is added to the top right of the edit view and allows you to switch locales.
The selected locale persists when navigating between content types. For instance, if you select the Spanish locale while editing a content-type, switching to another content type will keep the Spanish locale selected, even if that content type does not have Internationalization enabled. This makes it easier to work in a specific locale across your content.
The Internationalization feature also allows dynamic zones and components to differ from one locale to another. Depending on the locale, dynamic zones can indeed have different structures depending on the locale, and repeatable components can have different entries and be organized differently as well.
Content can only be managed one locale at the time. It is not possible to edit or publish content for several locales at the same time (e.g. Clicking on the Publish button will only publish the content for the locale you are currently working on).
To translate content in another locale:
- On the top right of the edit view, click on the locale drop-down list.
- Choose the locale in which you want to translate your content.
- Translate your content by filling up your content-type's fields.
Click on the Fill in from another locale button, in the top right corner, for all fields (including relations) to be filled up with the values of another chosen locale. It can be useful if you do not remember what was the exact content in another locale. This button is not visible if you've enabled AI-powered internationalization since translations are automatically handled by Strapi AI. The latest version of the source document is retrieved by this feature.
5.42.1+Preserving relations is available since Strapi 5.42.1. For localizable relations, Strapi automatically fetch the corresponding entry in the target locale if it exists. If the target locale does not exist for that relation, it will not be filled in. For non-localizable relations, the exact same entry is used.
Editing shared fields
5.62.0This feature requires Strapi version 5.62.0 or later.Fields without localization enabled are shared fields: they have one value common to all locales.
When you edit a locale other than the default locale, and the entry already exists in the default locale, shared fields are locked:
- Shared fields are disabled. Shared components and dynamic zones are read-only, including all their nested fields.
- A icon next to the field label indicates that the value is common to all locales and should be edited in the default locale.
Shared fields are not locked if the entry does not exist in the default locale, for instance when the entry was created directly in another locale.
To edit shared fields from a locale other than the default locale:
- In the Draft tab of the edit view, click on the Edit shared fields button in the top right corner.
- In the Edit fields common to all locales? dialog, click on the Yes, edit shared fields button.
- Edit the shared fields.
- Click on the Save button.
Saving shared fields updates their value in the default locale and in all other locales of the entry.
To lock shared fields again without saving them, click on the Keep shared fields locked button. Unsaved changes to shared fields are discarded, while changes to localized fields are kept. Shared fields are also locked again when you switch to another locale or entry.
The Edit shared fields button is only displayed to users who have the permission to update content in the default locale.
AI-powered internationalization
GrowthThis feature is available with a Growth plan. AI add-onIncluded in the Growth plan. On the Enterprise plan, requires Strapi AI Enterprise, a paid add-on.When enabled, AI-powered internationalization enables automatic translations for all the locales in a project when the source content is updated. This enables content editors to have their content translated into multiple languages within a few seconds. The idea behind the feature is to ensure users only manually fill in content in the default locale, and Strapi AI translates it for all other existing locales.
Once enabled, whenever you edit a content-type in the default locale and click Save, all other locales for the content-type should be translated automatically, which will be confirmed by an All locales have been translated notification. With Strapi AI Growth, using this feature consumes AI credits.
On the EnterpriseThis feature is available with an Enterprise plan. plan, this feature requires Strapi AI Enterprise, a paid add-on, and translations use your own AI provider.
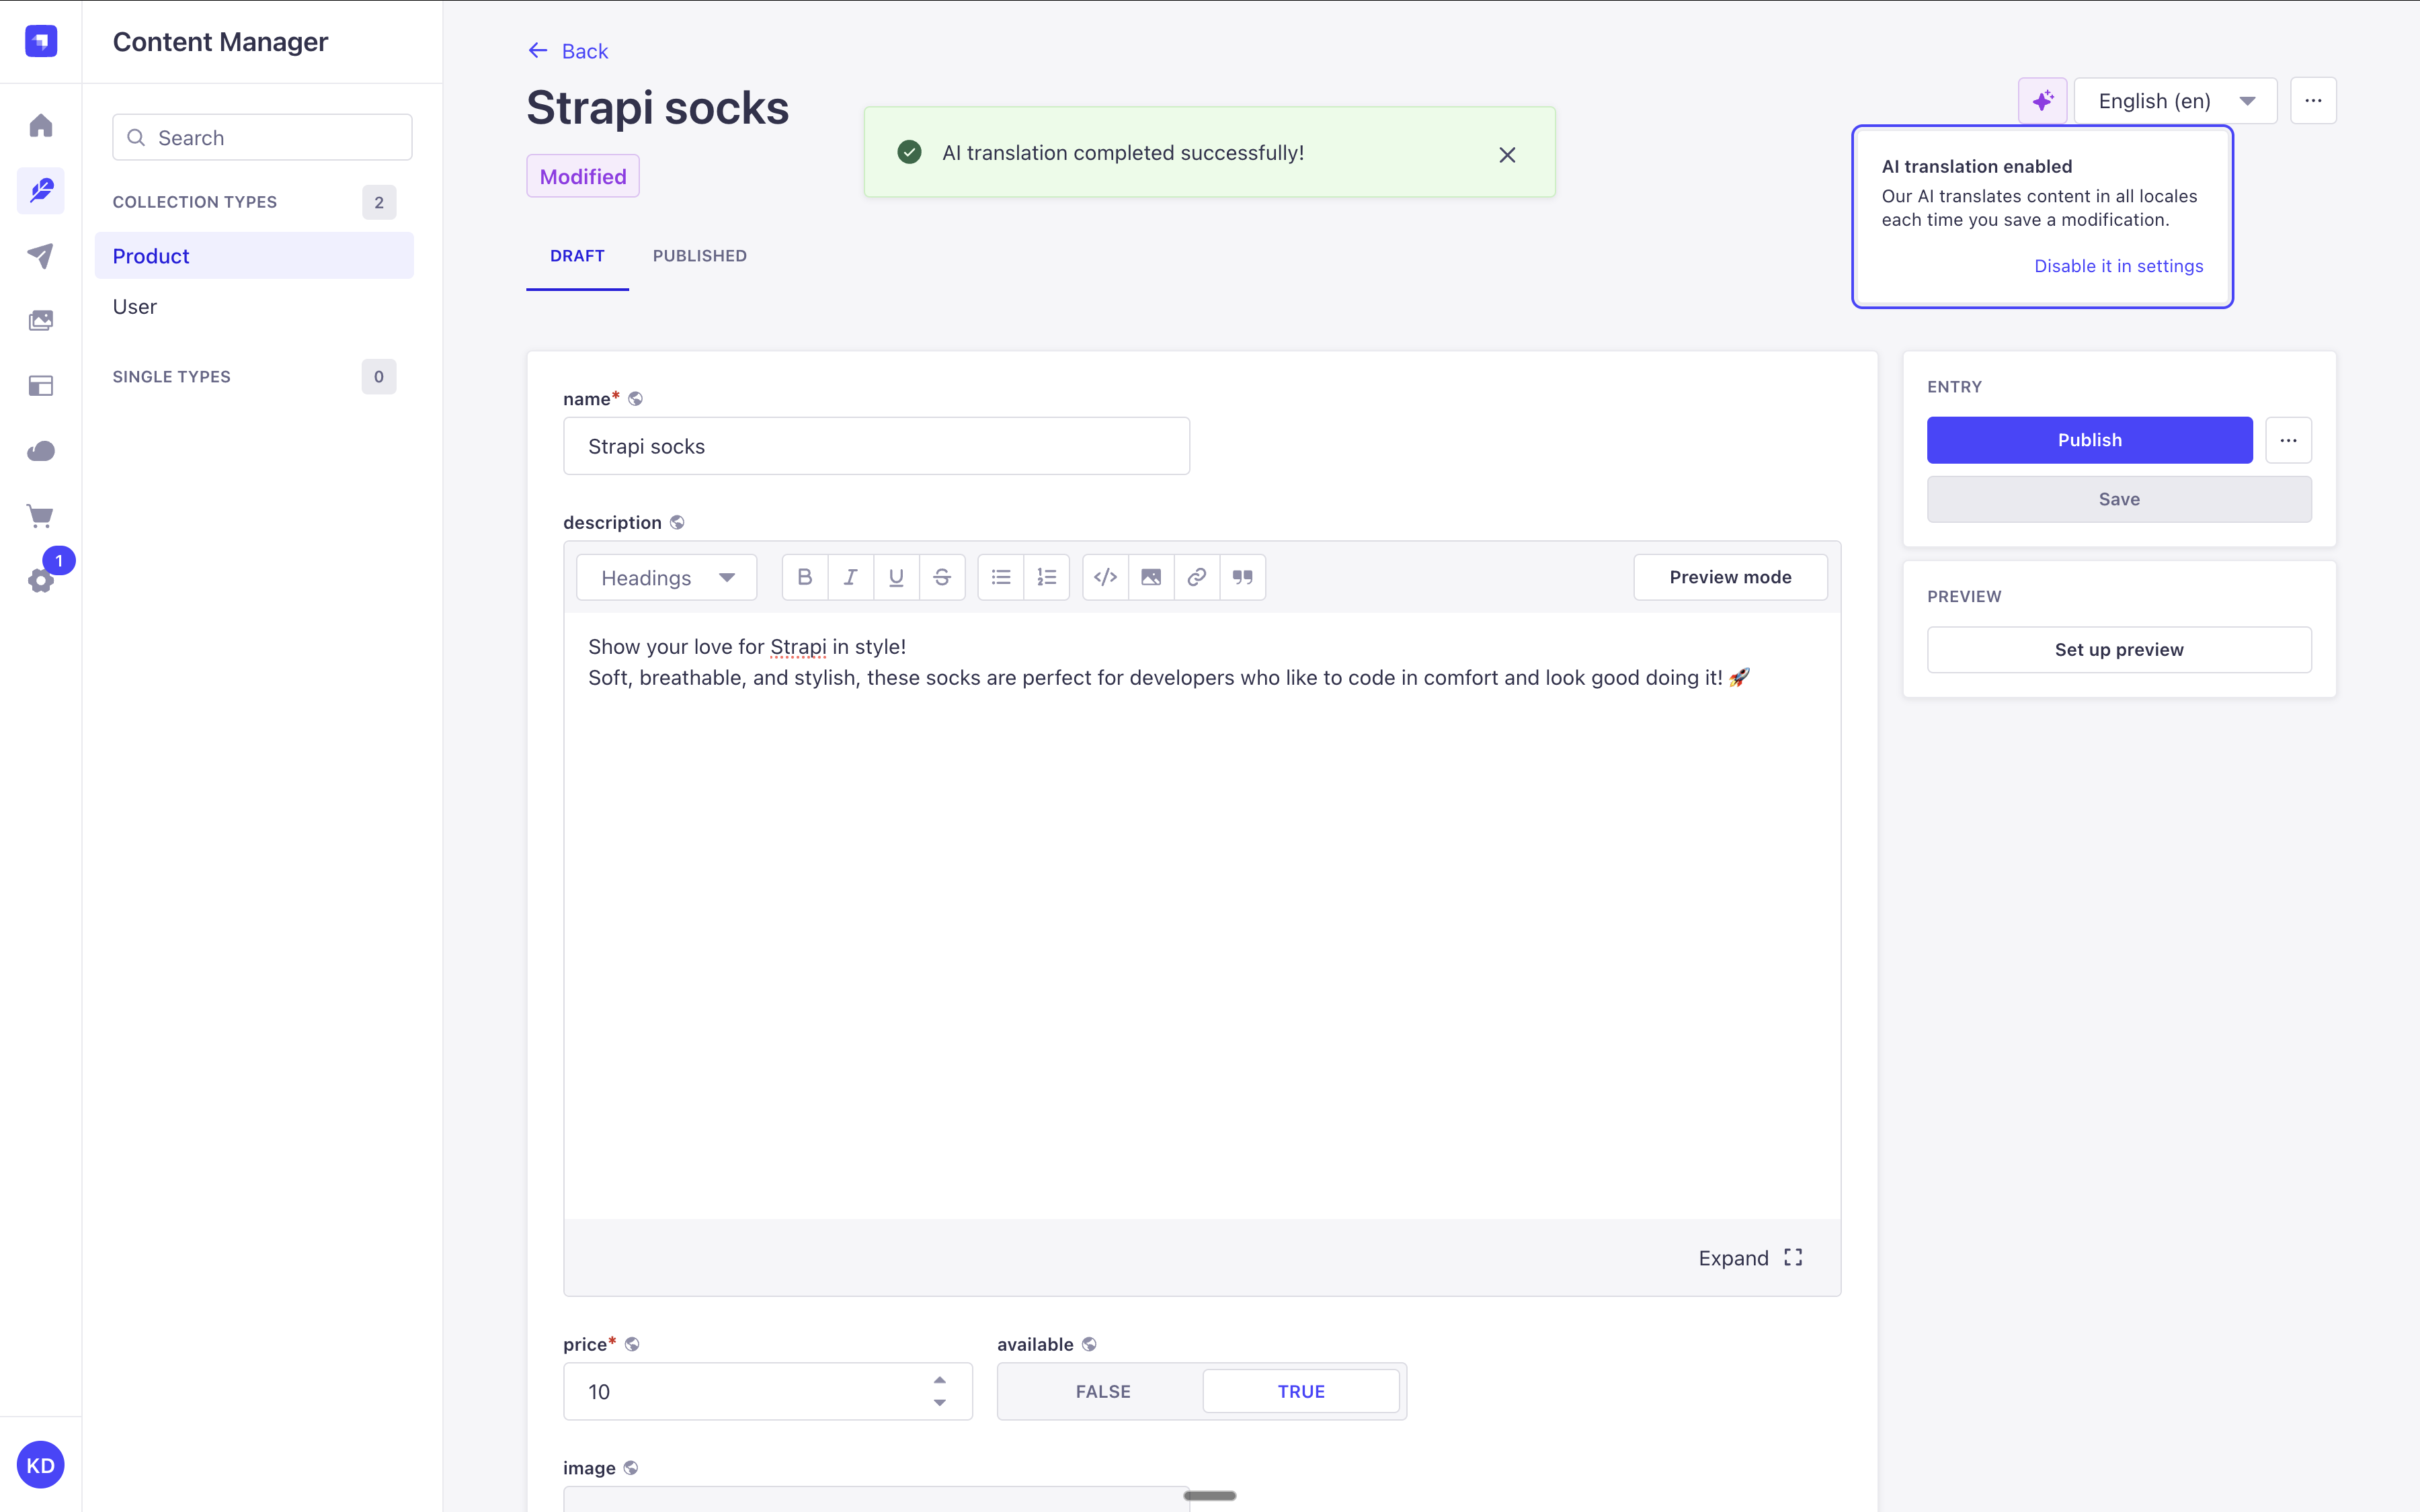
AI-powered internationalization only works one way, keeping the default locale content as the unique source of truth. Consequently, once the feature is enabled:
- Editing and saving content for any locale other than the default one will not trigger automatic translations.
- When editing the content for the default locale, the manual modifications made to other locales will be overwritten.
Strapi AI Growth includes 1,000 credits per month on the Growth plan, and 10 credits during the free trial. On the Enterprise plan, Strapi AI runs on your own AI provider through Strapi AI Enterprise, and your provider bills the requests.
Lightweight actions use fewer credits, while more complex ones use more.
You can check your credit usage in the Settings Overview of the admin panel. Notifications are sent when your usage reaches 80%, 90%, and 100% of your monthly allowance. Overages apply.
Credits are shared across all users within the same project instance.
When your credits run out, you can keep using Strapi AI Growth, with overages billed monthly.
Usage with APIs
Localized content can be requested, created, updated, and deleted for a given locale through the various front-end APIs accessible from Strapi's Content API:
REST API
Learn how to use the locale parameter with the REST API.
GraphQL API
Learn how to use the locale parameter with GraphQL API.
On the back-end server of Strapi, the Document Service API can also be used to interact with localized content: