Releases
Page summary:Releases group entries into publishable batches to publish or unpublish them together across content types and locales. A release mode defines whether entries that are not ready block the release or are skipped. This documentation covers creating, scheduling, and publishing releases, reviewing their results, and republishing skipped entries.
The Releases feature enables content managers to organize entries into containers that can perform publish and unpublish actions together. A release can contain entries from different content types and can mix locales. A release mode, chosen when the release is created, defines whether entries that are not ready block the whole release or are skipped.
Read the steps as text
- The Releases feature is directly accessible from the navigation of the admin panel.
- All created releases will be displayed in this table, with their status, schedule, entries and release mode.
- Let's click the New Release button to create a new release!
- Let's give a name to our release. (type “Spring 2027 Release”)
- Here you can decide whether the release is scheduled or not.
- Since it is a scheduled release, let's choose a release date.
- And let's define a release time.
- The release mode defines what happens if some entries are not ready when the release is published.
- Let's choose Release all ready items: entries that are ready will be published, and the others skipped.
- Click on Create release.
- Our release has been created!
Let's explore the available options! - By clicking on the ... button, you can access the Edit and Delete buttons.
- The Refresh button allows you to reload the page, for instance to make sure all content types related to the release are well displayed with their current status.
- And finally the Publish button allows you to manually publish the release.
- Now let's move to the Content Manager to add content types to the newly created release!
- Let's go to the edit view of this article!
- In the Entry area, click the ... button to access the Add to release button.
- In the dialog, select the release the article should be added to!
- Click the Continue button!
- A Release area is now displayed in the edit view to show information related to the release.
- ✏️ Note that clicking on the ... button will give you access to a link to edit the release, and another to remove the article from the release.
Let's try using it! - Now let's go back to the list view to try another way to add articles in our release!
- Let's tick some boxes to select several articles!
- Another one!
- Via the list view, you can add to a release several articles at the same time! Let's click the button!
- Exactly as we did previously via the edit view: let's select a release.
- And click on Continue.
- Let's go back to Releases via the admin panel navigation!
- Click on the release.
- Our articles have properly been added to the release!
Hovering an article displays buttons to open the article and to remove it from the release. - Each has a status indicating whether or not they're ready to be published.
- Clicking on the reason next to a Not ready status will display more details.
- The side panel lists what prevents the entry from being published: here, the slug of the article doesn't match the expected format. Go to entry opens the article to fix it.
- The Ready and Not ready tabs filter the entries by status.
- Since the release mode is Release all ready items, the release is Ready even though one article is not: this article will be skipped.
- Let's try publishing the release!
- The release's status is now Partial: 1 of the 2 articles was published, and the other one was skipped.
- The table confirms which article was published and which one was skipped, and why.
- Once the skipped article is fixed, Create release from skipped creates a new release with the skipped entries, to publish them later.
- And that's it! We've learned to use the Releases feature from its creating to publishing! ✨
Configuration
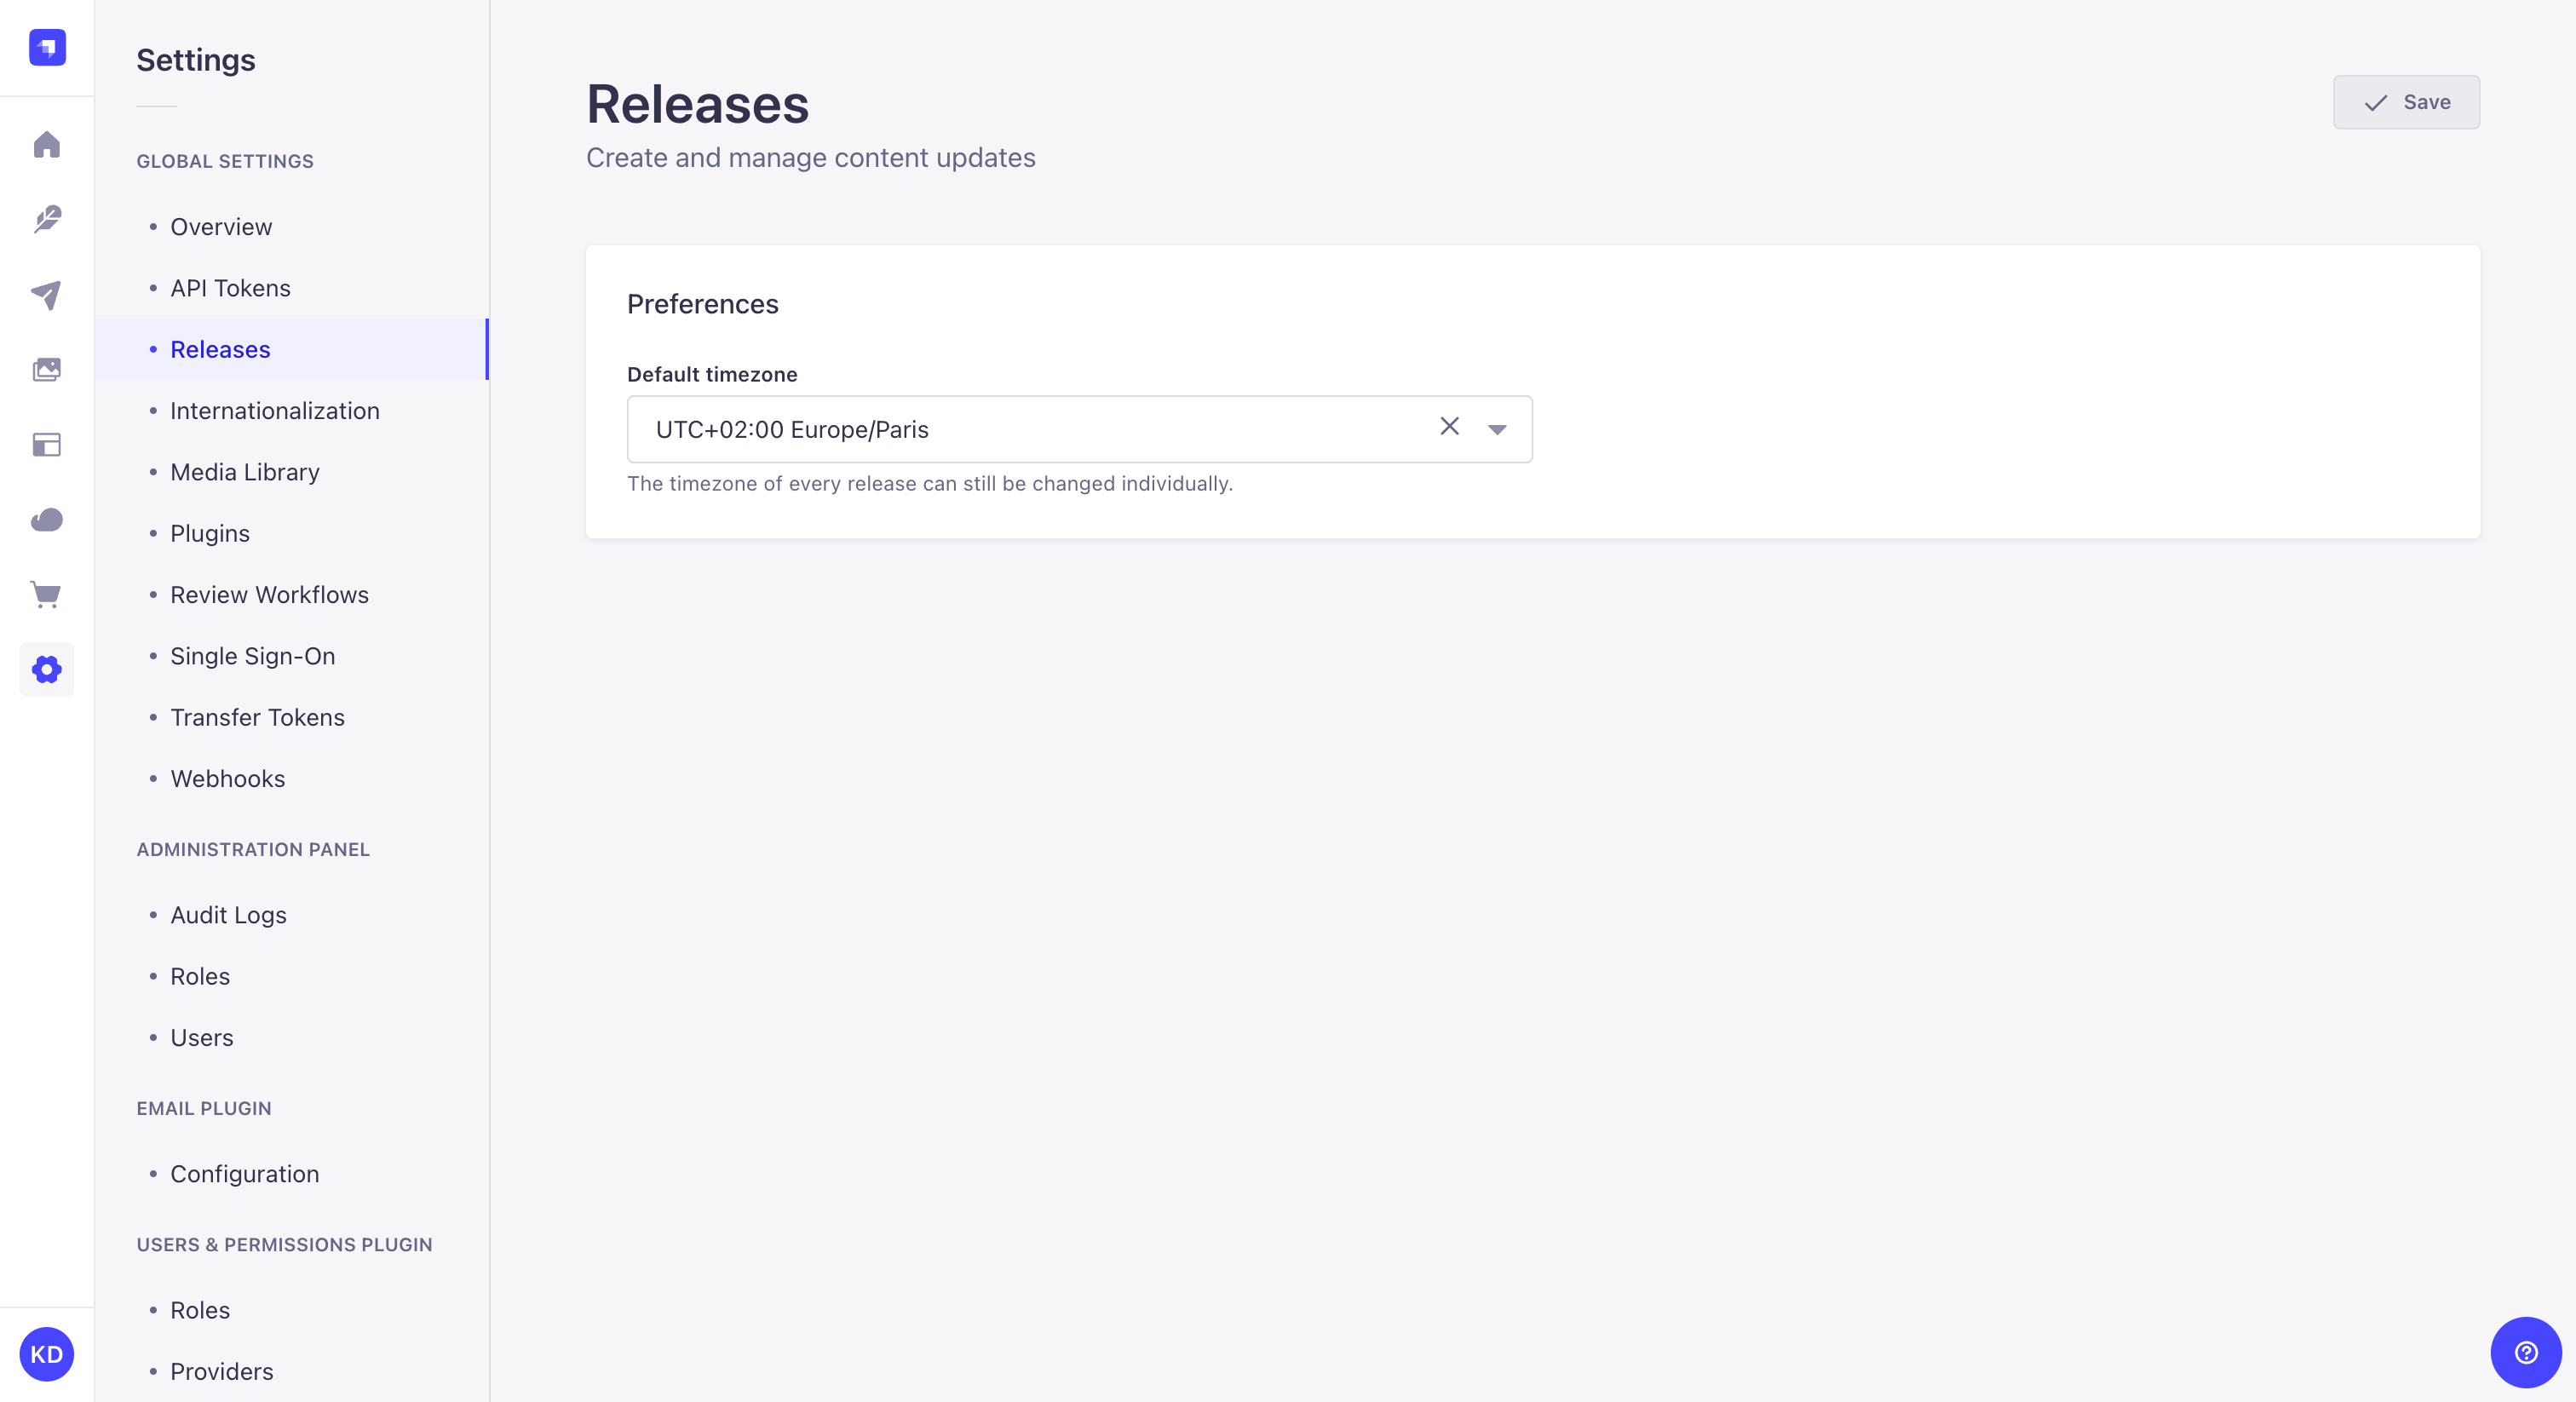
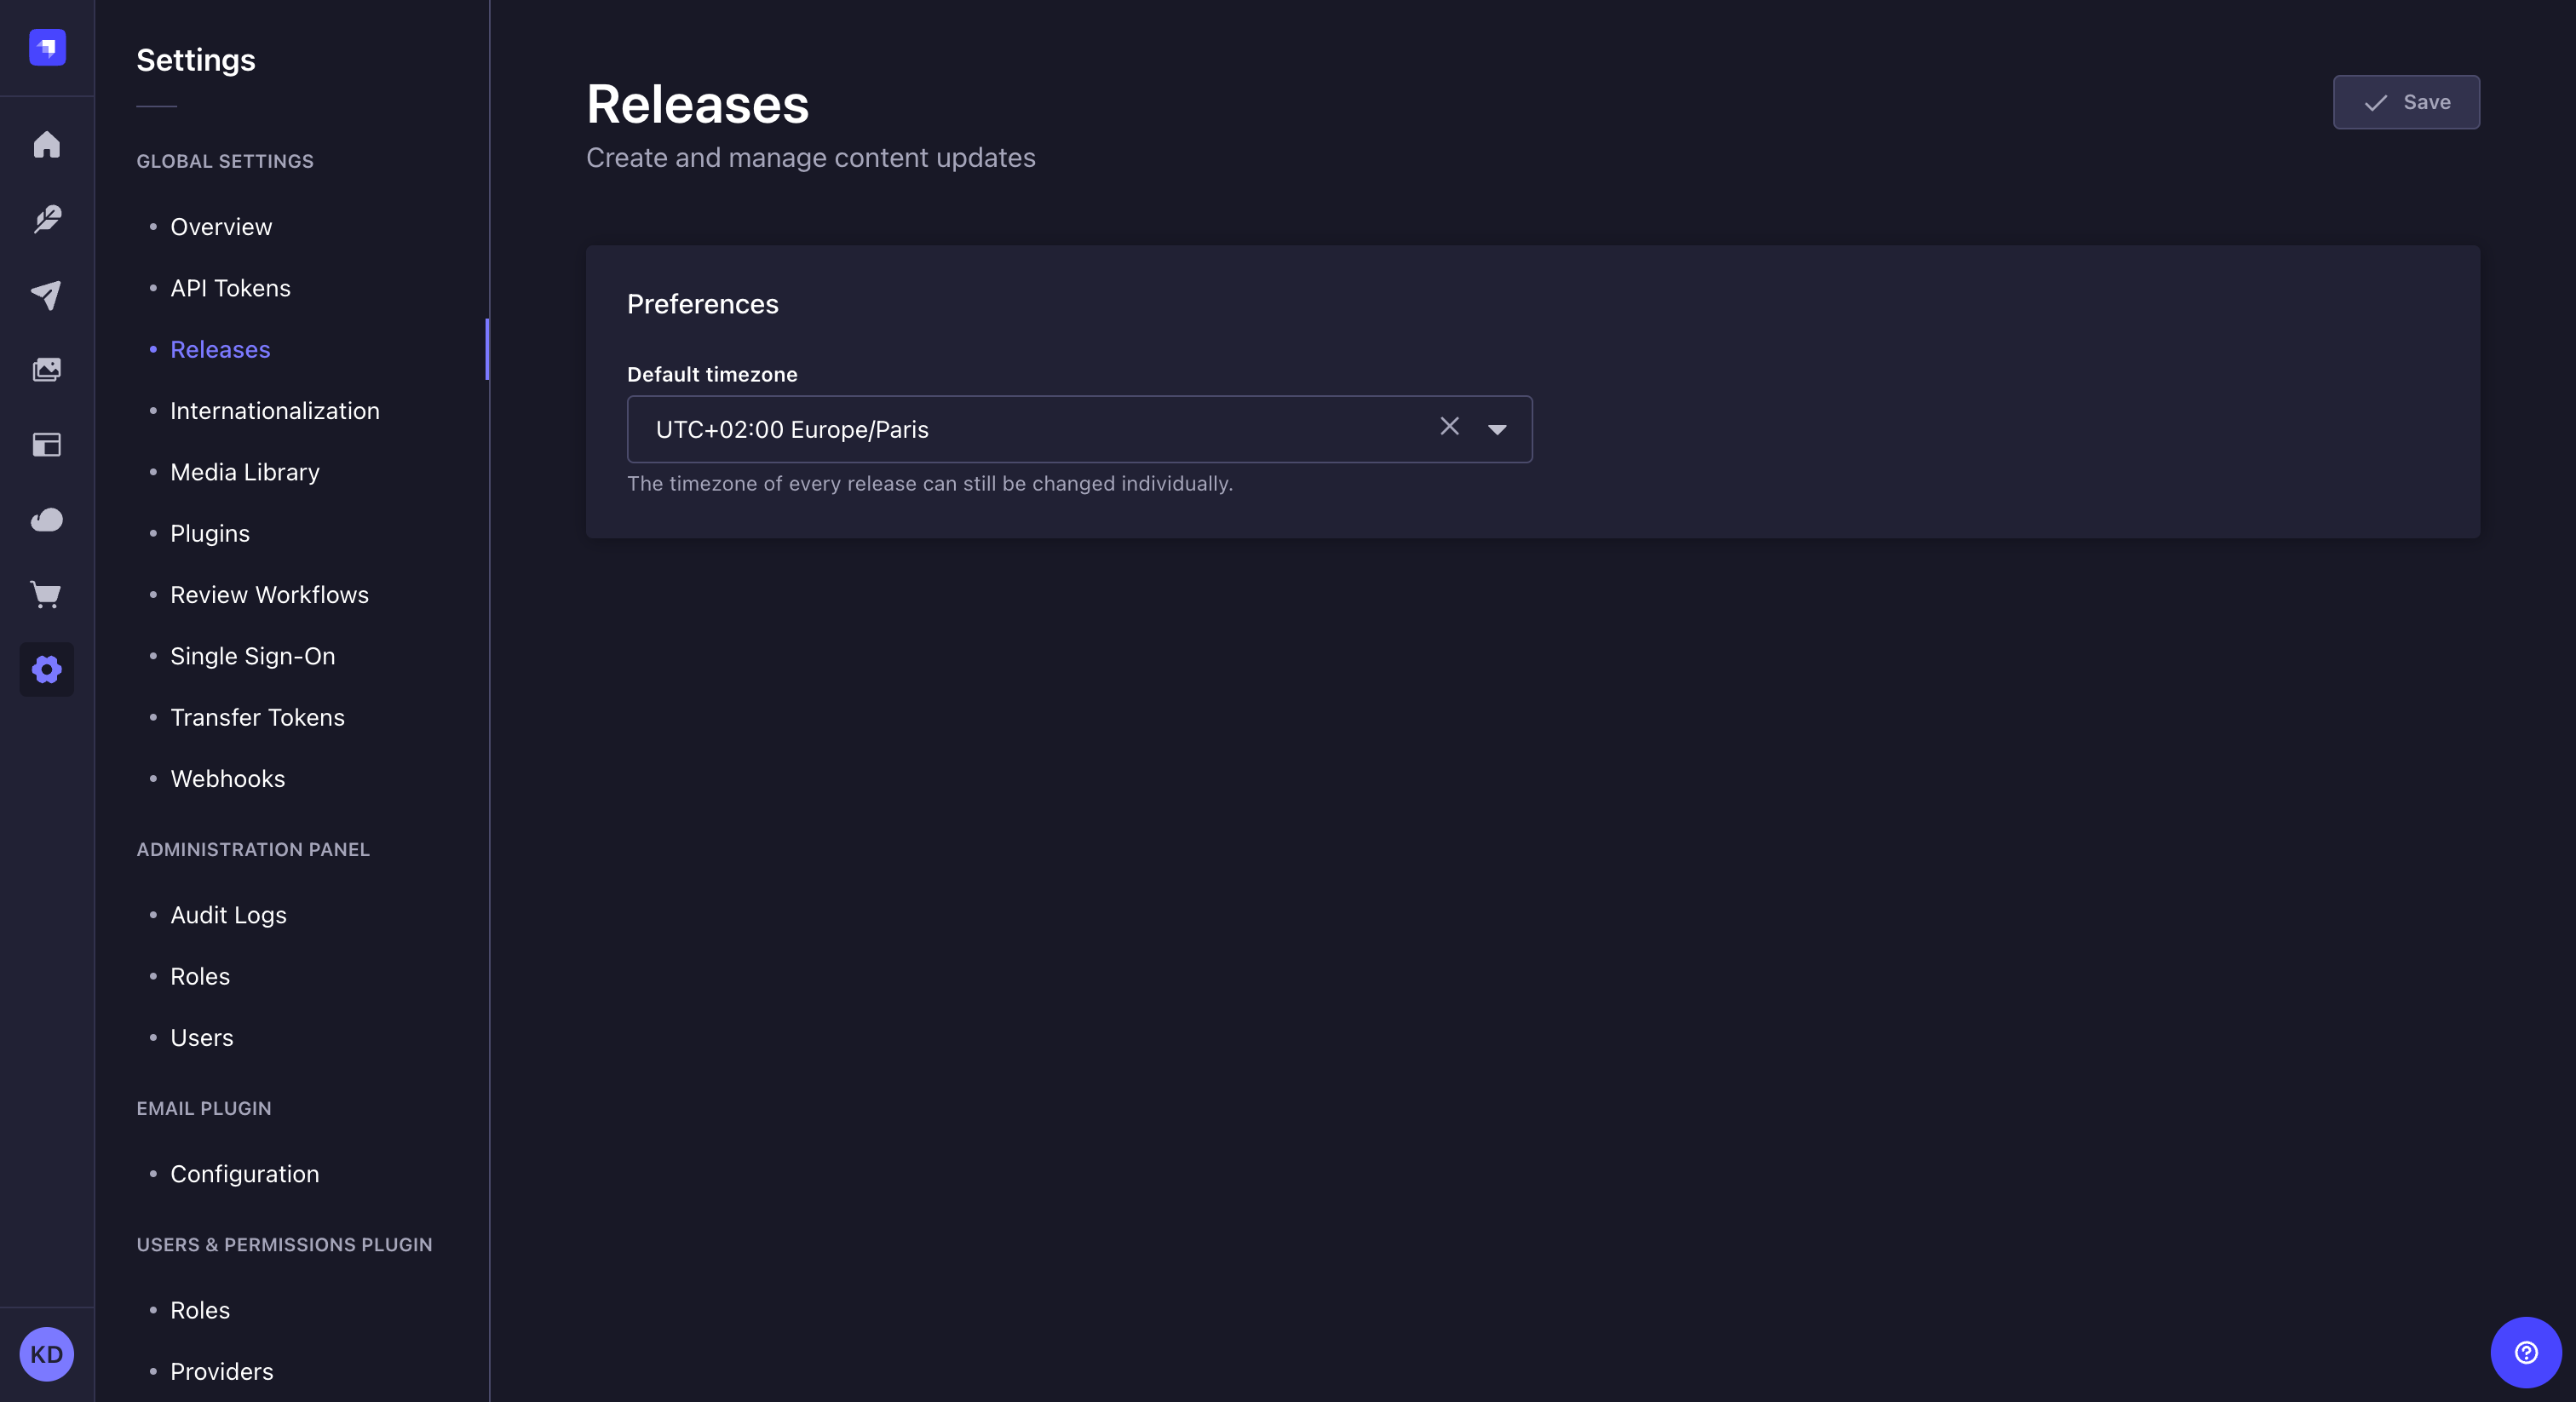
To be able to include your content in releases, and to schedule and publish those releases, you must first create them and choose their release mode. You can also modify the releases' default timezone to use when scheduling a publication, as well as deleting releases that are obsolete or irrelevant.
Choosing default timezone
Path to configure the feature: Settings
- Click on the Default timezone dropdown list and choose the default timezone to use.
- Click Save.
Creating a release
Path to configure the feature: Releases
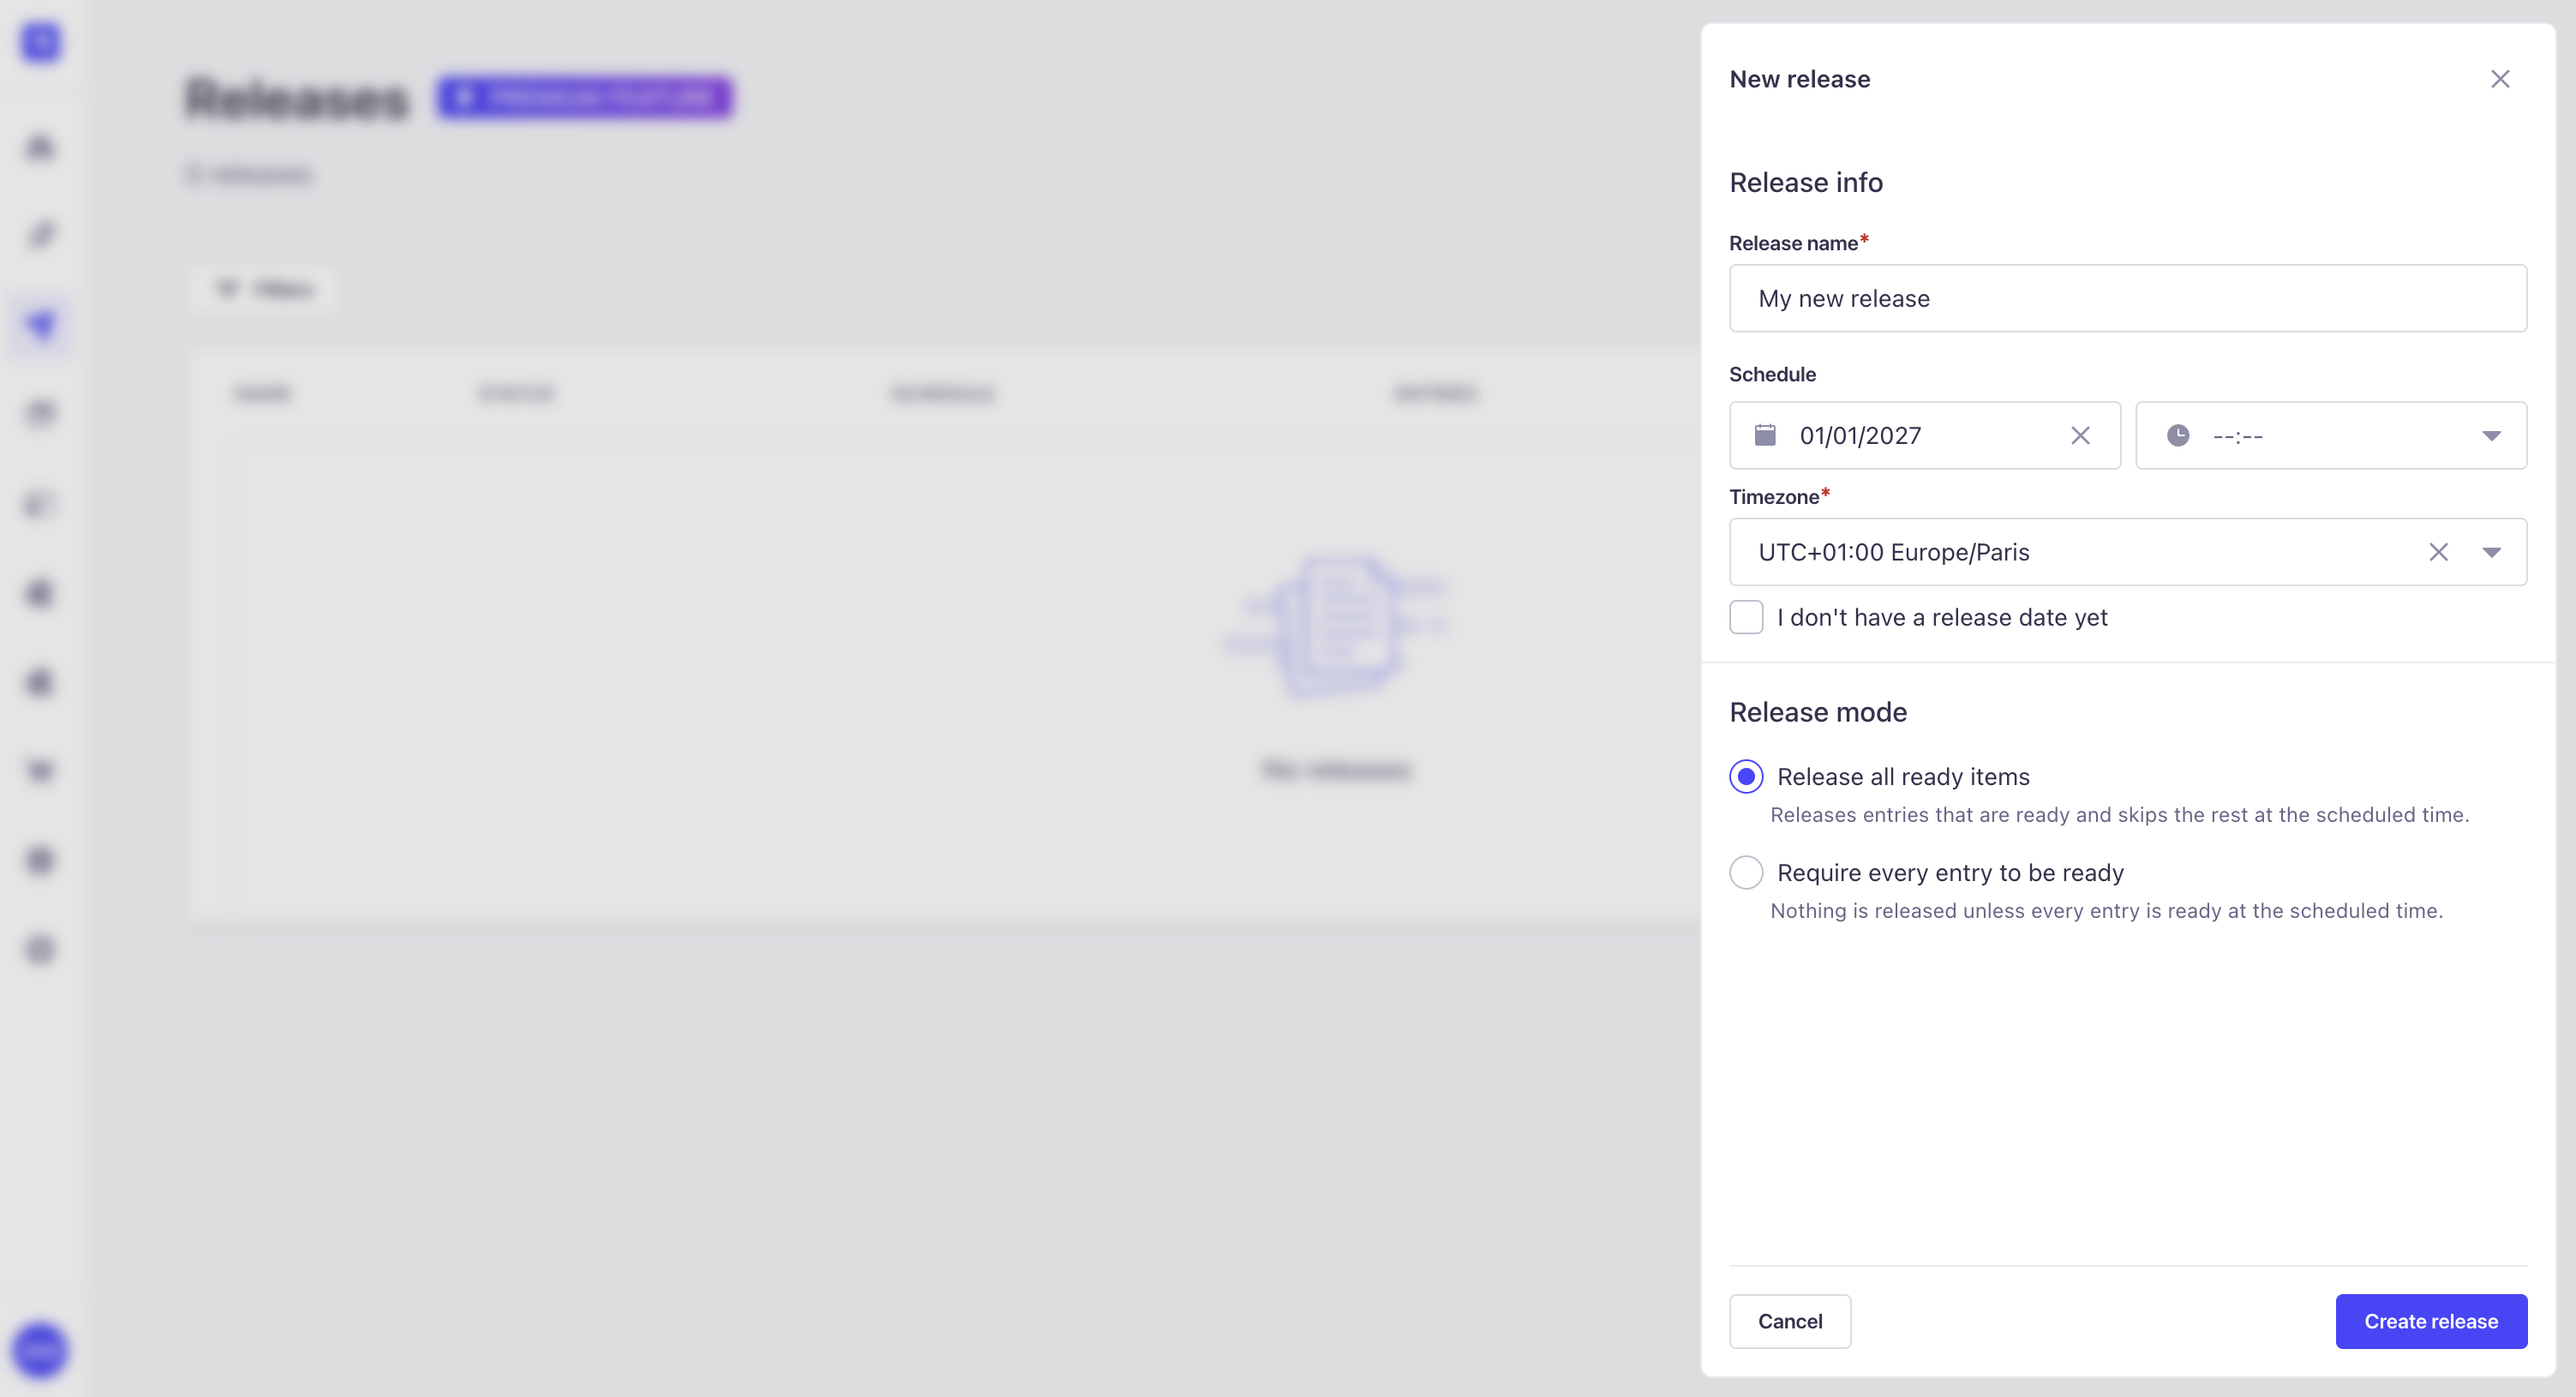
- Click the New Release button in the upper right corner.
- Give the release a name.
- Define when the release is published:
- To schedule the release, select the date, time, and timezone for publication.
- To publish the release manually, check the I don't have a release date yet checkbox.
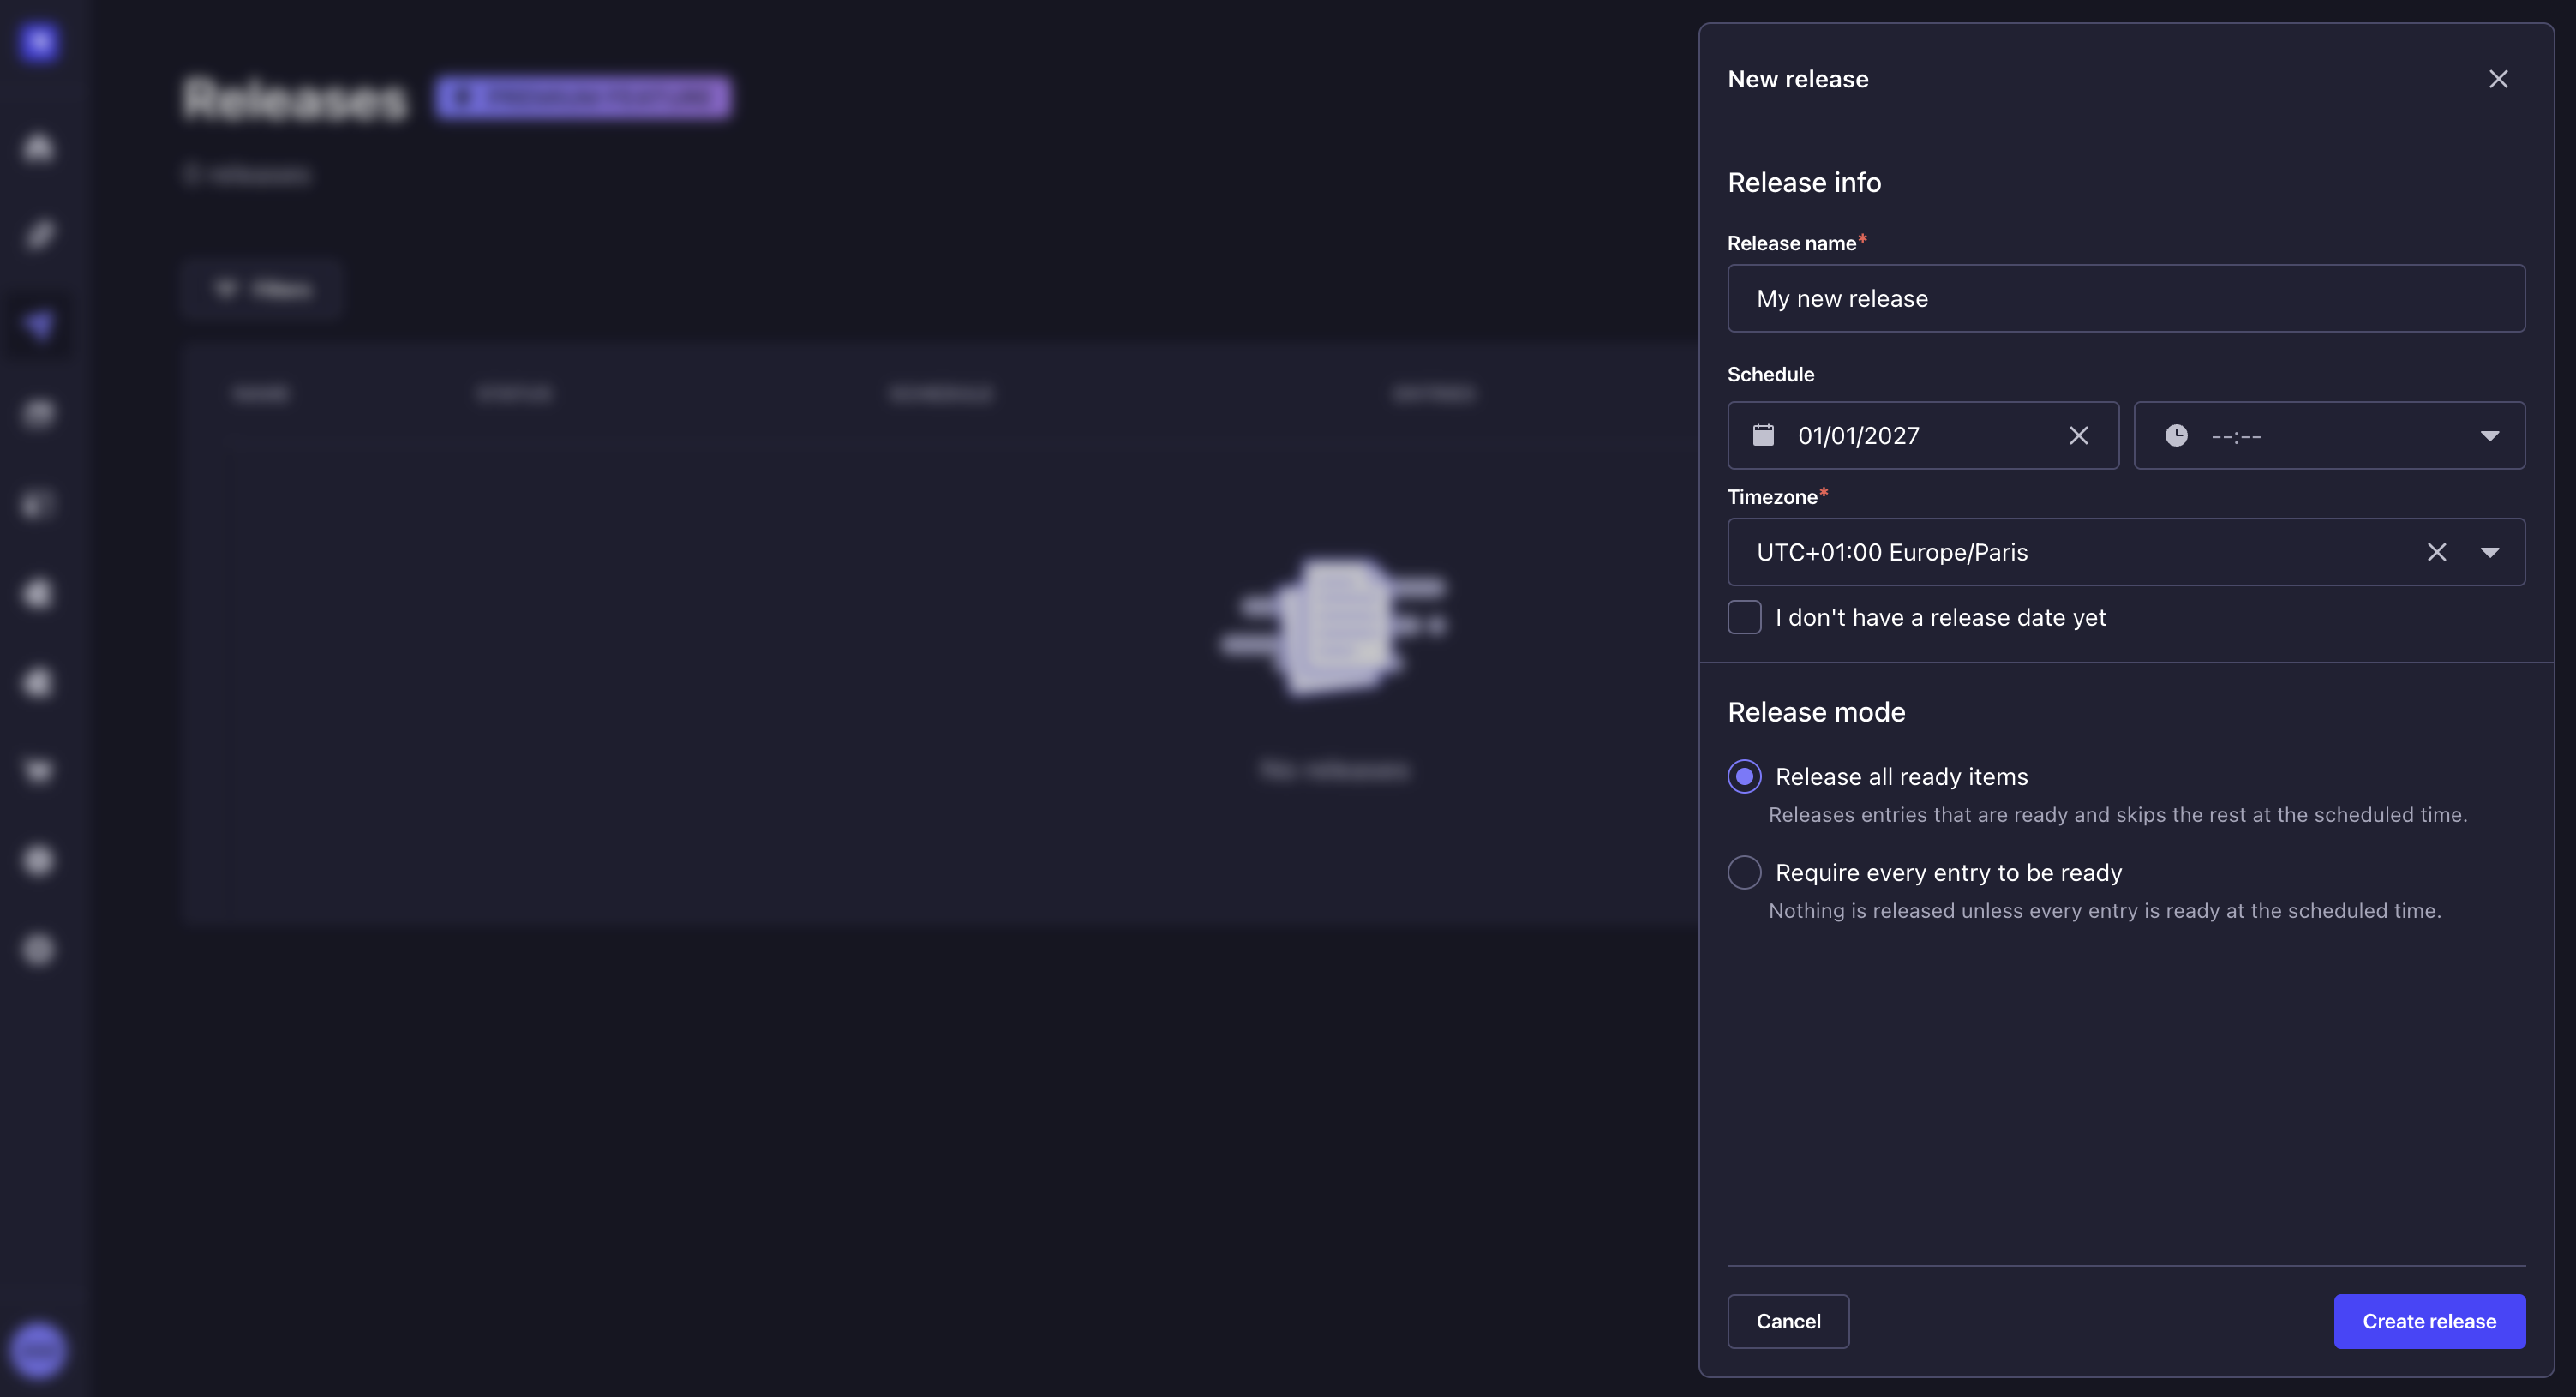
- In the Release mode area, choose Require every entry to be ready (default) or Release all ready items to define how the release handles entries that are not ready (see Choosing a release mode).
- Click the Create release button.
Your releases can be renamed, rescheduled, or switched to another release mode afterwards, by editing the release using the then Edit buttons. A release can be edited until it is published or ends as Failed.
Choosing a release mode
5.62.0This feature requires Strapi version 5.62.0 or later.Path to configure the feature: Releases
The release mode defines what happens when a release is published while some of its entries are not ready. You choose the release mode when creating a release, and can change it by editing the release until the release is published or ends as Failed.
An entry is ready when it can be published. Its fields must pass validation. If its review workflow requires a stage for publishing, the entry must be at that stage. Entries set to be unpublished are always ready.
| Release mode | Label in the releases list | What happens when the release is published |
|---|---|---|
| Require every entry to be ready (default) | All required | Strapi publishes or unpublishes every entry, or none. If at least 1 entry is not ready, a manual publication is refused, and a scheduled release ends as Failed. |
| Release all ready items | Allow partial | Strapi publishes or unpublishes the entries that are ready and skips the others. |
If an error occurs while an entry is published or unpublished, the Require every entry to be ready mode cancels all changes and the release ends as Failed, while the Release all ready items mode only skips that entry.
If a database conflict (for example, a deadlock) interrupts the publication, nothing is published, whatever the release mode. The release keeps its status. A manual release can be published again. A scheduled release can be published manually within 5 minutes of its scheduled time: after that, it ends as Failed.
Use Release all ready items for scheduled releases that must go out on time, even if some entries are not finished. Skipped entries can be published later by creating a release from skipped entries.
Deleting a release
Path to configure the feature: Releases
Deleting a release will only delete the release itself, but not the content-type entries included in the release. A release that ended as Done or Partial cannot be deleted, but a release that ended as Failed can (see Reviewing release results).
To delete a release that has not been published yet, while on the release page:
- Click on the button in the top right corner of the admin panel.
- Select Delete.
- In the confirmation dialog, click Confirm.
To delete a Failed release, while on the release page:
- Click the Delete button in the top right corner of the admin panel.
- In the confirmation dialog, click Confirm.
Usage
Path to use the feature: Releases and Content Manager
Since publishing an entry with a release means turning a draft entry into a published entry, Releases will not work if Draft & Publish is disabled for the content type.
Including content in a release
- Before entries can be added to a release, you must create a release from the Releases page.
- Adding content to a release requires the appropriate permissions for the Content-Releases plugin (see configuring administrator roles).
A release stores a reference to an entry, not a copy of its content. If the draft is edited after being added to a release, the release will publish the latest saved version of the draft, not the version that existed when the entry was added. A release cannot be pinned to a specific version of an entry. To publish an earlier version, restore it as the draft using Content History before the release is published.
One entry at a time
Path: Edit view of the Content Manager
- Click on in the Entry area on the right side of the interface.
- In the list, click on the Add to release button.
- Select which release to add this entry to.
- Click on the Publish or Unpublish button depending on whether you want the entry to be published or unpublished when the release itself is published.
- Click Continue.
The Releases box on the right should show which release(s) the entry is included in.
If the entry is added to a scheduled release, the release date and time are also displayed.
Multiple entries at a time
Path: List view of the Content Manager
- Select which entries you want to add by ticking the box on the left side of the entries' record.
- Click on the Add to release button located above the header of the table.
- In the modal, select which release to add these entries to.
- Click on the Publish or Unpublish button to decide whether these entries will be published or unpublished when the release is published.
- Click Continue.
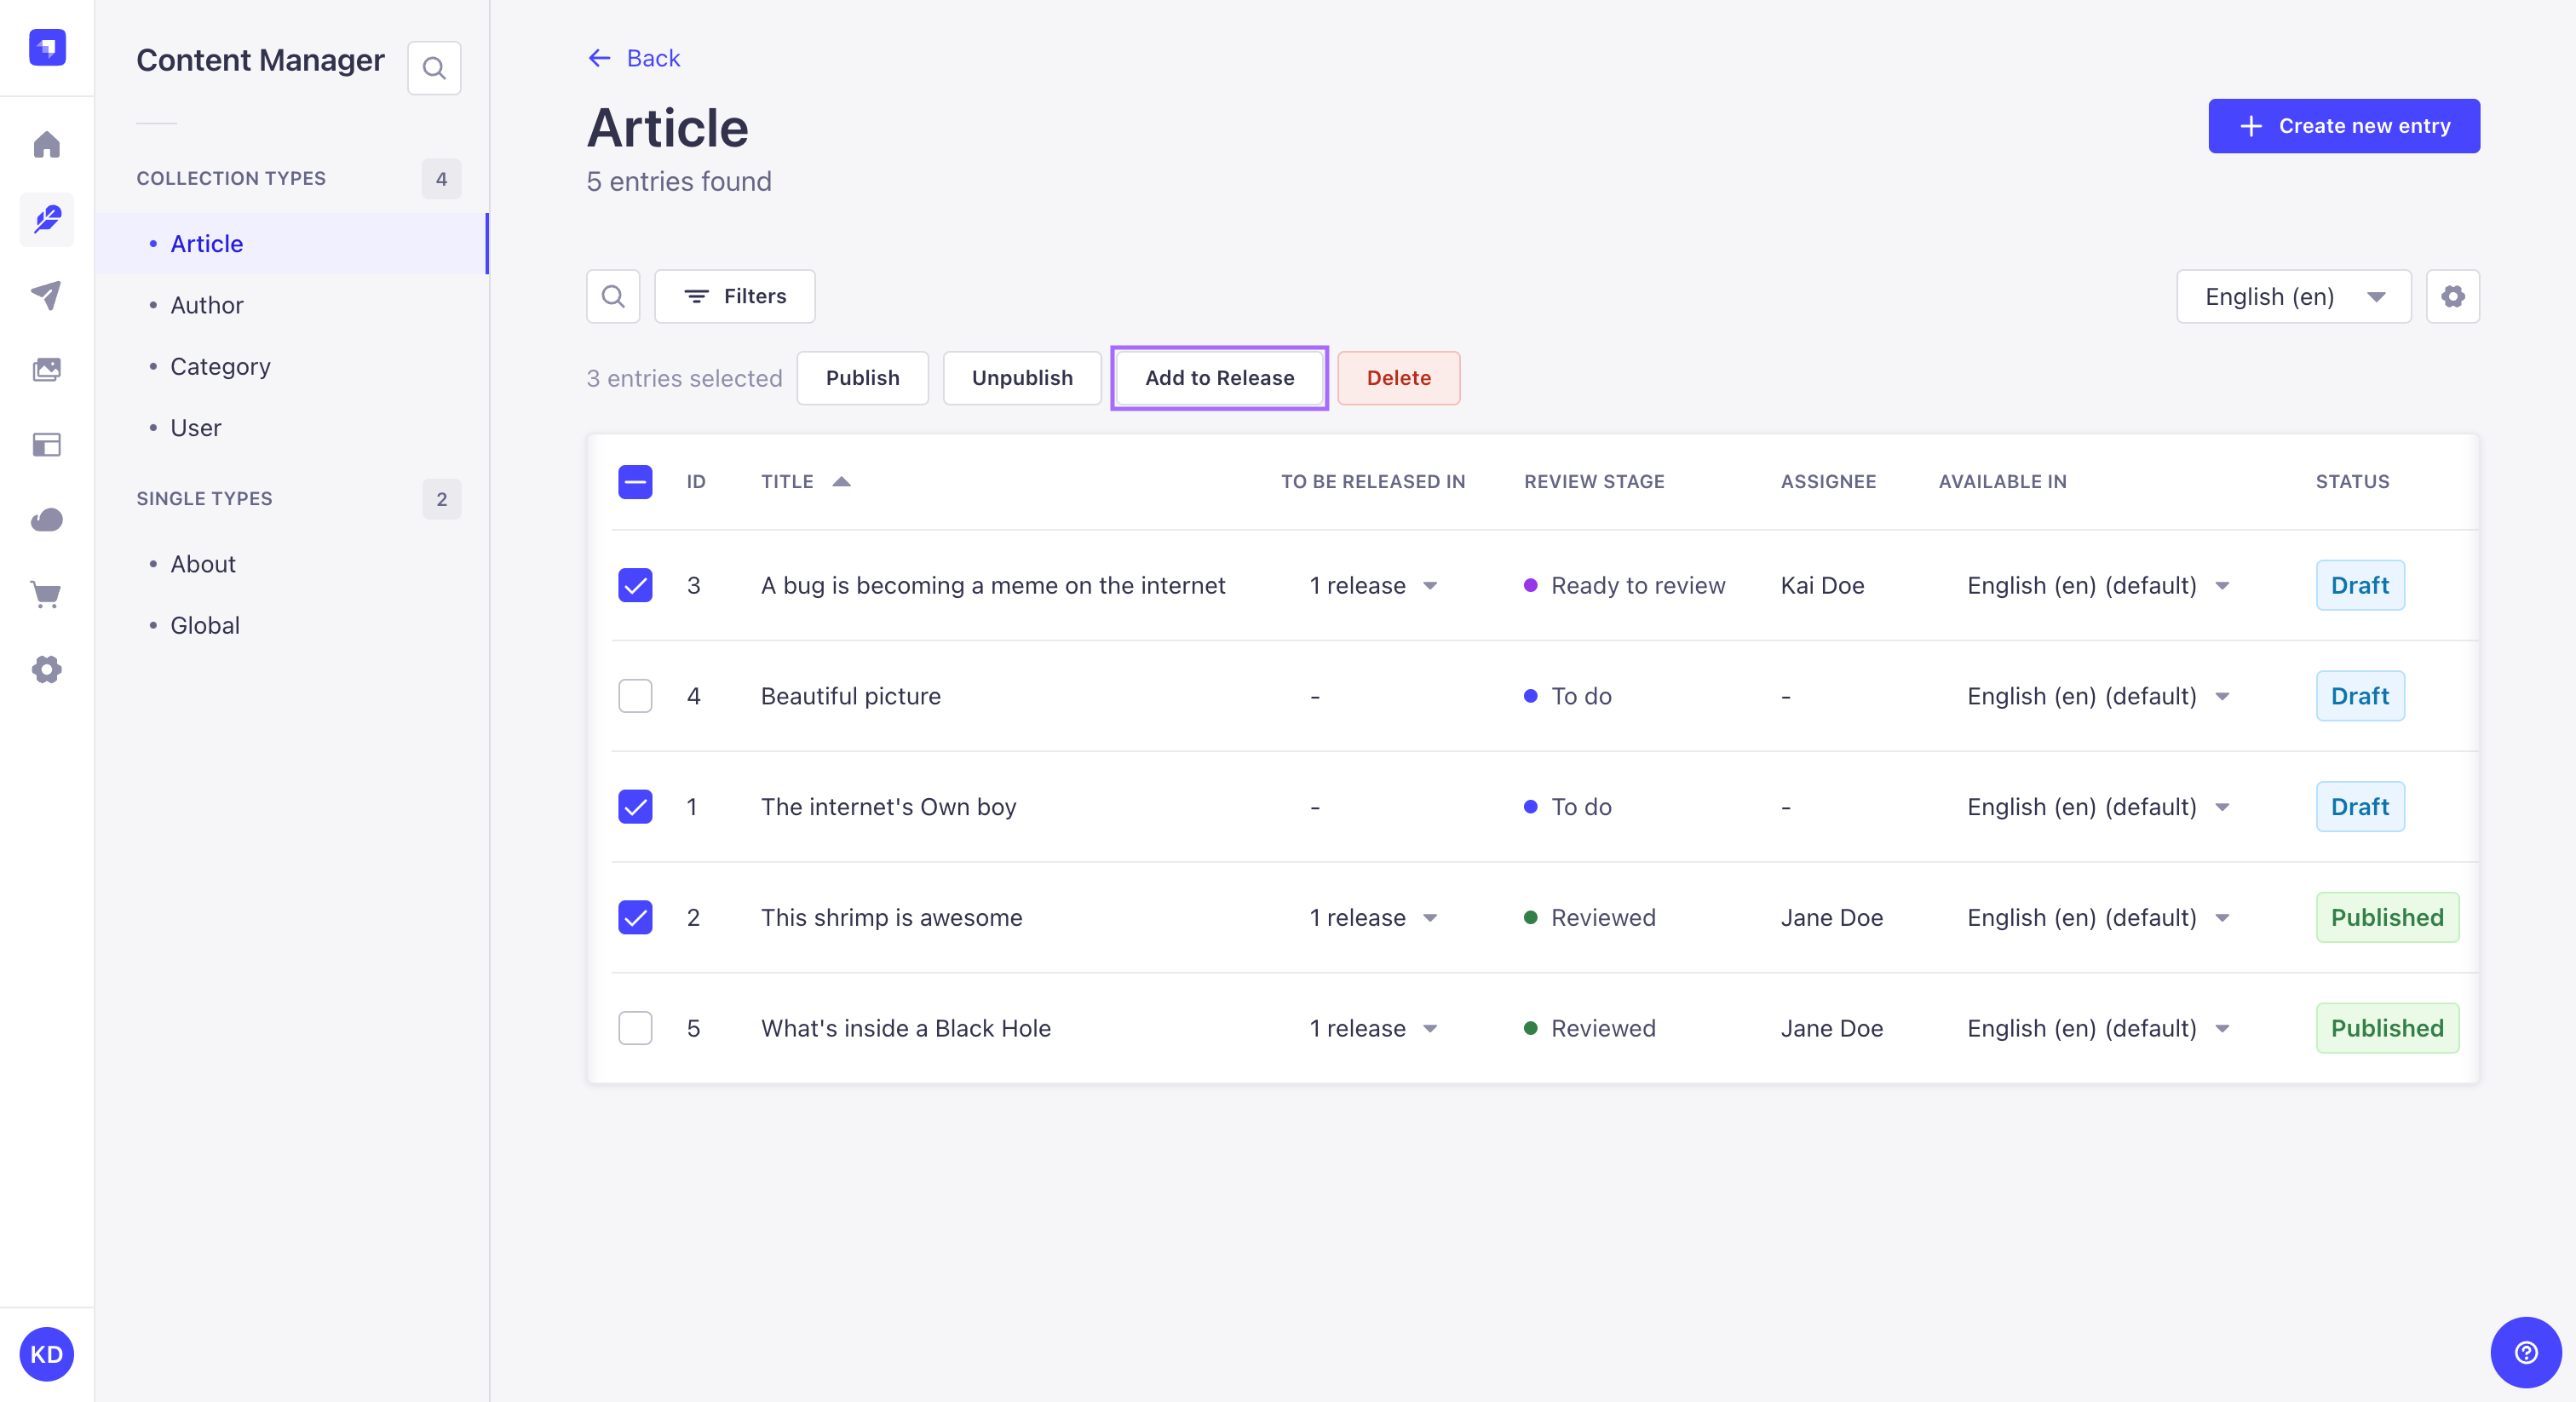
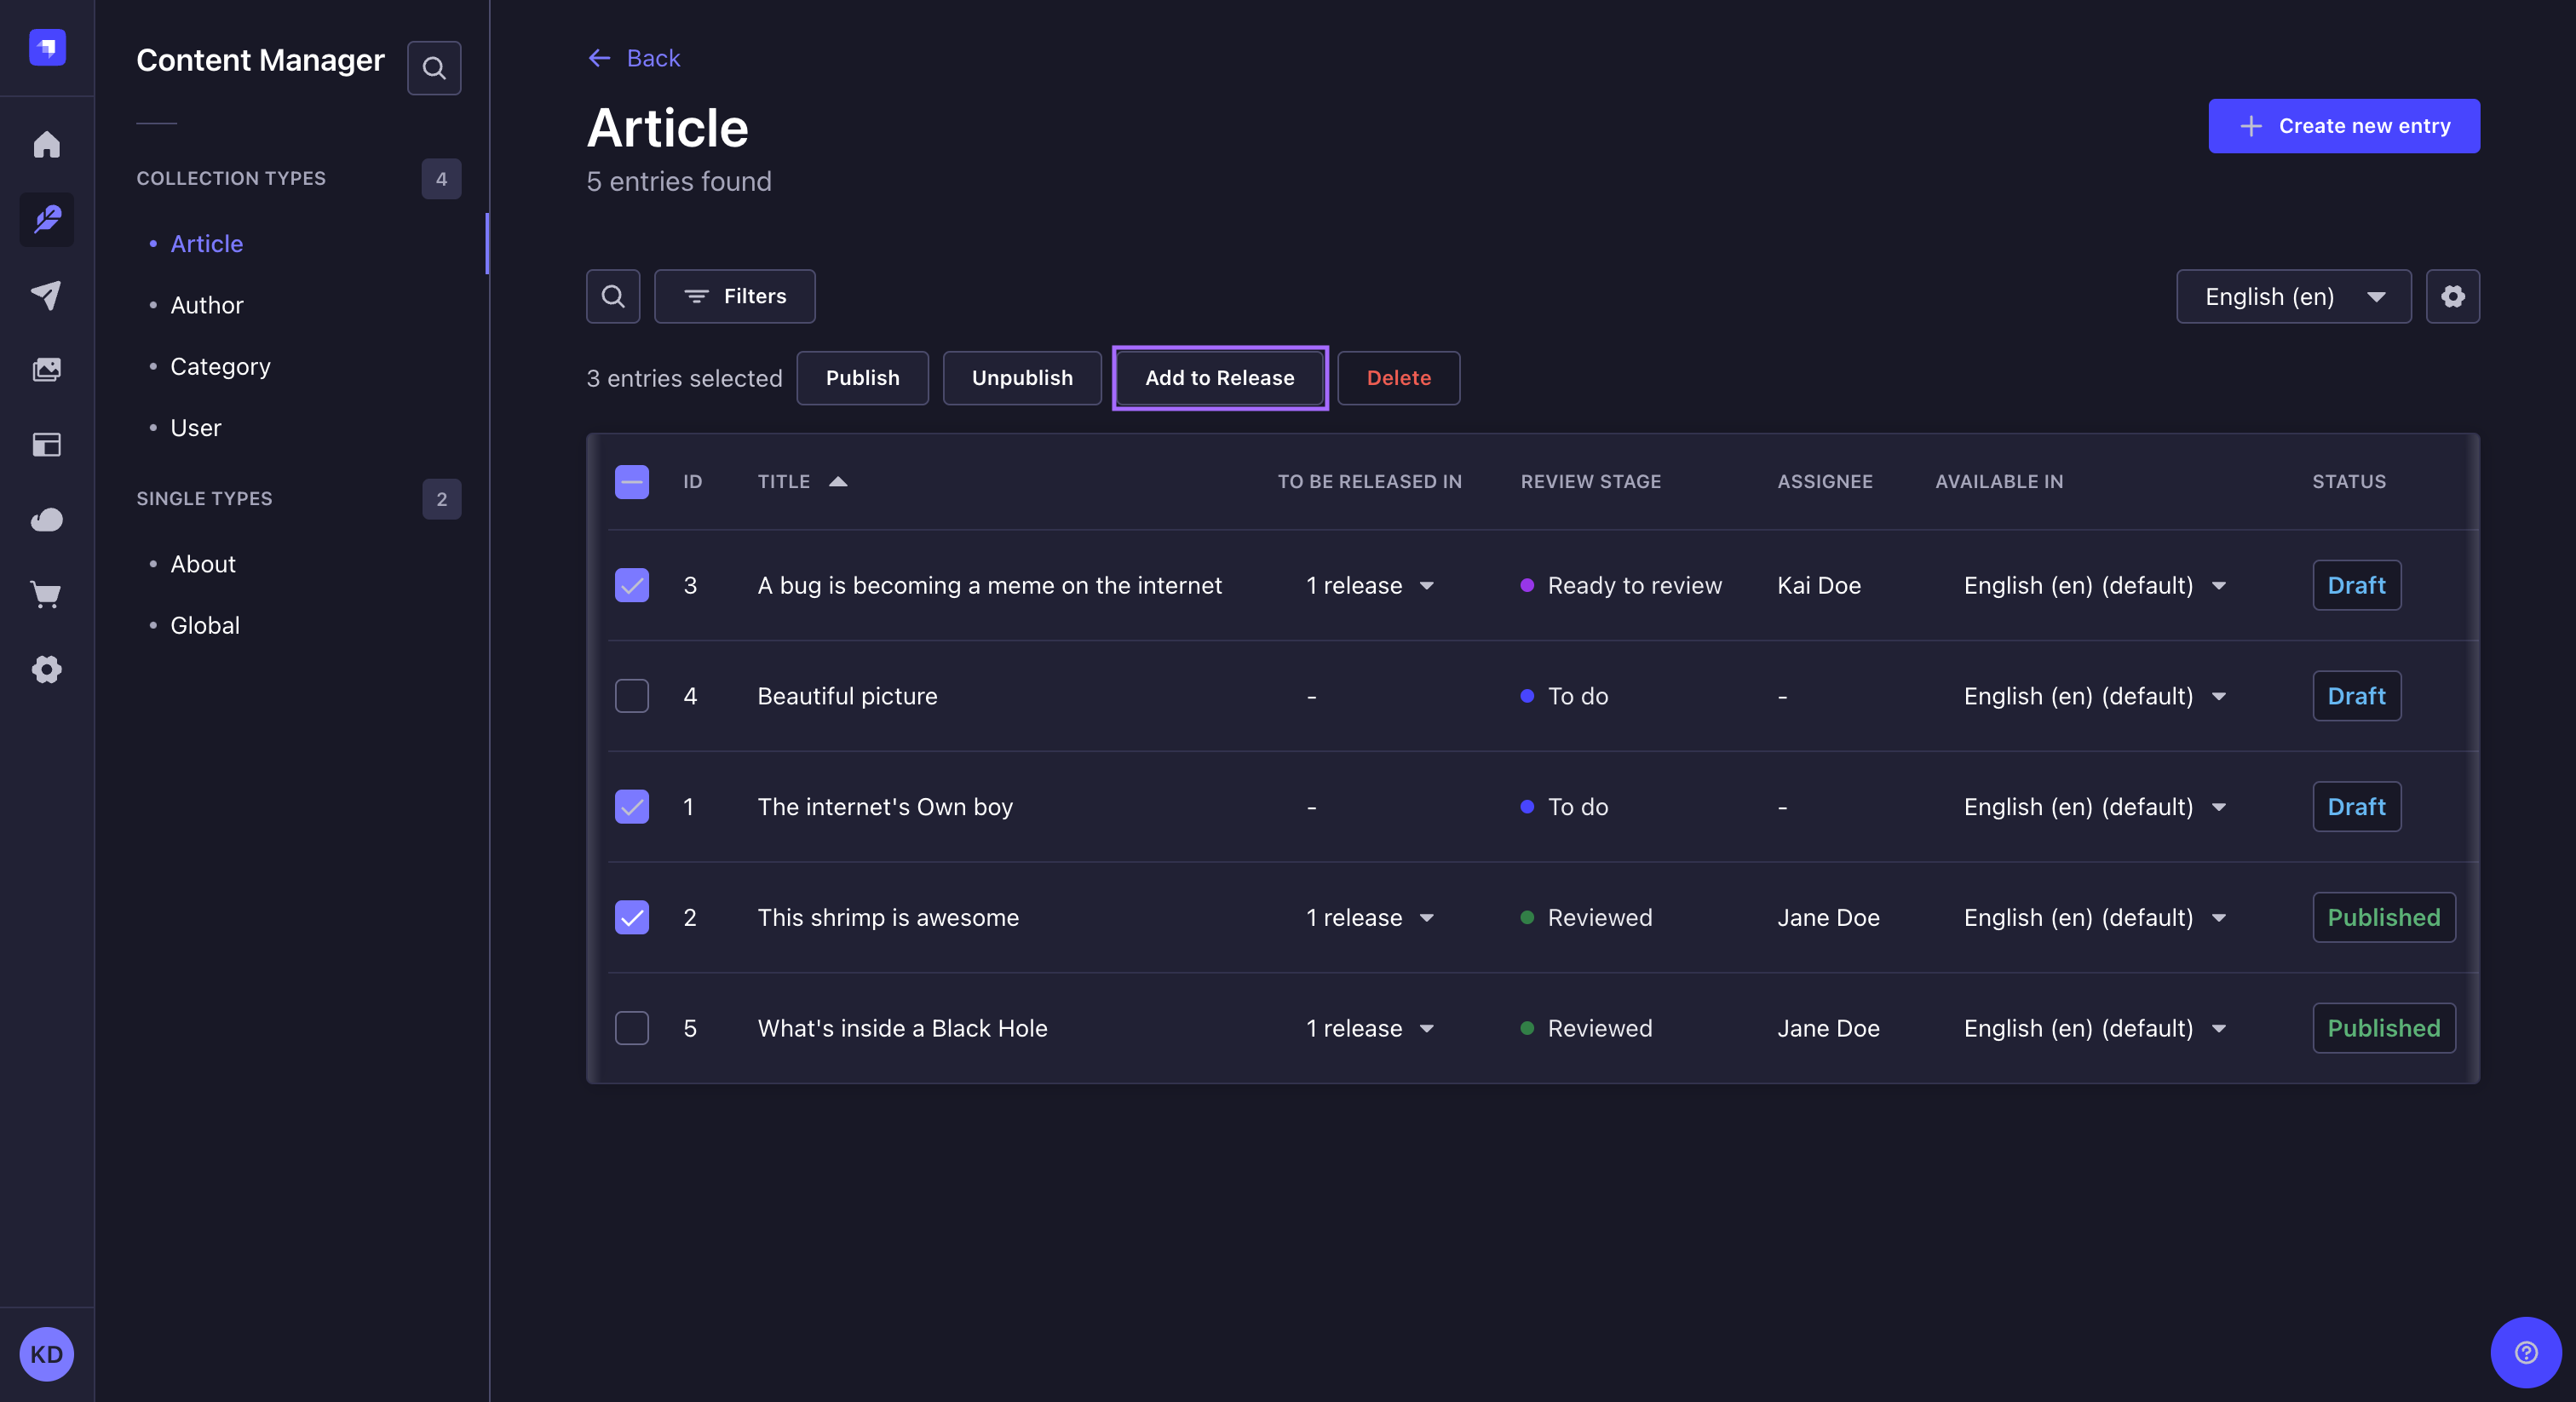
Removing content from a release
Path: Edit view of the Content Manager
- In the Releases box in the right sidebar, click on below the name of the release.
- Click the Remove from release button.
Scheduling a release
Path: Releases
Releases can be published manually or scheduled to be automatically published at a given date and time, with the timezone of your choice.
You can schedule a release:
- when creating the release,
- or once the release is already created, by editing it.
To schedule an existing release, while on a release page:
- Click on the button in the top right corner of the admin panel.
- Select Edit.
- In the side panel, uncheck the I don't have a release date yet checkbox.
- Select a date, time, and timezone for the release to be published.
- Click Save.
If the Strapi server is unavailable at the scheduled time, the release is not published:
- If the server restarts less than 5 minutes after the scheduled time, the release is published automatically. During these 5 minutes, the release keeps its status and can also be published manually.
- After 5 minutes, the release ends as
Failedand all its entries are skipped (see Reviewing release results). Strapi applies this status within a minute, or as soon as the server restarts. - A scheduled release that contains no entries ends as
Done.
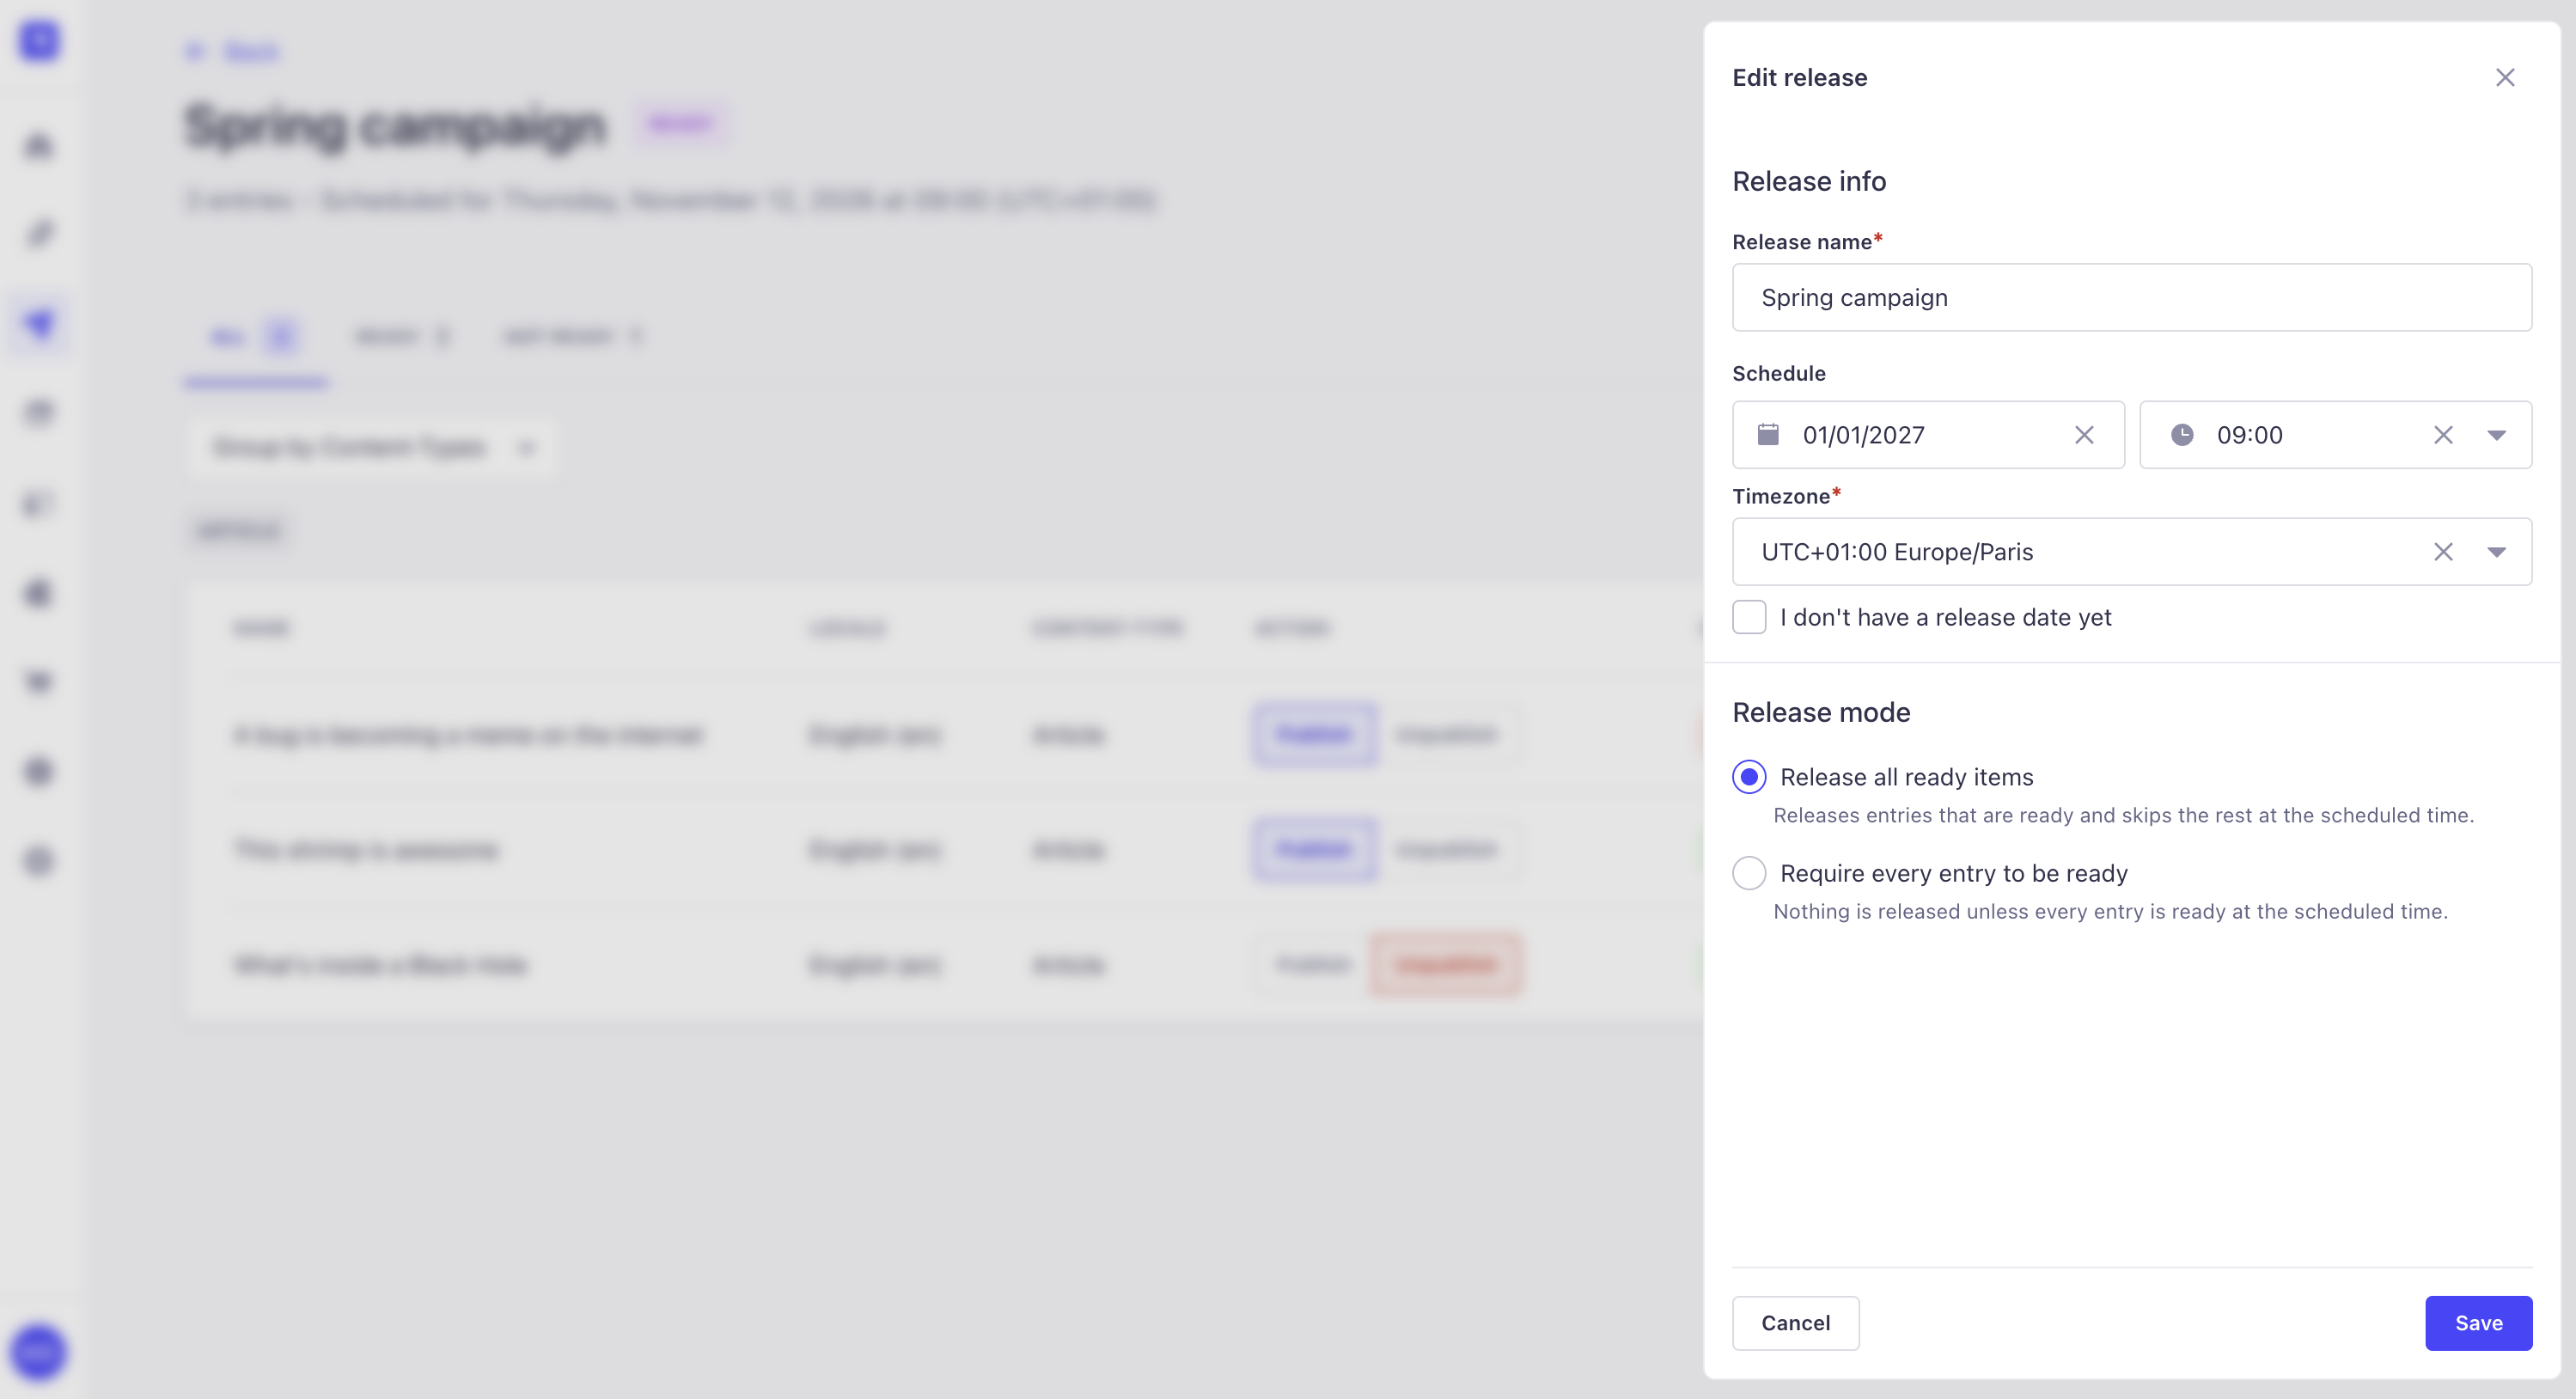
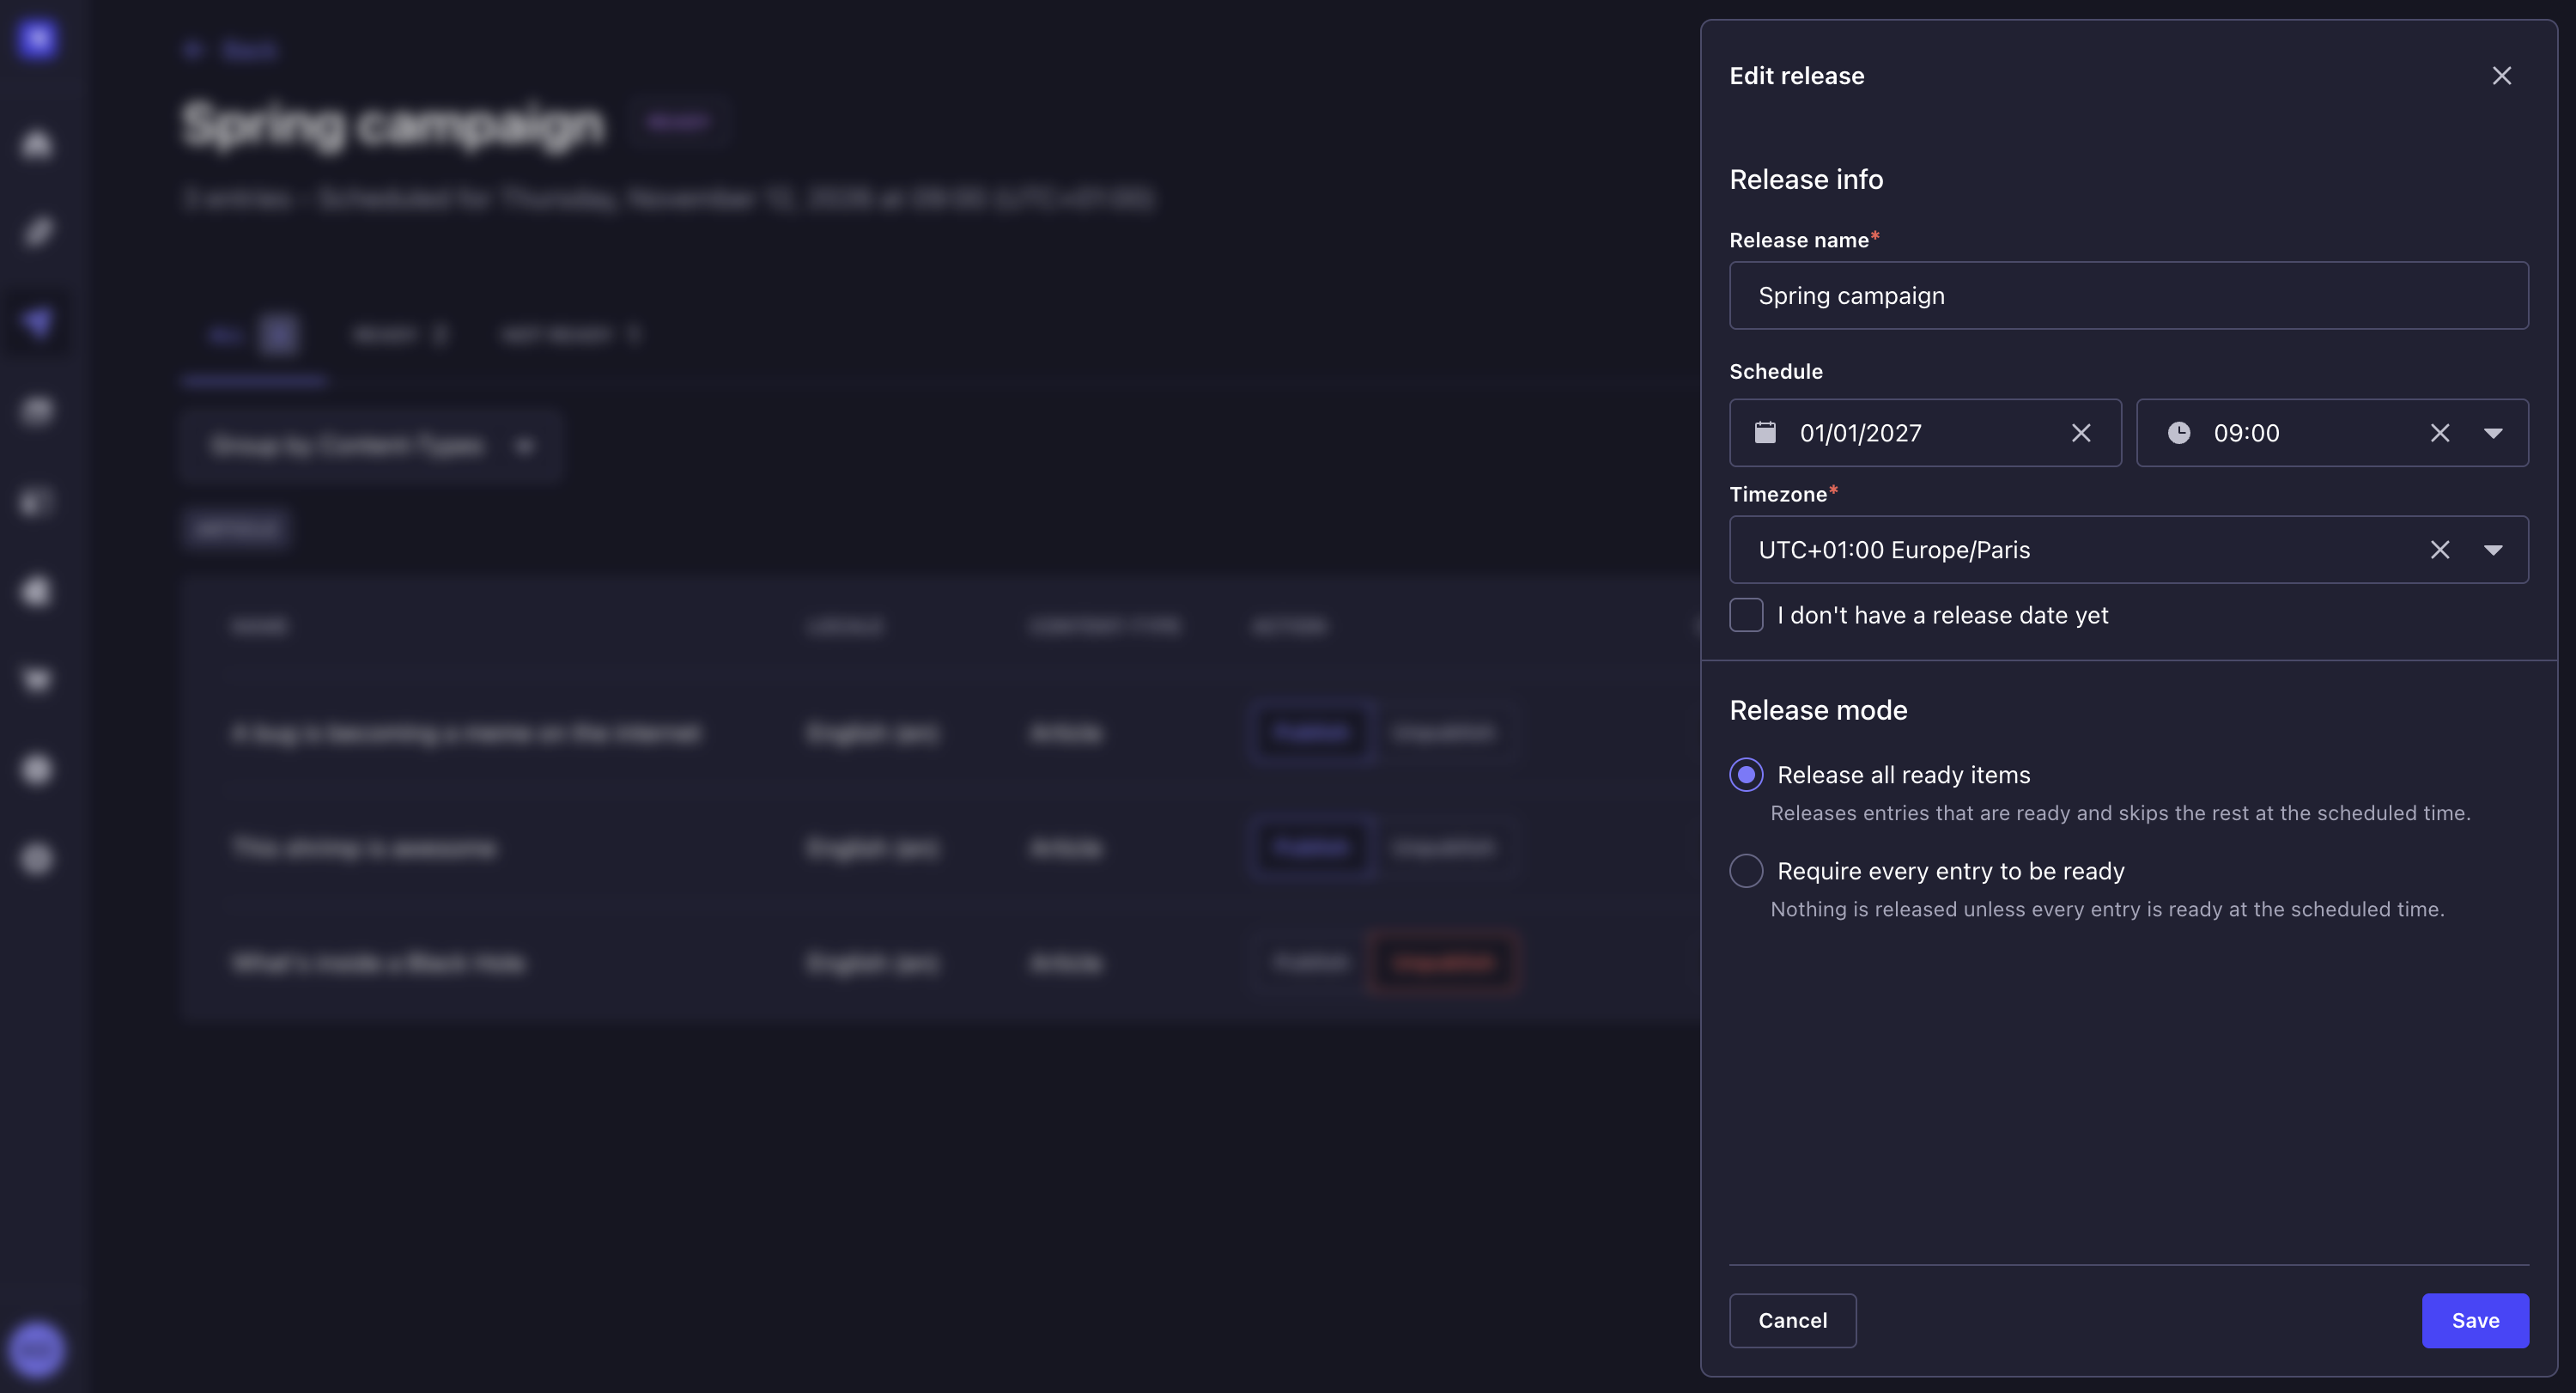
Publishing a release
Path: Releases
Publishing a release means that the action (publish or unpublish) defined for each entry included in the release is performed. The release mode decides what happens to entries that are not ready.
Before publishing, check the status of both the release and its entries:
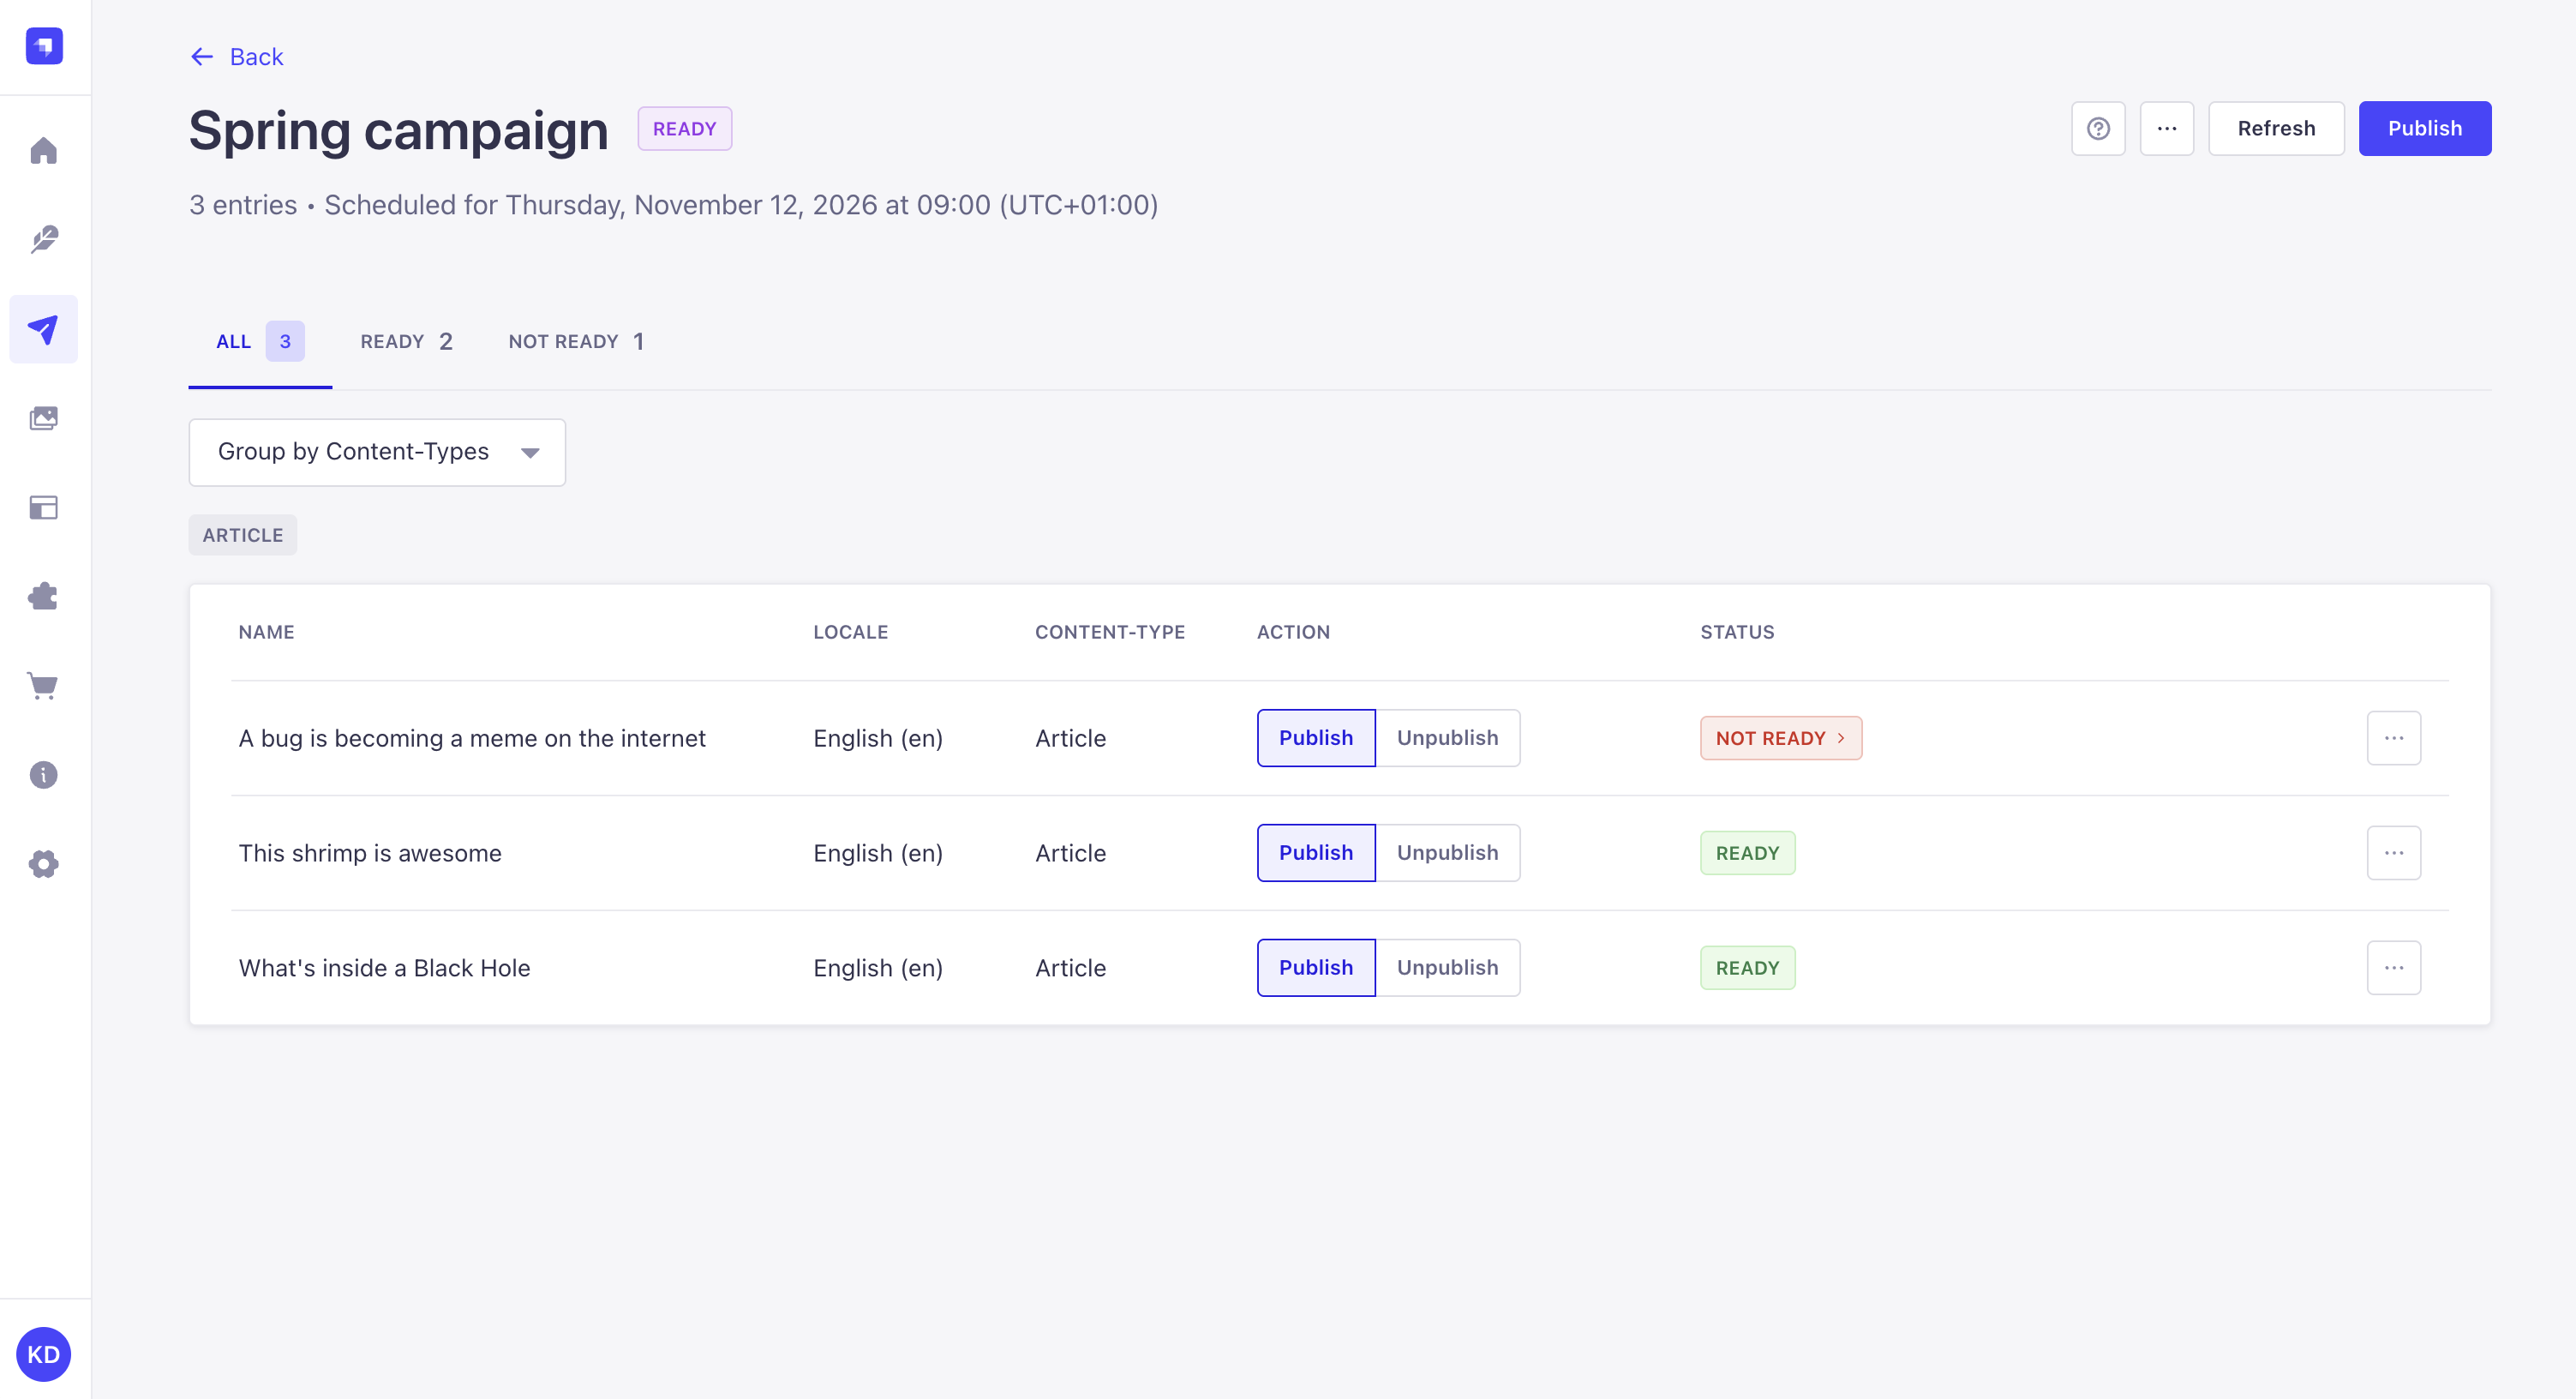
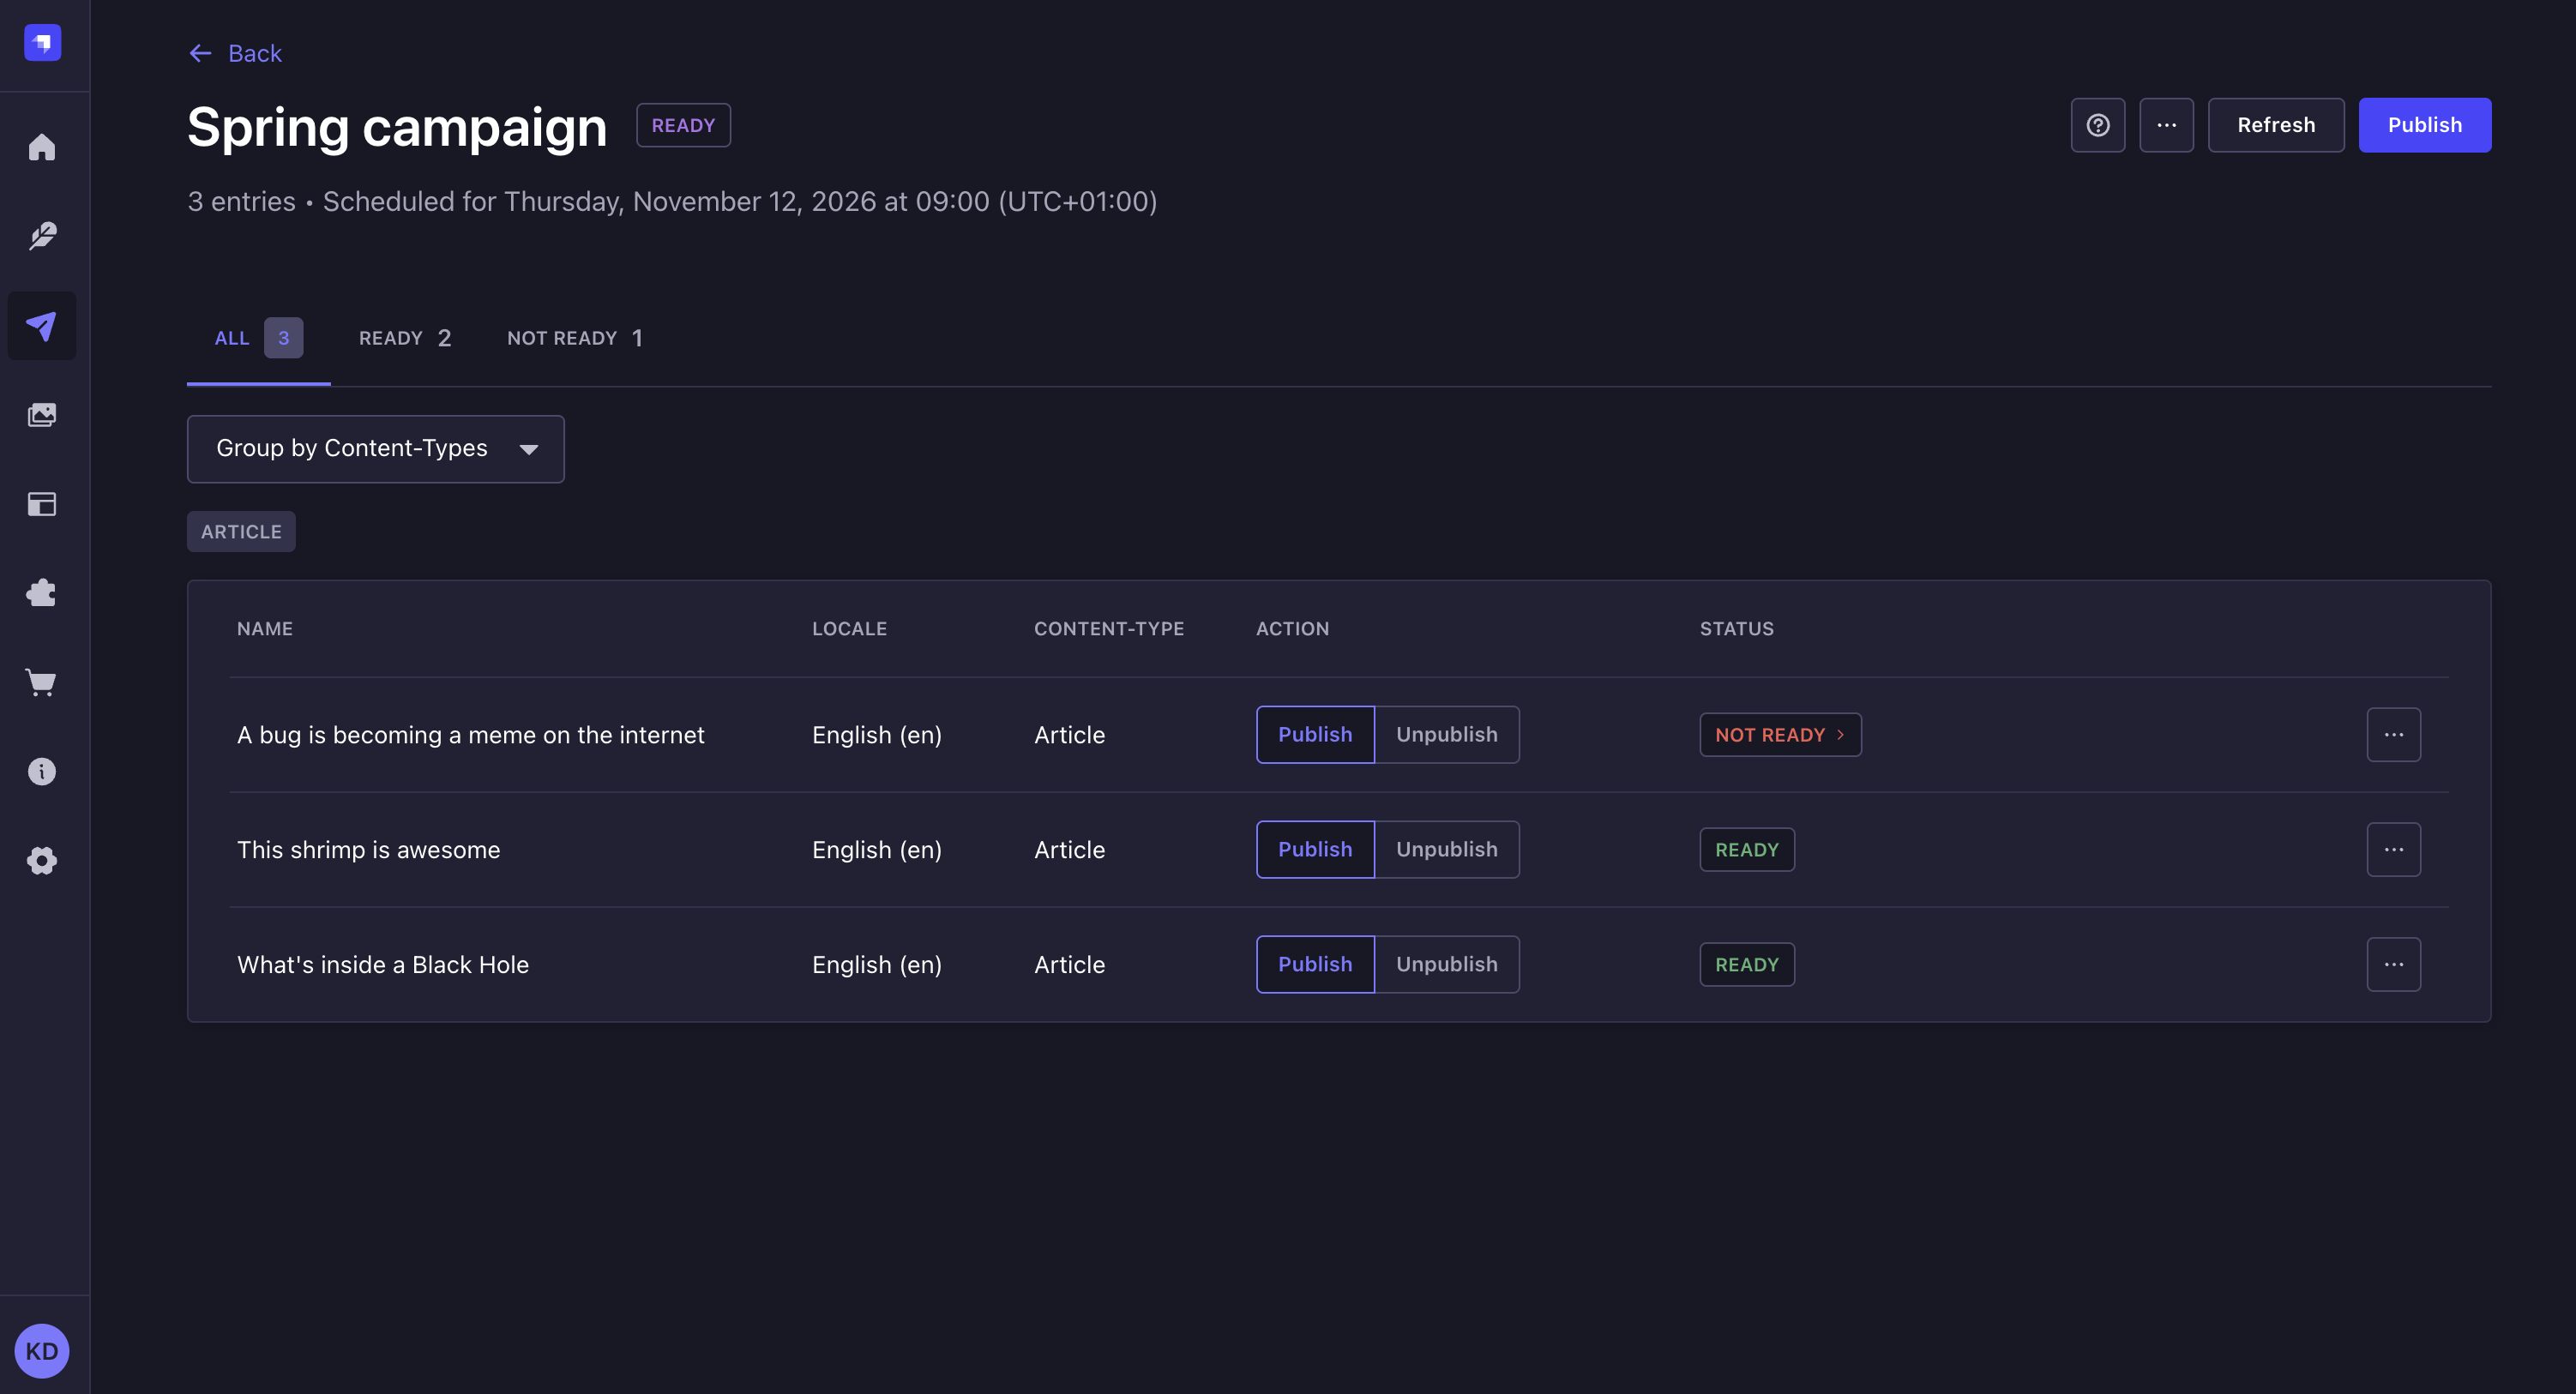
- A badge at the top of the interface indicates the status of your release:
Empty: no entry has been added to the release yet.Ready: the release can be published. With the Release all ready items mode, a release is ready if at least 1 entry is ready. The entries that are not ready are skipped.Blocked: publishing the release now would publish nothing. With the Require every entry to be ready mode, at least 1 entry is not ready. With the Release all ready items mode, no entry is ready.
- The Status column displays the status of each entry:
Ready: the entry will be published or unpublished with the release.Not ready: the entry cannot be published because some fields are incorrectly filled, or it is not at the required stage for publishing.
- The All, Ready, and Not ready tabs filter the list of entries by status.
To fix an entry that is not ready:
- Click Not ready in the Status column of the entry. A side panel lists the reasons: each invalid field and what is wrong with it, or the review stage the entry must be at to be published.
- Click Go to entry. The entry opens in the Content Manager, with its validation errors displayed if there are any.
- Fix the issues.
- Save the entry.
- Go back to the release page.
- Click the Refresh button to update the statuses.
To publish the release, click the Publish button in the top right corner of the admin panel. The button is disabled while the release is Empty or Blocked: hover over it to see why.
When you click Publish, Strapi checks every entry again. The release is published based on the current state of its entries, even if the displayed statuses are outdated. If the release is no longer ready, Strapi displays the reason, the release is not published, and its status changes to Blocked.
Once a release is published, it cannot be edited or published again, and entries cannot be added to it or removed from it. A Done or Partial release cannot be deleted. To publish entries that were skipped, create a release from skipped entries.
Reviewing release results
5.62.0This feature requires Strapi version 5.62.0 or later.Path: Releases
Once a release has been published, manually or at its scheduled time, its badge displays the final status of the release:
Done: every entry was published or unpublished.Partial: some entries were published or unpublished, and the others were skipped. Only releases using the Release all ready items mode can end asPartial.Failed: no entry was published or unpublished.
A release that failed before your project was upgraded to Strapi 5.62.0 or later displays the Unknown status for its entries. Strapi did not record which entries were published before the failure.
The header of the release page indicates how many entries were released (published or unpublished) and how many were skipped. The All, Released, and Skipped tabs filter the list of entries by result.
The Status column displays Done for entries that were published or unpublished, and Skipped for the others. The side panel opened from Skipped displays the reason why the entry was skipped:
| Reason | Description |
|---|---|
| Validation error | Some fields of the entry were incorrectly filled when the release was published. This includes a unique value already used by another entry of the same release. This reason is also displayed when the entry no longer existed when the release was published. |
| Not ready to publish | The entry was not at the required stage for publishing. |
| Error | A server error prevented the entry from being published or unpublished. The error does not come from the content of the entry. |
| Waiting on other entries | The entry was ready, but the release requires every entry to be published or unpublished together, and another entry was not ready or could not be published or unpublished. |
| Server unavailable | The release could not be published at the scheduled time, for example because the server was unavailable. |
An entry deleted after the release was published is displayed as Deleted entry. It keeps its result, but it can no longer be opened from the release.
To see why an entry was skipped:
- Click Skipped in the Status column of the entry. A side panel displays the reasons captured when the release was published.
- (optional) Click Previous or Next to browse the other skipped entries.
- (optional) Click Go to entry to open the entry in the Content Manager.
When a release is published or ends as Failed, Strapi also sends the releases.publish webhook, which includes the release status and the number of published, unpublished, and skipped entries.
Creating a release from skipped entries
5.62.0This feature requires Strapi version 5.62.0 or later.Path: Releases
A release cannot be published twice. To publish the entries skipped by a Partial or Failed release, create a new release containing these entries.
- The status of the release is
PartialorFailed. - The release did not fail before your project was upgraded to Strapi 5.62.0 or later (see Reviewing release results).
- At least 1 skipped entry still exists.
- Your role has the permissions to create releases and to add entries to releases (see configuring administrator roles).
- Open the
PartialorFailedrelease. - Click the Create release from skipped button in the top right corner of the admin panel. A side panel lists the entries carried over to the new release, with their publish or unpublish action.
- (optional) Click next to an entry to leave it out of the new release. The last remaining entry cannot be removed.
- (optional) Change the Release name. By default, the name is the name of the original release followed by "- skipped entries".
- Define when the release is published:
- To schedule the release, select the date, time, and timezone for publication.
- To publish the release manually, check the I don't have a release date yet checkbox.
- (optional) Change the release mode. By default, the new release uses Release all ready items, so entries that are still not ready do not block the others.
- Click the Create release button.
The original release is not modified. The new release does not include entries deleted since the original release was published. It also does not include entries whose content type was deleted or no longer uses Draft & Publish.
Filtering and sorting releases
Path: Releases
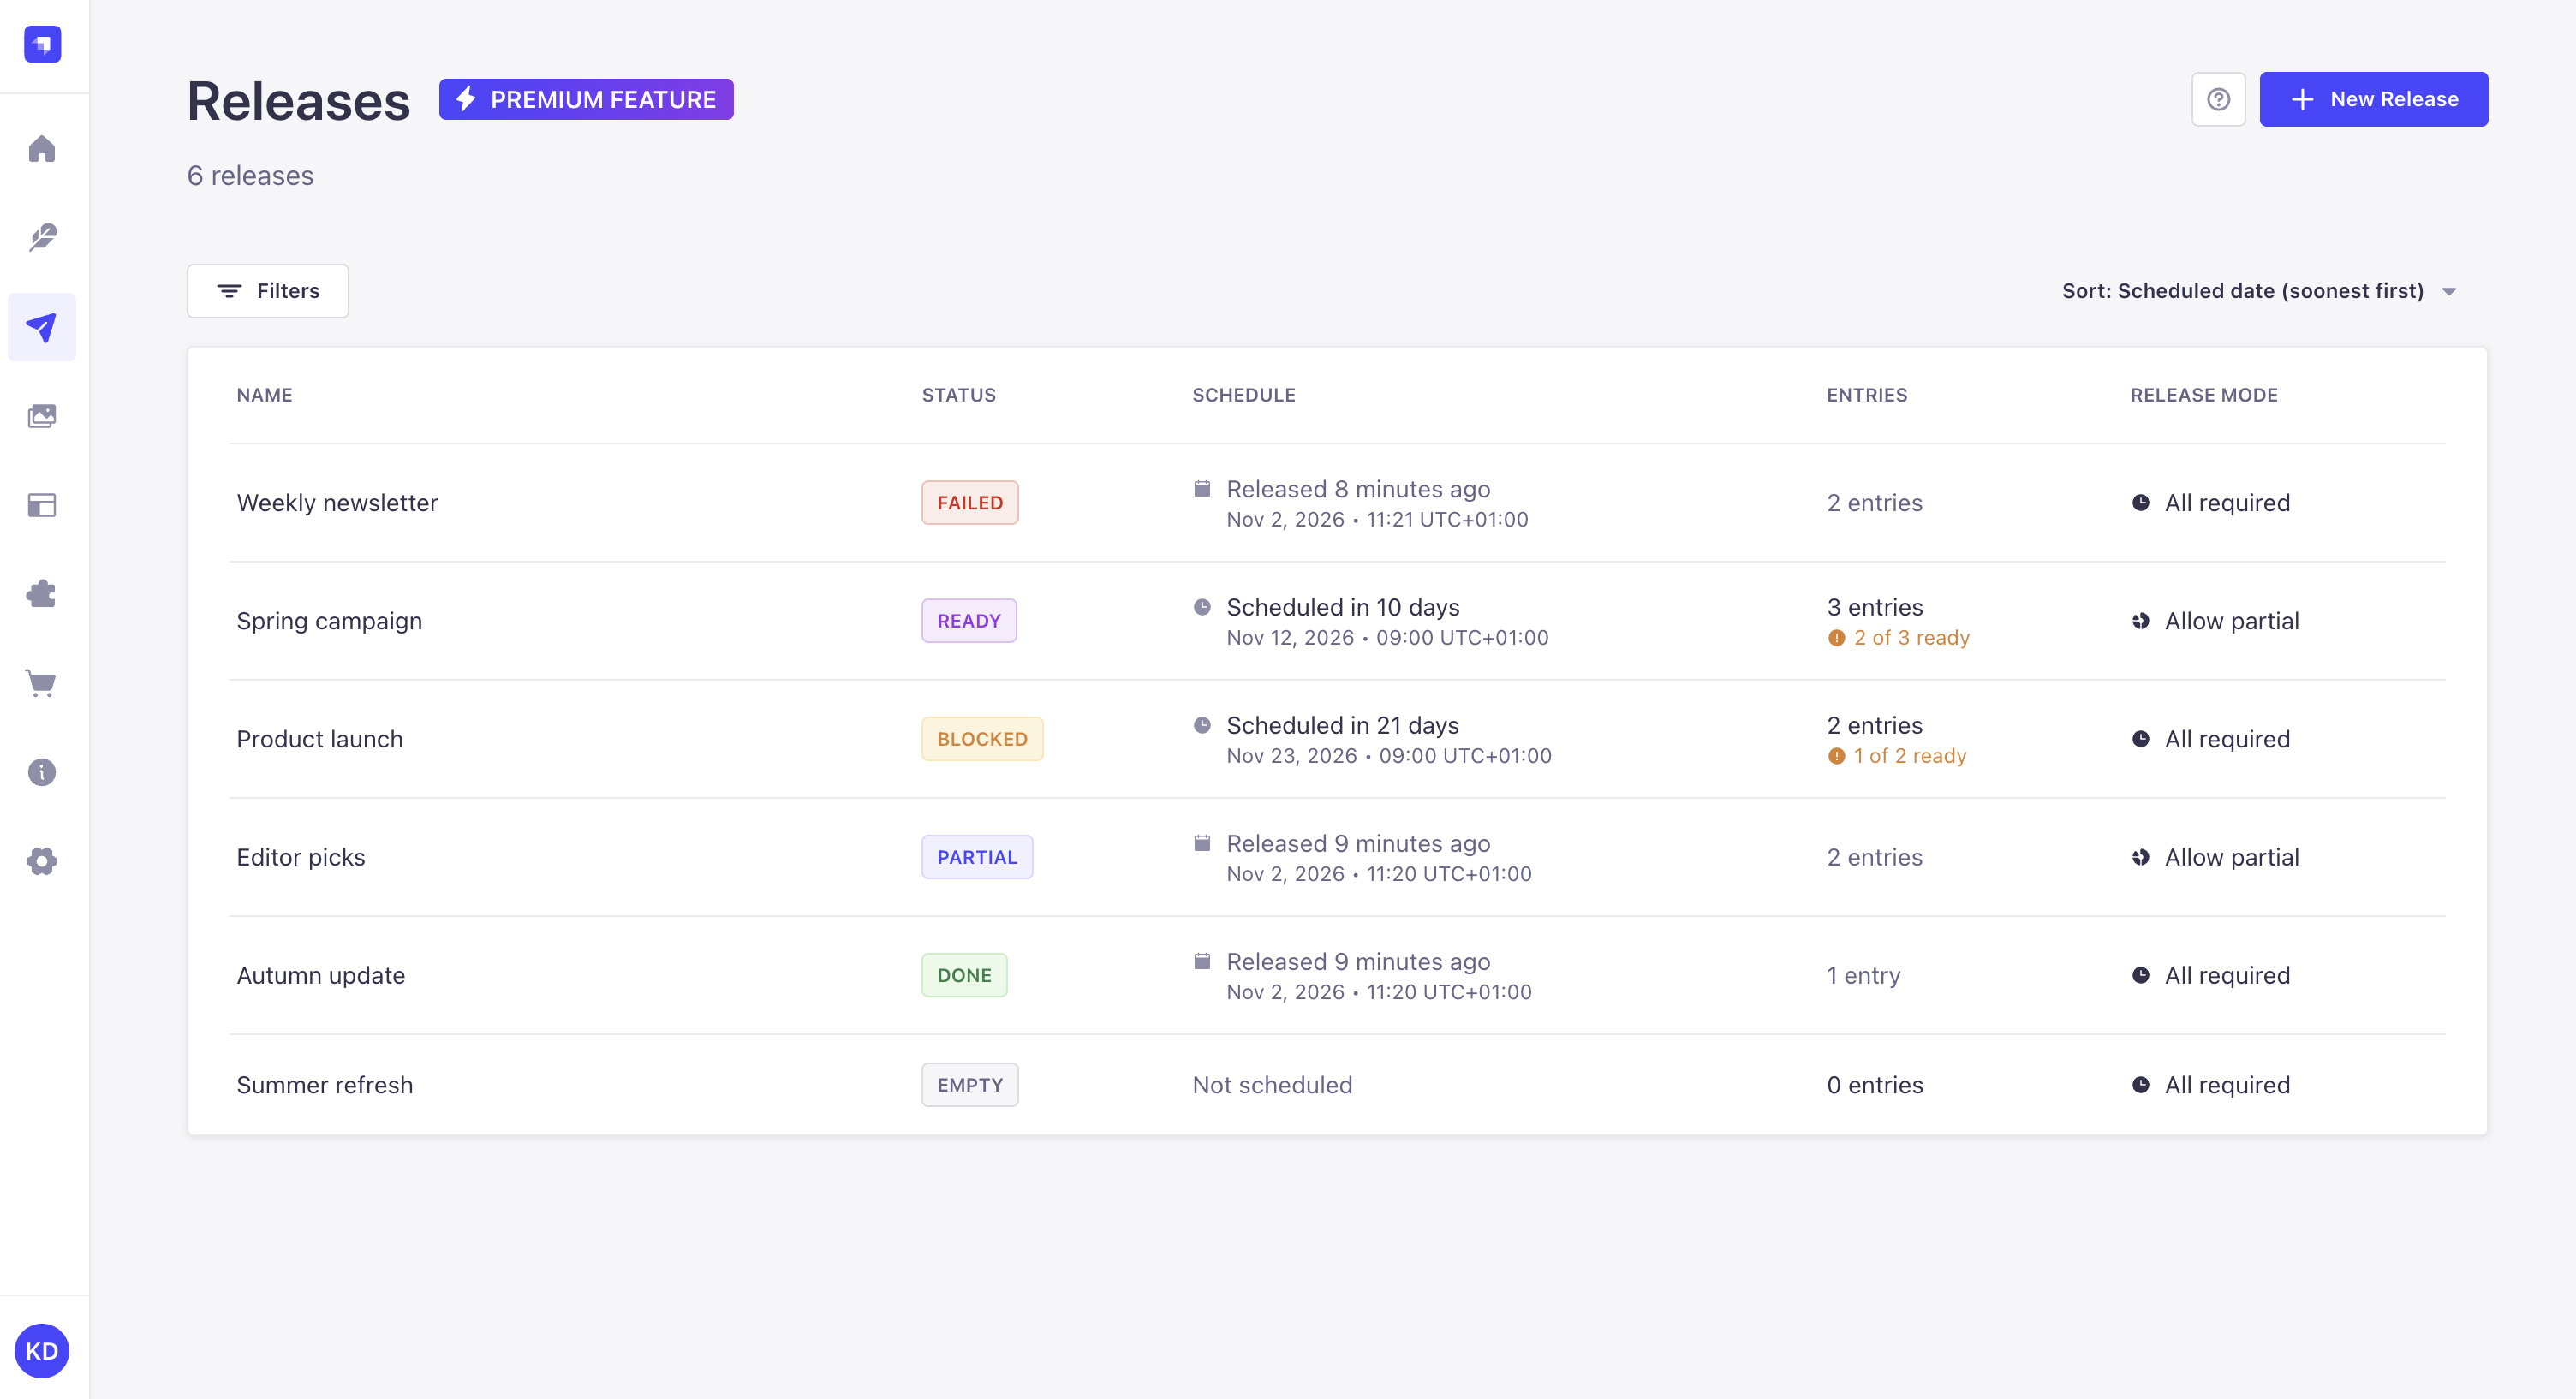
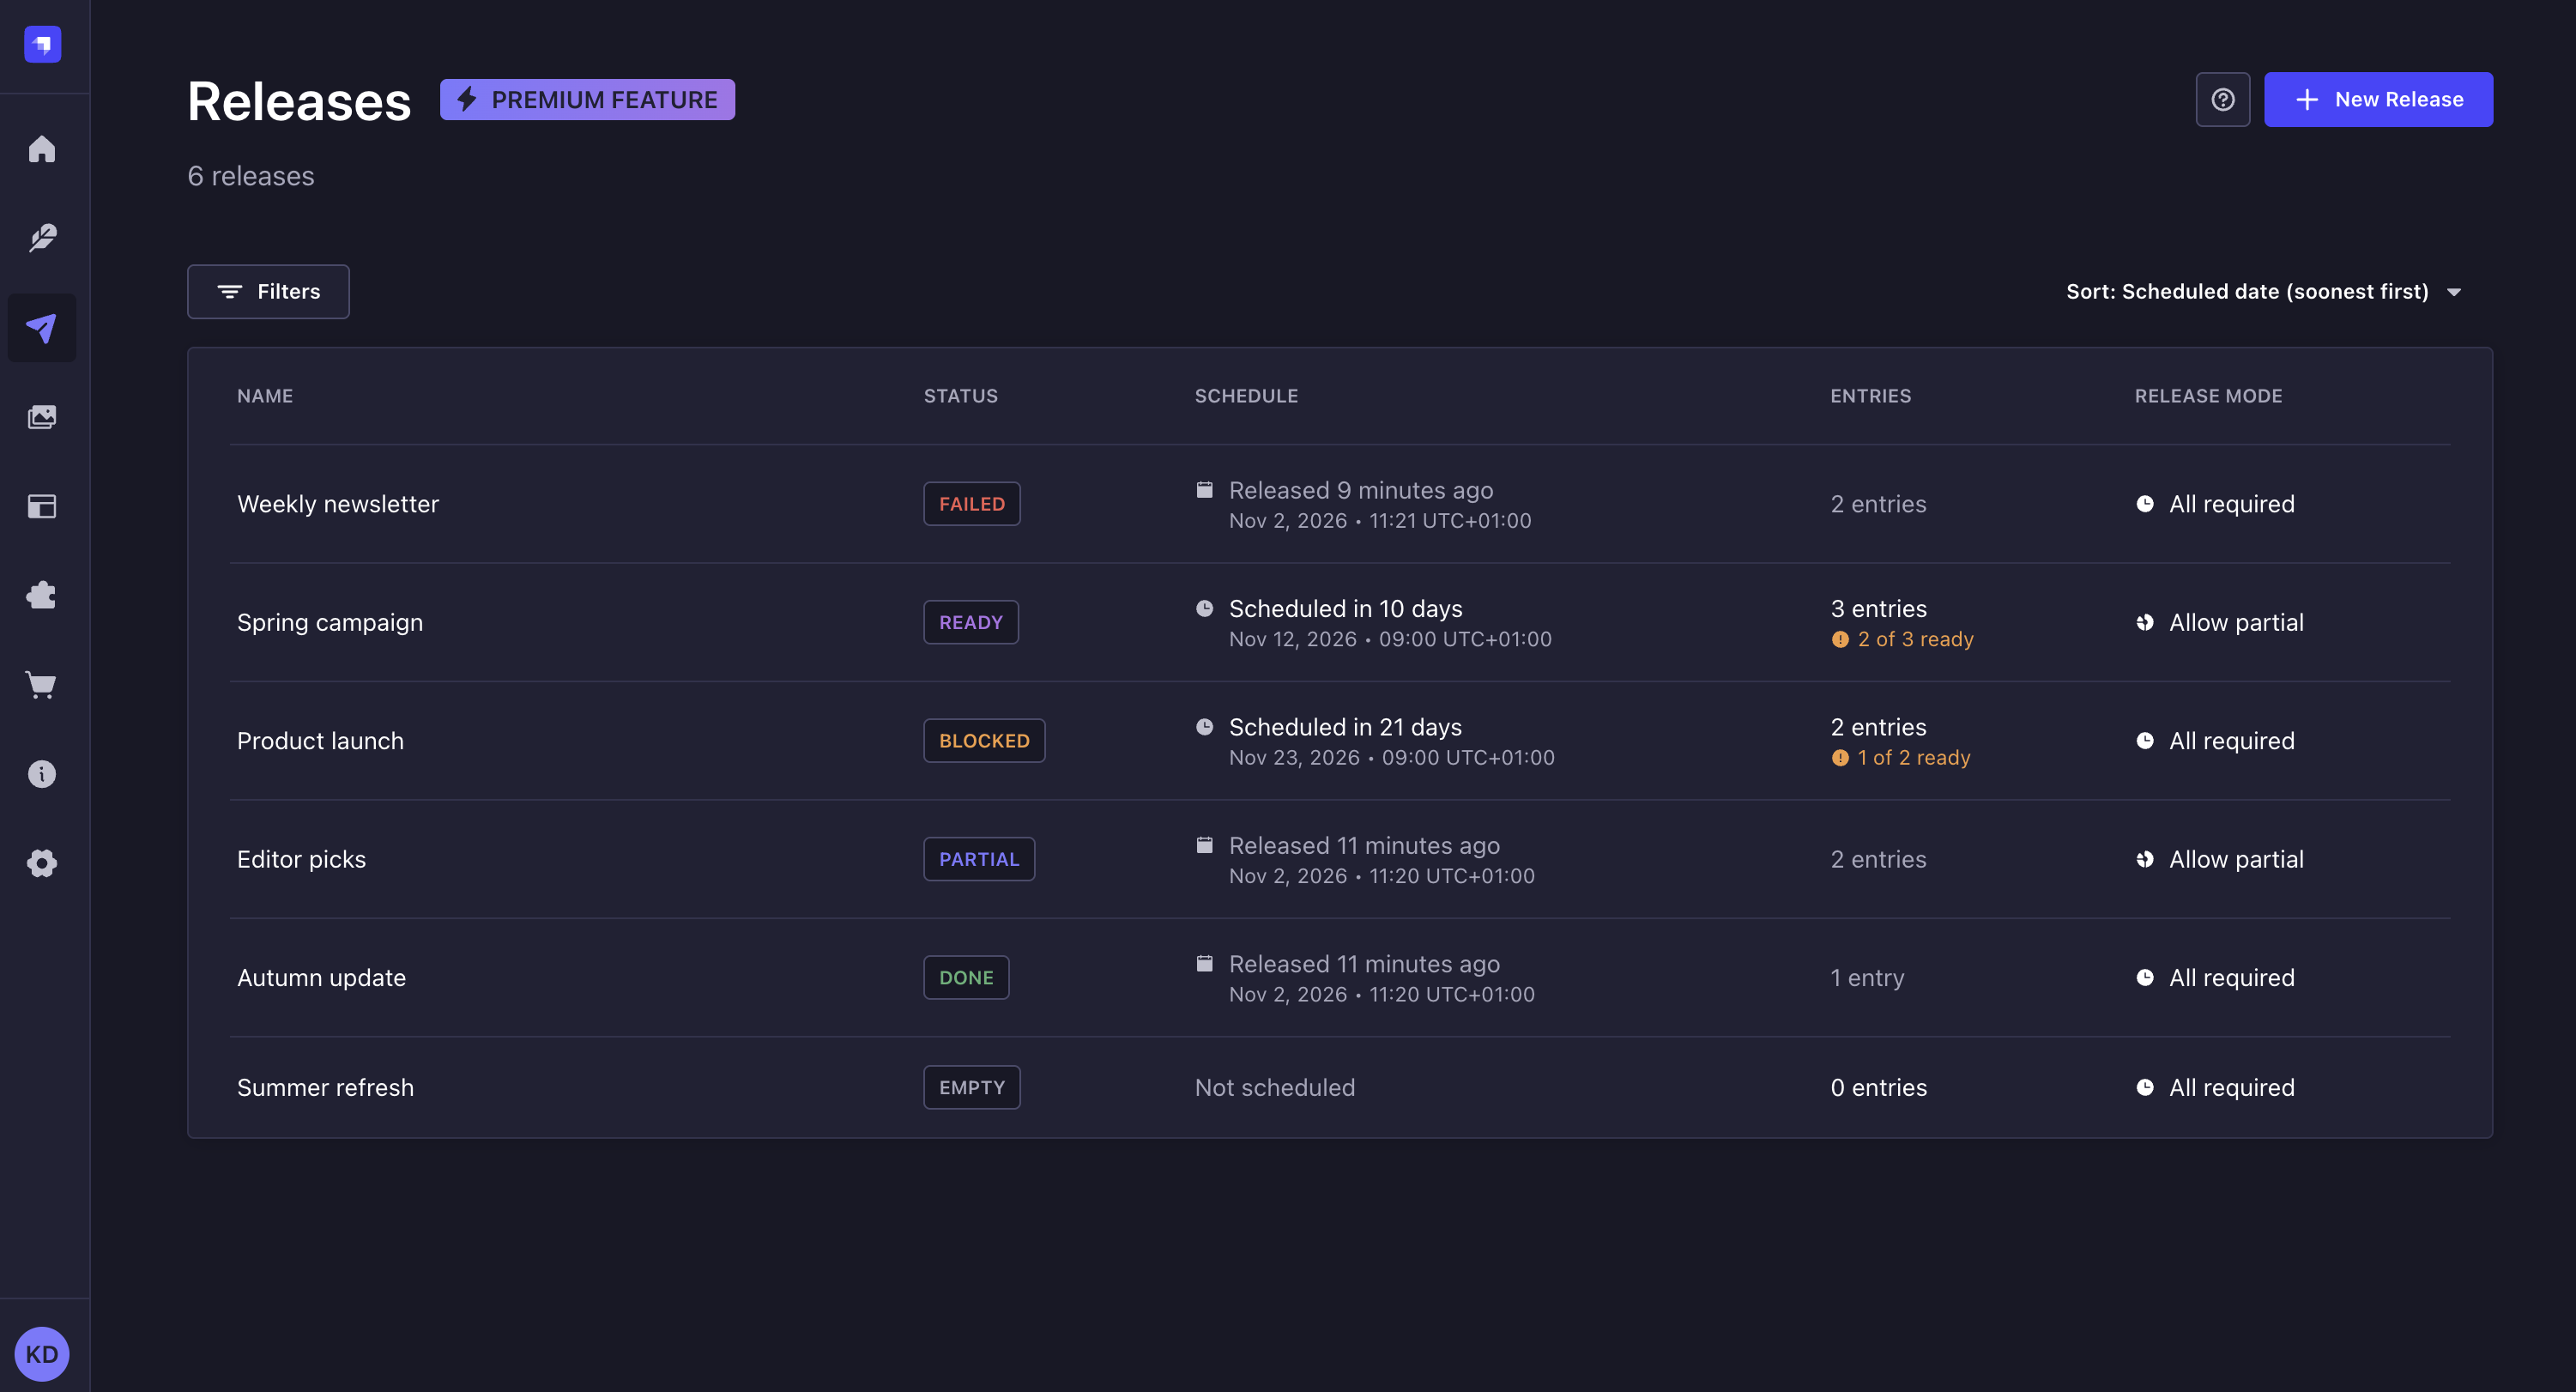
The Releases page lists all releases in a single table, with the name, status, schedule, number of entries, and release mode of each release. Click a release to open it.
To filter releases:
- Click the Filters button.
- Choose the field on which the condition applies:
- Status:
Empty,Ready,Blocked,Done,Partial, orFailed - Release mode: All required or Allow partial
- Scheduled for: the scheduled date of the release
- Released on: the date the release was published
- Status:
- Choose the condition to apply.
- Select the value of the condition. For Scheduled for and Released on, the time is optional: a date alone matches the whole day.
- Click the Add filter button.
Active filters are displayed next to the Filters button. Several filters add to one another: only releases matching all of them are listed. Click Clear all to remove every filter.
To list releases without a release date, use the Scheduled for field with the is null condition. To list releases that have not been published yet, use the Released on field with the is null condition.
To sort releases, click the Sort button, which displays the current sort order, and select one of the following options:
- Scheduled date (soonest first) (default)
- Scheduled date (latest first)
- Most recent updates
- Oldest updates
- Most recently created
- Name (A to Z)
- Name (Z to A)
With both Scheduled date options, releases without a release date are listed last. Releases that have already been published keep their position by scheduled date.
Audit logging of release actions
EnterpriseThis feature is available with an Enterprise plan.Release actions are automatically captured in Audit Logs for Enterprise plan users. Every significant change to a release, its entries, or its settings produces a log entry, regardless of whether the action came from the admin panel or a scheduled job.
The following actions are recorded:
| Action | What is logged |
|---|---|
| Create release | The new release name, whether it was scheduled, and its release mode. |
| Update release | The fields that changed (name, schedule date, timezone, release mode) and their previous and new values. No entry is created if nothing changed. |
| Delete release | The deleted release identifier. |
| Trigger release | The outcome: success (Done release), partial (Partial release), or failure (Failed release). For success and partial, the log records the number of entries published, unpublished, and skipped. For failure, it records the error name only, with no internal details. A scheduled release that could not be published because the server was unavailable is logged as a failure. |
| Add entry to release | One log entry per entry added, with the content type, document ID, locale, and action type (publish or unpublish). |
| Change entry on release | The previous and new action type (publish ↔ unpublish). No entry is created if nothing changed. |
| Remove entry from release | The entry that was explicitly removed from the release. |
| Update release settings | The previous and new default timezone value. No entry is created if nothing changed. |
Each log record includes the actor (user name, or - for scheduled triggers), the origin (admin for manual actions, scheduler for automatic ones), and the resource affected. To view release log entries, go to Settings > Audit Logs and look for entries prefixed with release.
Deleting an entry or a locale that happens to be in a pending release does not create a "Remove entry from release" log. Only explicit removal is recorded. The delete action on the entry or locale itself is logged separately.